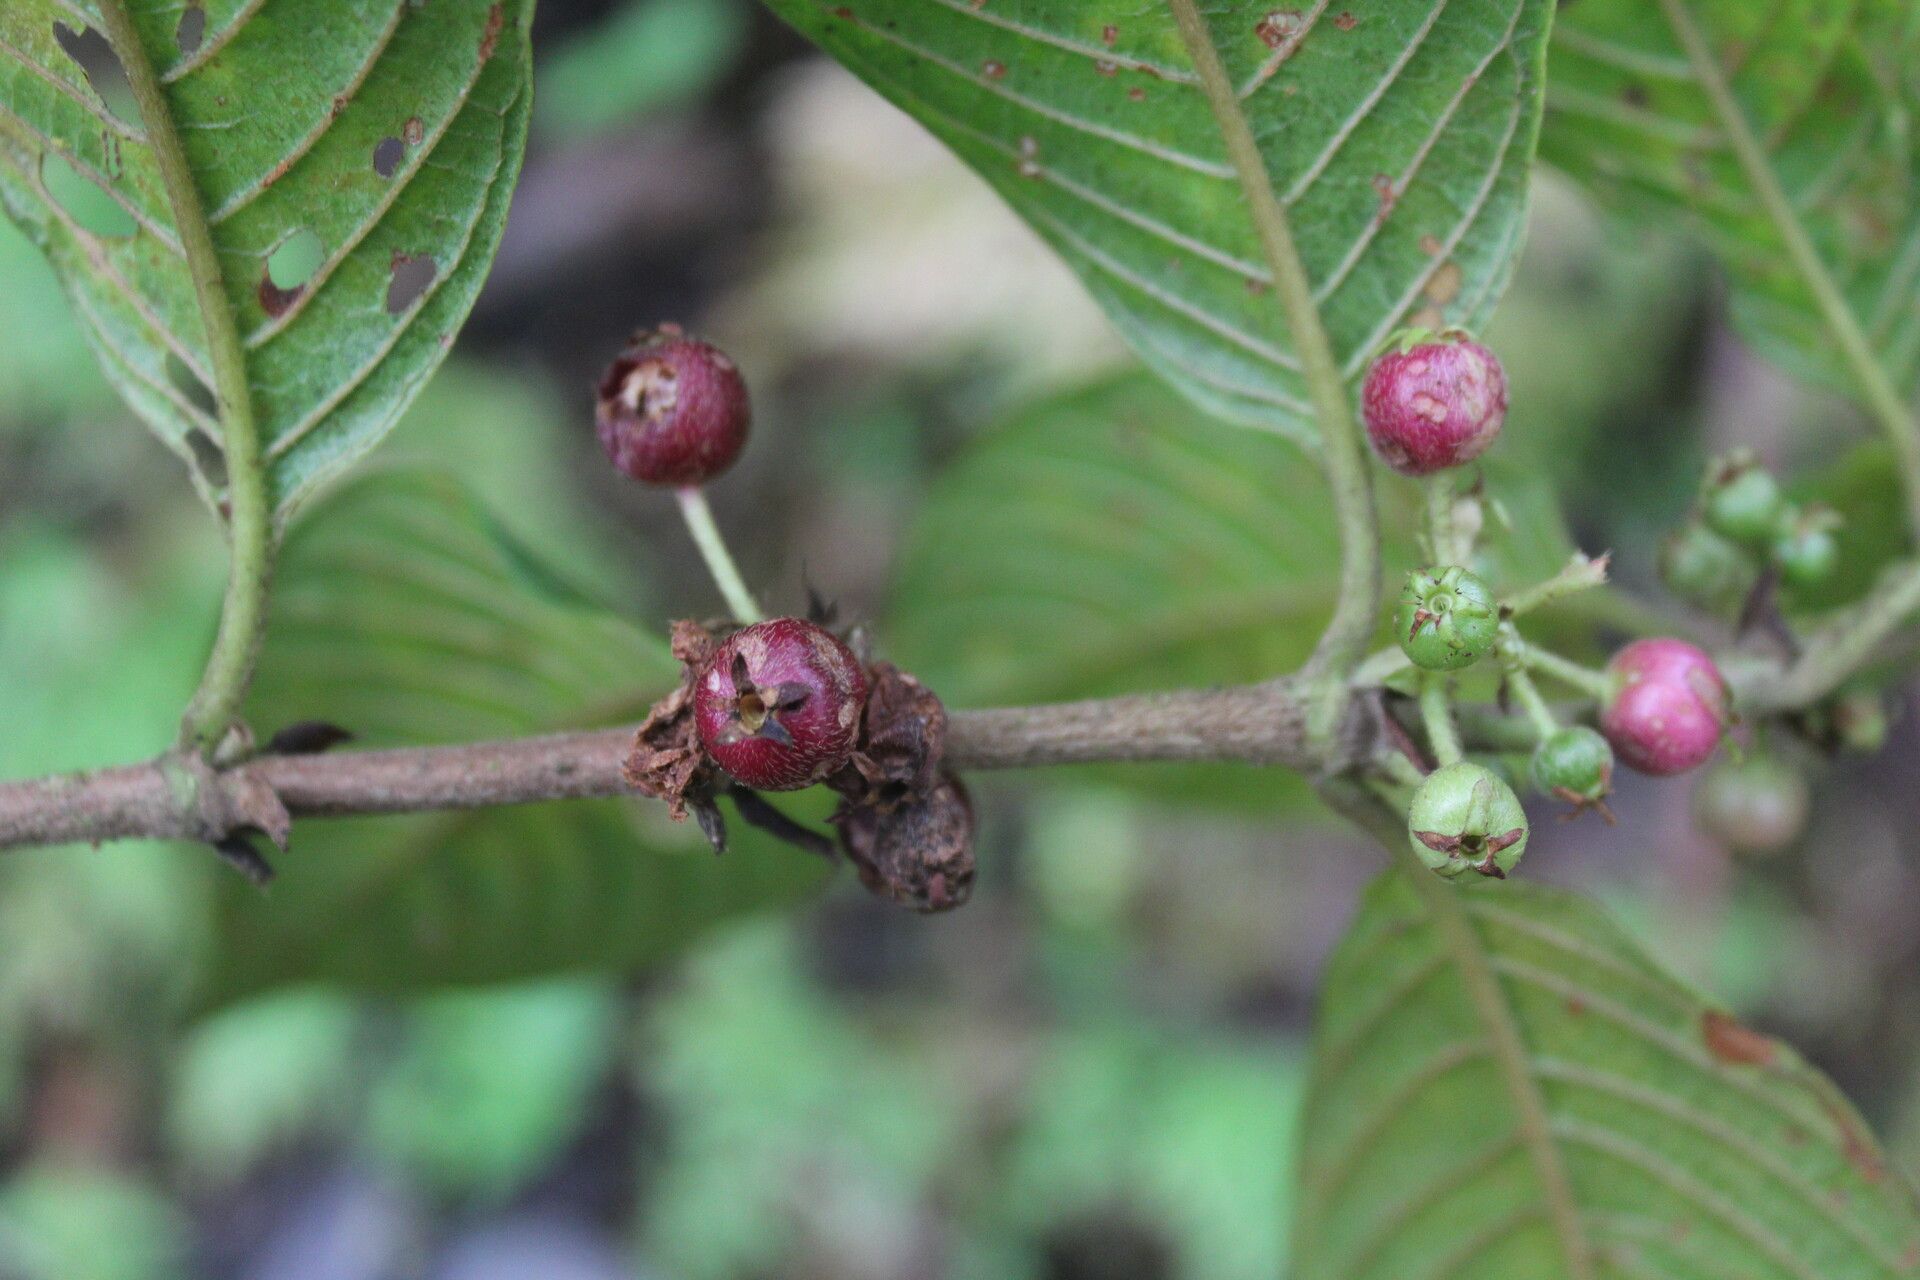
Hello, fellow plant lovers! Let’s chat about a real gem: Sabicea panamensis. If you’re drawn to plants with a bit of flair, a touch of the exotic, and a cascading habit that just begs to be displayed, you’re going to fall for this one. Its velvety leaves and delicate structure really do make a statement. And the best part? Propagating it yourself is incredibly satisfying. Now, I’ll be honest, it’s not quite as straightforward as a succulent cutting, but with a little patience and these tips, you’ll be well on your way. It’s a rewarding challenge for those ready to step up their propagation game.
The Best Time to Start
For Sabicea panamensis, I always find the spring and early summer to be the sweet spot. This is when the plant is actively growing, sending out fresh, tender shoots that are full of life and ready to root. You’re looking for young, non-woody stems – think of them as being a bit flexible but not completely soft and floppy. Avoid taking cuttings from old, hardened-off growth.
Supplies You’ll Need
Gathering your supplies beforehand makes the whole process so much smoother. Here’s what I recommend:
- Sharp Pruning Shears or a Clean Knife: For making clean cuts.
- Rooting Hormone (Optional but Recommended): A powder or gel to give those cuttings a head start.
- Well-Draining Potting Mix: A good blend of peat moss, perlite, and a little bit of orchid bark works wonders. You want it to hold some moisture but never get waterlogged.
- Small Pots or Propagation Trays: Clean, with drainage holes, of course.
- Plastic Bag or Clear Plastic Dome: To create a humid environment.
- Spray Bottle: For misting.
- Watering Can: For gentle watering.
Propagation Methods
My go-to method for Sabicea panamensis is through stem cuttings. It’s reliable and gives you the most control.
Stem Cuttings Method:
- Select Your Cuttings: Find those vibrant, healthy, non-woody stems. Look for ones with at least two to three sets of leaves.
- Take Your Cuttings: Using your sharp shears, make a clean cut just below a leaf node (where a leaf attaches to the stem). You want cuttings that are roughly 4-6 inches long.
- Prepare the Cuttings: Gently remove the lower leaves, leaving just one or two sets at the top. This prevents them from rotting in the soil or water.
- Apply Rooting Hormone (Optional): If you’re using rooting hormone, dip the cut end of the stem into the powder or gel. Tap off any excess.
- Pot Them Up: Fill your small pots with your prepared potting mix. Make a small hole in the center with your finger or a pencil, and gently insert the cutting, ensuring the leaf nodes you removed are below the soil line. Firm the soil around the stem.
- Water Gently: Water thoroughly but gently, making sure the soil is evenly moist but not soggy.
- Create Humidity: Place the potted cuttings inside a plastic bag or cover them with a clear plastic dome. This creates a mini-greenhouse, keeping the humidity high, which is crucial for preventing the cuttings from drying out.
- Provide Light and Warmth: Place the pots in a bright location out of direct sunlight. A spot that receives indirect light is perfect.
The “Secret Sauce” (Pro Tips)
Here are a few little tricks I’ve picked up over the years that really boost my success rates.
- Bottom Heat is Your Friend: If you’re serious about rooting, consider using a propagation mat. These gently warm the soil from below, encouraging root development much faster. It’s especially helpful in cooler indoor environments.
- Don’t Let Leaves Touch! When you’re misting your cuttings or watering, be mindful of the remaining leaves. Don’t let them sit in standing water on the soil surface or touch wet leaves of other cuttings. This can invite fungal issues and rot, which is the quickest way to lose a promising cutting.
- A Gentle Mist is Best: While humidity is key, over-misting can be detrimental. I usually mist my cuttings once a day, or more often if the air is very dry and the plastic bag feels like it’s not holding enough moisture. You want the leaves to be lightly moist, not dripping.
Aftercare & Troubleshooting
Once you start to see new leaf growth or feel a gentle resistance when you tug lightly on the cutting, you know roots are forming! This usually takes anywhere from 4-8 weeks, sometimes longer.
- Gradual Acclimation: Once you see good root development, slowly start to acclimate your new plant to lower humidity. This means gradually opening the plastic bag a little each day over a week or so.
- Continue Watering: Keep the soil consistently moist but not waterlogged. As the plant grows, you can transition to your regular watering schedule.
- Troubleshooting: The most common issue is rot. If your cutting turns black and mushy, it’s likely rotted. This usually happens due to too much moisture, poor air circulation, or a lack of humidity at the critical initial stage. If you see signs of rot, remove the affected cutting immediately to prevent it from spreading. Another sign of failure is a wilted, crispy-looking cutting that doesn’t perk up after misting. This indicates it’s drying out faster than it can root, often due to insufficient humidity or being placed in too much direct sun.
A Encouraging Closing
Propagating plants, especially those a little more unique like Sabicea panamensis, is a journey of observation and patience. Don’t get discouraged if your first few attempts aren’t perfect. Every cutting teaches you something new. Enjoy the process of nurturing these little sprigs into full, beautiful plants. Happy rooting!
Resource:
https://identify.plantnet.org/k-world-flora/species/Sabicea%20panamensis%20Wernham/data