Hey there, fellow plant enthusiasts! Today, we’re diving into the wonderful world of propagating Perebea guianensis. I’ve had the joy of working with this beauty for years, and let me tell you, it’s a real treat. Its lush, glossy leaves bring such a tropical vibe, and the satisfaction of watching a tiny cutting transform into a thriving plant is just… magical. Now, for beginners, I’d say Perebea guianensis leans a little towards the “enjoyably challenging” side. It’s not as straightforward as a pothos, but with a bit of care and attention, you’ll absolutely be successful.
The Best Time to Start
When it comes to giving your cuttings the best shot, spring and early summer are your golden ticket. This is when the plant is in its peak growing season, meaning it has plenty of energy to put into developing new roots. Look for stems that are actively growing but not too soft and new. You want something with a bit of substance, not just a floppy shoot.
Supplies You’ll Need
Gathering your tools beforehand makes the whole process so much smoother. Here’s what I usually have on hand:
- Sharp Pruning Shears or a Clean Knife: For making clean cuts.
- Rooting Hormone (Optional but Recommended): A powder or gel to encourage root development.
- Well-Draining Potting Mix: A good blend is key. I like a mix of peat moss, perlite, and a little bit of compost.
- Small Pots or Containers: With drainage holes, of course!
- Plastic Bag or Clear Dome: To create a humid environment.
- Spray Bottle: For misting.
- Gloves (Optional): If you have sensitive skin.
Propagation Methods
Let’s get our hands dirty with the two most reliable ways to multiply your Perebea guianensis.
Stem Cuttings
This is my go-to method!
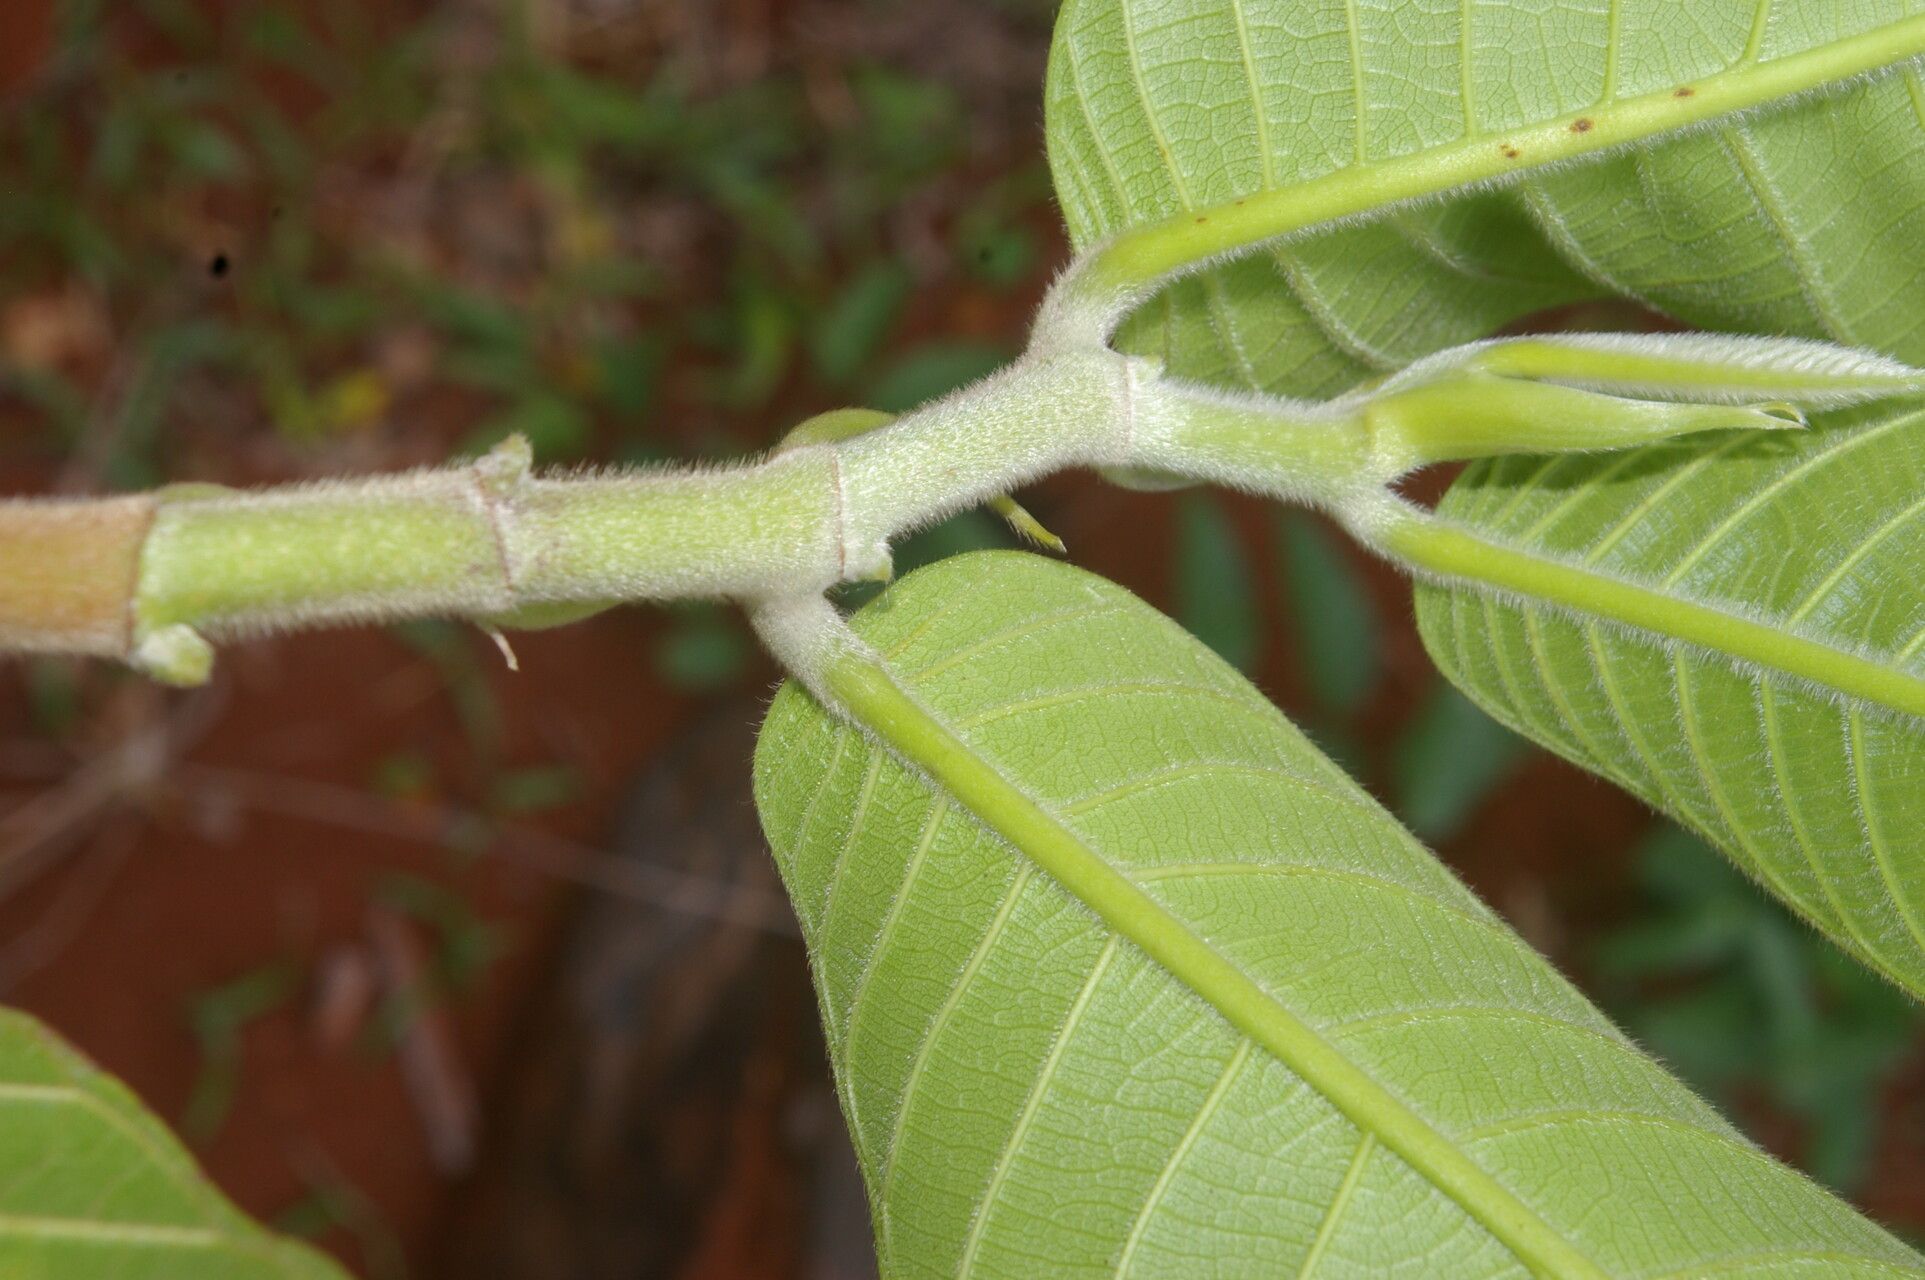
- Select Your Stem: Find a healthy, semi-hardwood stem that has at least two or three leaf nodes (the little bumps where leaves grow from).
- Make the Cut: Using your sharp shears or knife, make a clean cut just below a leaf node. Aim for a cutting that’s about 4-6 inches long.
- Prepare the Cutting: Gently remove the lower leaves, leaving just a couple at the top. This prevents them from rotting when buried. If the leaves are very large, you can even cut them in half horizontally to reduce water loss.
- Apply Rooting Hormone: Dip the cut end of the stem into your rooting hormone. Tap off any excess.
- Plant Your Cutting: Fill your small pot with your well-draining potting mix. Make a hole in the center with your finger or a pencil, and gently insert the cutting, ensuring the nodes are buried. Firm the soil gently around it.
- Create Humidity: Water the soil lightly until it’s moist but not soggy. Then, cover the pot with a plastic bag or a clear dome. You can use stakes to keep the plastic from touching the leaves.
- Place in Bright, Indirect Light: Find a spot that gets plenty of light but no direct sun.
Water Propagation
This is a fun, visual way to see roots develop.
- Select and Prepare: Just like with stem cuttings, choose a healthy stem section with a few leaf nodes and make your cut below a node. Remove the lower leaves.
- Place in Water: Fill a clean jar or glass with room-temperature water. Place the cutting in the water, ensuring that the leaf nodes are submerged, but the remaining leaves are above the water line.
- Change the Water: Change the water every few days to keep it fresh and prevent bacterial growth.
- Find the Right Spot: Again, bright, indirect light is ideal.
The “Secret Sauce” (Pro Tips)
Here are a few little tricks I’ve picked up over the years that can really boost your success:
- Bottom Heat is Your Friend: If you’re using stem cuttings, placing your pots on a gentle seedling heat mat can make a huge difference. It encourages root development much faster by keeping the soil at an optimal temperature. Just a little warmth goes a long way!
- Don’t Drown Your Leaves: This is crucial, especially in water propagation. If leaves are submerged in water, they’ll start to rot almost immediately, which can infect the whole cutting. Always keep your leaves happily breathing above the waterline.
- Air Circulation is Key in Humidity: While we want to create a humid microclimate for cuttings, stagnant air can be the breeding ground for fungal diseases. Make sure there’s a little bit of airflow. If using a plastic bag, you can open it for an hour each day to let things breathe.
Aftercare & Troubleshooting
Once you start seeing roots forming (you can gently tug on the cutting – if there’s resistance, you have roots!), it’s time to transition.
- For Water-Propagated Cuttings: Once the roots are about an inch long, carefully pot them into your well-draining potting mix. Water thoroughly and then monitor moisture closely for the first few weeks.
- For Soil-Propagated Cuttings: You’ll start to see new growth appearing. Continue to keep the soil consistently moist but not waterlogged. You can gradually remove the humidity cover over a week or so, allowing the plant to acclimate to normal room humidity.
Common Signs of Failure: The most frequent issue is rot. If your cutting turns mushy, brown, or smells foul, it’s usually a sign of too much moisture or lack of aeration. If you catch it early, you might be able to salvage it by cutting away the rotted parts and repotting in fresh, drier soil, but often, it’s best to start again. Yellowing leaves on a cutting can sometimes indicate it’s not getting enough light, or it’s stressed.
A Little Patience, A Lot of Joy
Propagating plants is a journey, and sometimes it takes a bit of patience. Don’t get discouraged if your first attempt isn’t a runaway success. Each cutting teaches you something new. So, take a deep breath, enjoy the process of nurturing these tiny beginnings, and celebrate each new leaf and root that appears. Happy propagating!
Resource:
https://identify.plantnet.org/k-world-flora/species/Perebea%20guianensis%20Aubl./data