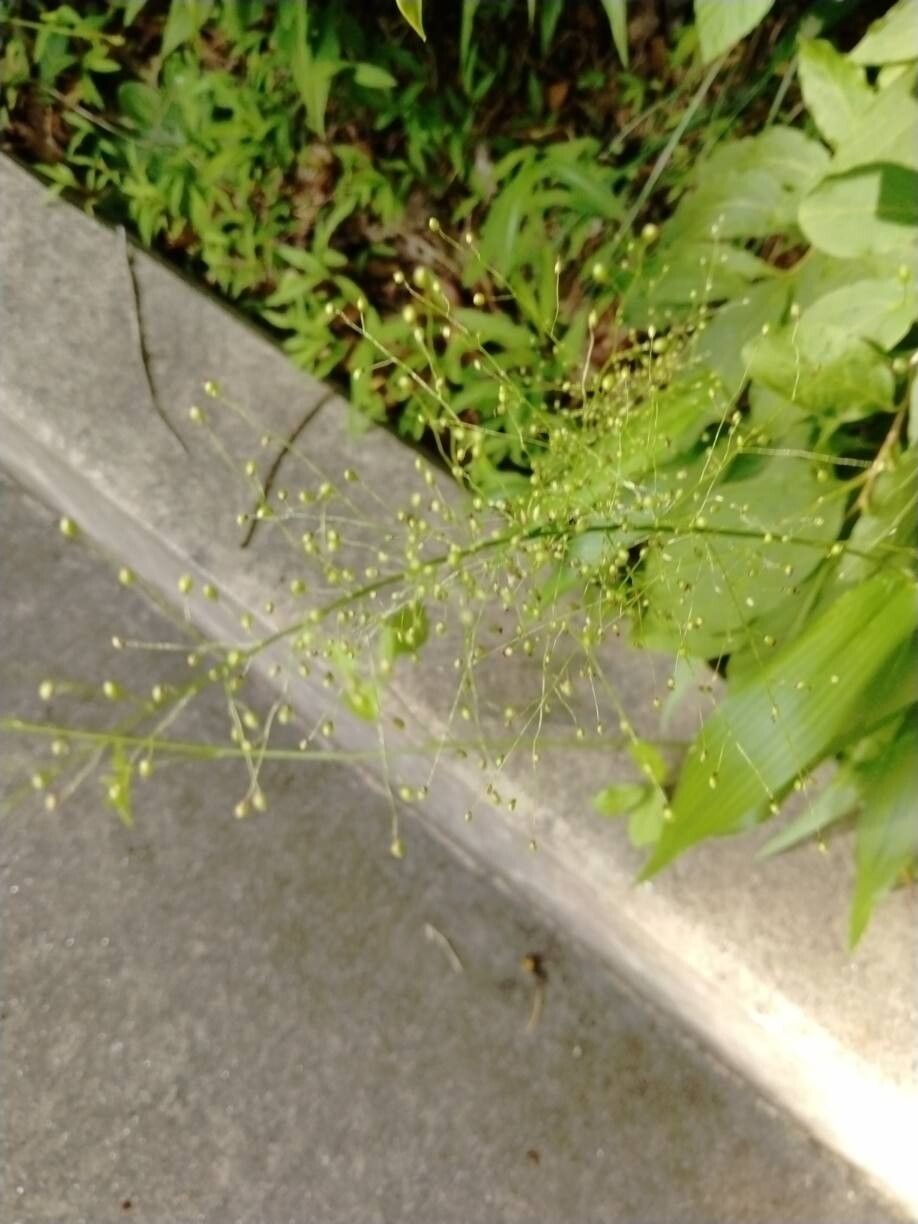
Oh, Panicum trichoides! What a charming grass. If you’ve ever admired its delicate, arching foliage and fluffy, often purplish, seed heads, you’re probably keen to have more of it gracing your garden. And I totally get it! There’s a special kind of joy in seeing a tiny cutting transform into a lush, new plant. It’s like magic, but with a bit of science, and honestly, it’s not as intimidating as it might sound. For beginners looking to dip their toes into propagation, Panicum trichoides is a pretty good friend to start with. It’s generally quite forgiving.
The Best Time to Start
For the happiest results, the absolute sweet spot for propagating Panicum trichoides is late spring or early summer. This is when the plant is in its most vigorous growth phase. Think about it: the days are getting longer, the soil is warming up, and everything is bursting with life. Giving your cuttings or divisions this energy boost means they’re more likely to establish quickly and healthily.
Supplies You’ll Need
Let’s gather our little army of tools and goodies. You don’t need anything too fancy, just the basics to give your Panicum babies the best start:
- Sharp Pruning Shears or a Knife: For clean cuts.
- Potting Mix: A well-draining mix is crucial. I like to use a blend of good quality potting soil mixed with perlite or coarse sand. About a 50/50 ratio usually works wonders.
- Small Pots or Seed Trays: Whatever you have on hand is fine, just make sure they have drainage holes.
- Rooting Hormone (Optional but Recommended): A powder or gel can significantly speed up root development.
- Clear Plastic Bag or Dome: To create a humid environment.
- Watering Can or Spray Bottle: For gentle watering.
- Gardening Gloves (Optional): If you prefer to keep your hands clean.
Propagation Methods
Panicum trichoides is a wonderful candidate for two primary propagation methods: stem cuttings and division. Both are quite straightforward.
Stem Cuttings
This is one of the easiest ways to get new plants.
- Taking the Cuttings: Look for healthy, non-flowering stems on your mature Panicum. Using your sharp pruning shears, snip off stems that are about 4-6 inches long. Make your cut just below a leaf node (the little bump where a leaf attaches to the stem).
- Prepare the Cuttings: Gently remove the leaves from the bottom half of each cutting. You want to expose the nodes, as this is where roots will form. If the remaining leaves are very large, you can trim them in half to reduce water loss.
- Apply Rooting Hormone (if using): Dip the cut end of each stem into the rooting hormone, tapping off any excess.
- Planting: Fill your small pots with your well-draining potting mix. Make a small hole in the center of the soil with your finger or a pencil. Gently push the cut end of the Panicum cutting into the hole, making sure at least one or two leaf nodes are buried in the soil. Firm the soil gently around the stem.
- Watering and Humidity: Water the soil thoroughly but gently, ensuring it’s moist but not waterlogged. Cover the pot with a clear plastic bag (tent it over the pot with a stake if needed) or place it inside a propagator with a lid. This creates a mini-greenhouse, keeping the humidity high, which is essential for cuttings to root.
Division
This method is perfect when your Panicum is starting to get a bit crowded in its pot or in the garden.
- Excavate the Plant: Carefully dig up the entire Panicum plant. If it’s in the ground, dig around it to loosen the root ball. If it’s in a pot, gently slide it out.
- Inspect and Separate: Gently shake off some of the excess soil to get a clearer view of the root system. You’ll want to gently pull the root ball apart with your hands. If the clumps are stubborn, you can use a clean, sharp trowel or even a knife to divide them. Aim for sections that have both roots and some healthy foliage.
- Replant Immediately: You can either pot up the divisions into their own containers or plant them directly into suitable spots in your garden. Make sure to plant them at the same depth they were growing before.
- Water Well: Once planted, water each division thoroughly to help settle the soil and reduce transplant shock.
The “Secret Sauce” (Pro Tips)
You’ve got the basics down, but here are a few little tricks I’ve learned over the years that can make a big difference:
- Don’t Judge Too Soon: Sometimes, Panicum cuttings can look a bit sad for a while. They might droop. Don’t toss them! As long as the stem is firm and not mushy, give them time. Roots can be forming unseen for weeks.
- Bottom Heat is a Game Changer: If you’re serious about propagation or struggling with slightly tougher plants, investing in a propagation mat that provides gentle bottom heat can dramatically speed up root development for cuttings. It mimics the warmth of spring soil and encourages those roots to emerge.
- Cleanliness is Next to Godliness (for Plants): Always use clean tools and pots. This helps prevent the spread of diseases that can quickly take out delicate new cuttings. A quick rinse of your pruners between cuts is a good habit.
Aftercare & Troubleshooting
Once you see signs of new growth, like tiny leaves emerging or tugging gently to feel resistance (a sign of roots!), you’re on your way!
- Gradual Acclimation: If your cuttings are under a plastic bag, gradually increase ventilation over a week or two. Open the bag for an hour a day, then two, and so on. This helps them adjust to normal humidity levels before you remove the cover completely.
- Consistent Moisture: Keep the soil consistently moist but never soggy. Overwatering is the quickest way to invite fungal issues. If you notice the soil surface drying out quickly, it’s time for a gentle drink.
- Light: Place your new plants in bright, indirect light. Avoid direct sun, which can scorch those tender new leaves.
- Troubleshooting Rot: The biggest enemy is rot. If you see stems turning brown and mushy, or leaves yellowing and dropping excessively, it’s likely due to overwatering or poor drainage. Unfortunately, once rot sets in, it’s hard to save. This is where that well-draining soil and being careful not to overwater really pay off. If you catch it early, you might be able to cut away the affected parts and try to reroot the healthy sections.
A Little Patience Goes a Long Way
Propagating Panicum trichoides is a rewarding way to expand your collection and share your love of plants. It’s a process that teaches you to observe, to be patient, and to appreciate the resilience of nature. Don’t be discouraged if your first few attempts aren’t perfect – every gardener has had their share of wilting wishes! Just keep at it, enjoy the journey, and soon you’ll be surrounded by the beautiful, airy charm of your own Panicum creations. Happy propagating!
Resource:
https://identify.plantnet.org/k-world-flora/species/Panicum%20trichoides%20Sw./data