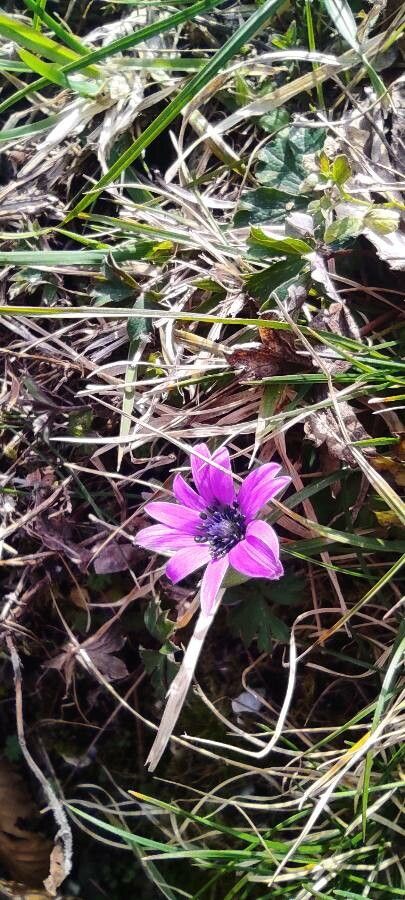
Hello there, fellow plant lovers! It’s so wonderful to connect with you today. If you’re anything like me, one look at the vibrant, jewel-toned blooms of Anemone hortensis – those stunning “poppy anemones” – and you’re utterly smitten. They bring such a delightful splash of color to the garden, emerging with such a cheerful enthusiasm. And let me tell you, propagating them yourselves is a truly rewarding experience. It’s a fantastic way to fill your garden with more of these beauties without breaking the bank, and I find it’s a process that’s quite accessible, even for those who are just starting out on their gardening journey.
The Best Time to Start
For Anemone hortensis, the absolute best time to get your hands dirty with propagation is in the autumn, after the plant has finished flowering and its foliage begins to die back. This is when the plant’s energy is focused on its underground structures, making it the prime time for division. If you’re considering a different method, like trying to start them from seed (which is less common for this particular species and can be a bit trickier), sowing them in the fall is generally recommended as well, to mimic their natural germination cycle.
Supplies You’ll Need
To embark on this propagation adventure, you won’t need a whole lot of fancy equipment. Here’s what I usually gather:
- Clean trowel or spade: For gently separating the corms.
- Sharp, sterilized pruning shears or a knife: To make clean cuts if needed.
- Well-draining potting mix: A good blend for bulbs and perennials is perfect. You can also mix in some perlite or coarse sand for extra drainage.
- Small pots or trays: These are for housing your newly divided sections or young plants.
- Watering can with a fine rose: To water gently without disturbing your work.
- Optional: Rooting hormone powder: While not strictly necessary for Anemone hortensis division, it can give an extra boost, especially if you’re trying other methods.
Propagation Methods: Let’s Get Growing!
The most tried-and-true method for increasing your stock of Anemone hortensis is through division of their corms. Anemones grow from these little bulb-like structures called corms, which multiply over time.
Division of Corms:
- Digging Up: In autumn, gently dig around the base of your established Anemone hortensis plants. I like to start a good distance away from the main clump to avoid damaging any of the corms. Carefully lift the entire clump out of the soil.
- Cleaning: Gently brush away excess soil from the corms. You’ll likely see the original corm and then new, smaller corms that have formed alongside it. These new ones are what we’re after!
- Separating: Now comes the delicate part. Carefully tease apart the corms. Sometimes they come apart easily with your fingers. If they are a bit more stubborn, your clean pruning shears or knife can be used to gently cut them apart. Make sure each new corm has at least one little “eye” or growing point on it. If you’re using rooting hormone, now is the time to dip the cut ends.
- Replanting: Fill your pots or prepare a new spot in your garden with that well-draining soil. Plant your divided corms about 2-3 inches deep, eye-side up. Give them a good watering and place them in a sheltered spot, or in your garden, ready to overwinter.
While less common and more challenging for this specific variety, some gardeners have success with basal cuttings if they catch them early enough in the spring, or even by collecting and sowing seeds, although this isn’t the most reliable route. For the home gardener, sticking with corm division is your golden ticket.
The “Secret Sauce” (Pro Tips)
Here are a few things I’ve learned over the years that can really make a difference:
- Don’t ditch them too soon: Even if the foliage looks completely dead and withered, wait until the very end of autumn. Sometimes they’re still storing energy down there and you don’t want to disturb them before they’re ready.
- Think drainage, drainage, drainage! This is paramount. Corms hate soggy feet, especially over winter. If your garden soil is heavy clay, amend it generously with compost and grit, or better yet, grow them in raised beds or containers where you can control the soil mix.
- Handle with care: While anemone corms are quite hardy, be mindful when separating them. Rough handling can damage those precious growing points, which is where all the magic happens.
Aftercare & Troubleshooting
Once your divided corms are replanted, give them a good drink of water. Keep the soil consistently moist but never waterlogged. Over the winter, they’ll be settling in and developing their root systems. You won’t see much action on the surface until spring.
The most common issue you might encounter is rot. If your corms start to feel mushy or develop a black, foul-smelling rot, it’s a sign of too much moisture. Unfortunately, there’s usually no coming back from deep rot, which is why excellent drainage is the best preventative measure. If you see signs of mold on the surface, it might mean your air circulation isn’t great, or again, it’s a bit too damp. Sometimes a very light dusting of cinnamon can help deter fungal growth.
A Little Encouragement to Close
Propagating your Anemone hortensis is such a joy, and it’s a process that teaches you so much about patience and observation. Don’t be discouraged if your first attempt isn’t a roaring success – every garden, and every plant, has its own quirks. Just keep observing, keep learning, and most importantly, enjoy the beautiful journey of growing more of these spectacular blooms. Happy gardening!
Resource:
https://identify.plantnet.org/k-world-flora/species/Anemone%20hortensis%20L./data