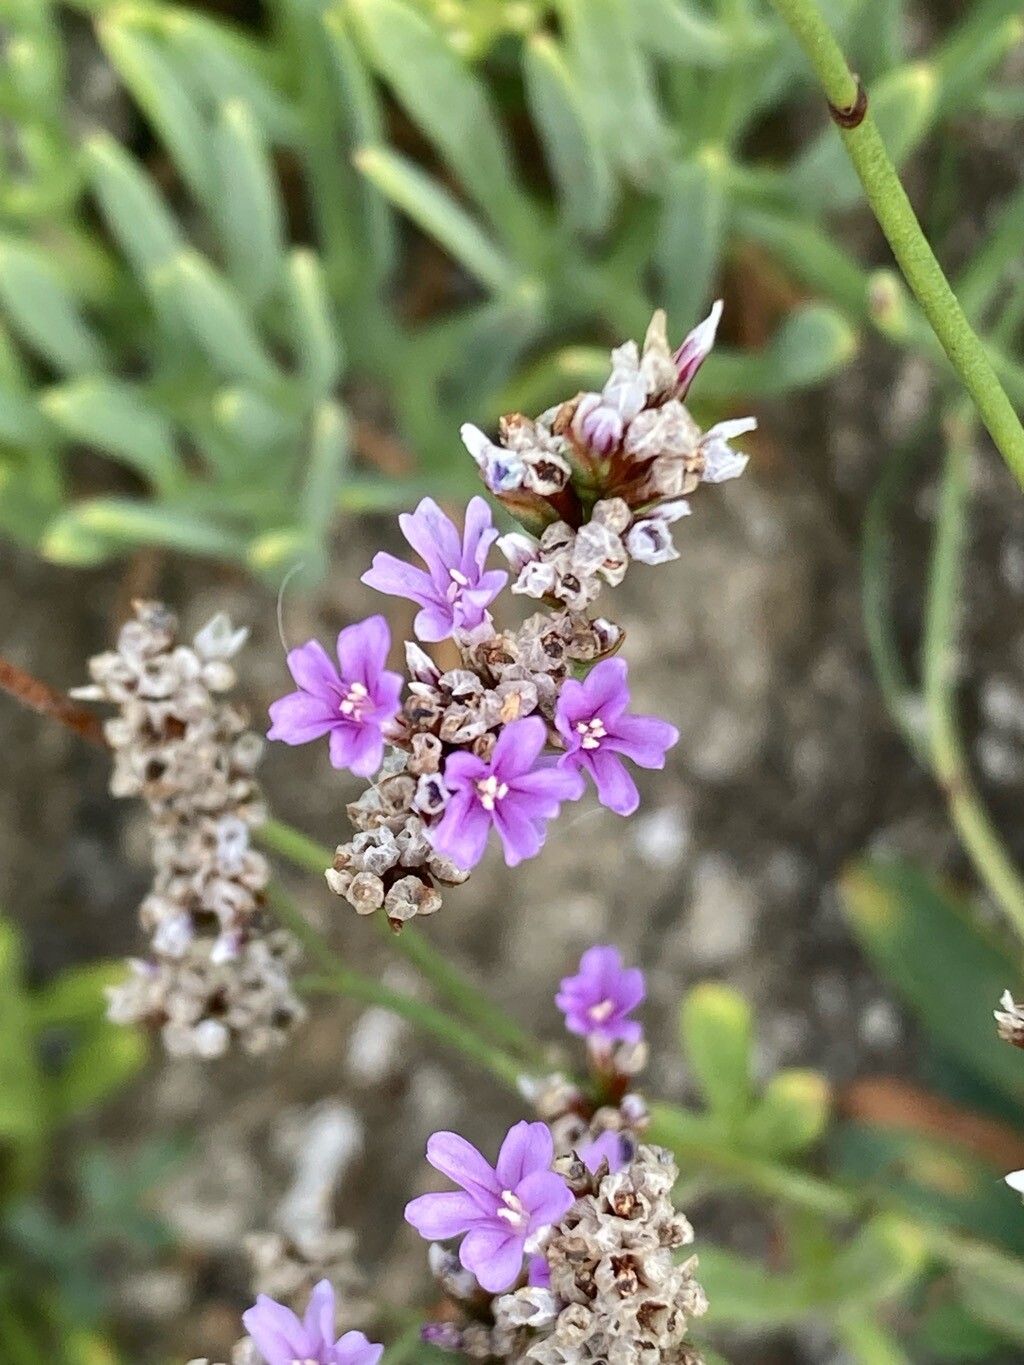
Ah, Limonium binervosum! That wonderful sea lavender, with its delicate papery blooms that look like they’re dancing in the breeze. I’ve always had a soft spot for this plant. It’s such a joy to see those clusters of misty mauve or soft pink flowers gracing the garden, or even better, dried and bringing a little bit of summer indoors. If you’ve fallen for its charm, you’ll be happy to know that propagating it is a wonderfully rewarding endeavor. While it’s not quite as plug-and-play as a pothos for absolute beginners, with a little guidance, anyone can have success.
The Best Time to Start
For Limonium binervosum, spring is absolutely your golden ticket. Think late spring, when the weather is warming up nicely but before the intense heat of summer sets in. This is when the plant is actively growing, and new shoots are plump and full of life. Starting then gives your new cuttings plenty of time to establish themselves before winter rolls around.
Supplies You’ll Need
Gathering your tools beforehand makes the whole process much smoother. Here’s what I usually have on hand:
- Sharp, clean pruning shears or a sharp knife: For taking precise cuttings and avoiding any sawing that can damage the stems.
- Rooting hormone powder or gel: This is a fantastic little helper to encourage strong root development.
- A good potting mix: I prefer a mix that drains well. A blend of equal parts perlite, peat moss, and a bit of compost works wonders. You can also buy a pre-made succulent or cactus mix.
- Small pots or seed trays with drainage holes: Clean terracotta pots are my favorite – they breathe well.
- A watering can with a fine rose nozzle: For gentle watering.
- Plastic bags or a propagation dome: To create a humid environment around your cuttings.
- Optional: A heat mat: This can significantly speed up rooting, especially if your propagation area is a bit cool.
Propagation Methods
While you can sometimes get Limonium binervosum to root in water, I find stem cuttings to be the most reliable and successful method for creating new plants.
Here’s how I do it:
- Take Your Cuttings: On a bright but not scorching day in late spring, select healthy, non-flowering stems. Look for stems that are about 4-6 inches long. Using your sharp shears, make a clean cut just below a leaf node (that’s the bump on the stem where a leaf grows). Remove the lower leaves, leaving just a couple of sets at the top.
- Prepare the Cuttings: Dip the cut end of each stem into your rooting hormone powder or gel. Tap off any excess.
- Plant Your Cuttings: Fill your small pots or trays with your well-draining potting mix. Make a small hole in the center of the soil with your finger or a pencil. Gently insert the prepared cutting into the hole, making sure the leaf nodes that were removed are buried. Firm the soil gently around the base of the cutting.
- Create a Humid Environment: Water the soil gently until it’s moist, but not waterlogged. Then, cover the pot with a clear plastic bag or place it inside a propagation dome. This traps the humidity, which is crucial for preventing the cuttings from drying out before they can form roots. If you’re using a plastic bag, you can prop it up with a few small sticks so it doesn’t touch the leaves.
- Provide the Right Conditions: Place your pots in a bright location with indirect sunlight. Avoid direct sun, as this can scorch the delicate cuttings. If you’re using a heat mat, place the pots on top of it. Aim for a consistent temperature of around 70-75°F (21-24°C).
The “Secret Sauce” (Pro Tips)
Over the years, I’ve learned a few tricks that really make a difference with these fussy beauties:
- Don’t Drown Your Dreams: While humidity is key, standing water is the enemy. If you see condensation pooling excessively inside your plastic dome or bag, open it up for an hour or two to let it air out. You do not want the leaves or the base of the stem to sit in water; that’s a fast track to rot.
- Bottom Heat is Your Best Friend: Honestly, if you can swing it, get a small heat mat. It makes such a noticeable difference in how quickly and successfully Limonium binervosum cuttings root. It mimics the warmth of the soil where roots naturally want to grow.
- Patience is a Virtue (Especially with Sea Lavender): These guys can be a bit slow to show signs of rooting. Don’t be tempted to pull them out too early to check! I usually wait at least 3-4 weeks, sometimes even longer, before I give them a gentle tug. If you feel resistance, that’s a good sign roots are forming.
Aftercare & Troubleshooting
Once you feel that little tug of resistance, it’s time to transition your new plants.
- Acclimatize: Gradually remove the plastic bag or dome over a few days, allowing the new plant to get used to the regular humidity of your home.
- Potting Up: Once you see healthy new leaf growth, it’s time to pot your new Limonium binervosum into a slightly larger pot with fresh, free-draining soil.
- Watering: Water thoroughly, then let the soil dry out slightly between waterings. They don’t like soggy feet!
- Signs of Trouble: The most common culprit with cuttings is rot. If the stems turn black and mushy, or if the leaves wilt dramatically and don’t perk up even with watering, it’s likely rot. This usually happens from too much moisture and not enough air circulation. If you catch it early, you might be able to salvage a healthy portion of the stem, but often, it’s best to start again. Another sign is if the leaves simply dry out and fall off without any new growth appearing – this usually means they never developed roots.
A Moment to Bloom
Propagating Limonium binervosum is such a satisfying journey. It might take a little patience, and you might lose a cutting or two along the way (we all do!), but the reward of seeing your own little sea lavender plants get established and eventually bloom is absolutely worth it. So, gather your supplies, find that perfect spring day, and give it a go. Happy gardening!
Resource: