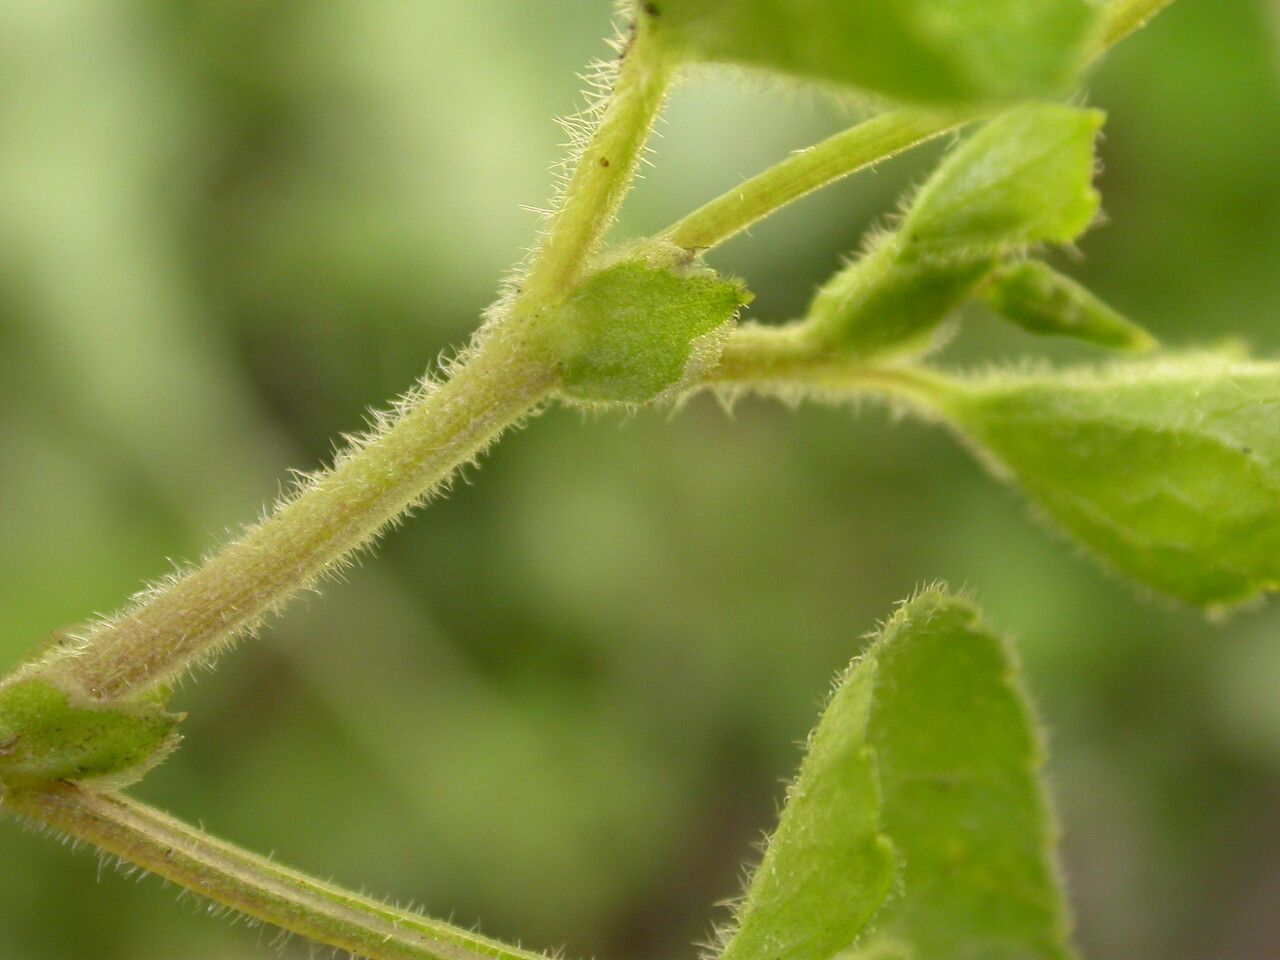
Oh, Elatostema obtusum! If you’ve ever seen this little gem gracing a shady corner or spilling artfully from a hanging basket, you know exactly why it’s captured so many hearts. Its delicate, almost lacy foliage, often with a beautiful shimmer, brings a touch of enchantment to any space. And happily for us, propagating it is a truly rewarding endeavor, even for those just starting their plant journey. Don’t be intimidated; it’s a surprisingly forgiving plant when it comes to making more of it!
The Best Time to Start
For the absolute best success with Elatostema obtusum, aim for late spring through early summer. This is when the plant is actively growing, full of vigor, and most likely to produce healthy cuttings that will readily root. You can certainly try at other times, but you’ll find the magic happens when the days are longer and warmer.
Supplies You’ll Need
Gathering your tools beforehand makes the whole process feel much smoother. Here’s what I usually have on hand:
- Sharp pruning shears or a clean knife: For taking your cuttings. Sterilize them with rubbing alcohol between uses!
- A well-draining potting mix: I often use a blend of peat moss, perlite, and a bit of orchid bark. For Elatostema, a bit more aeration is key.
- Small pots or trays: Make sure they have drainage holes.
- Rooting hormone (optional but recommended): A powder or gel to give your cuttings a little boost.
- Watering can with a fine spray: To keep things moist without being waterlogged.
- A plastic bag or humidity dome: To create a mini greenhouse effect.
- Labels and a marker: Trust me, you’ll thank yourself later!
Propagation Methods
Elatostema obtusum is a champion of stem cuttings. It’s straightforward and reliably produces new plants.
Stem Cuttings:
- Take your cuttings: Look for healthy, non-flowering stems on your mature plant. Using your sterilized pruning shears or knife, make a clean cut just below a leaf node (where a leaf attaches to the stem). Aim for cuttings about 3-4 inches long.
- Prepare the cuttings: Gently remove a few of the lower leaves from the cutting. If the remaining leaves are very large, you can even cut them in half to reduce water loss.
- Apply rooting hormone (optional): Dip the cut end of the stem into your rooting hormone, tapping off any excess.
- Plant the cuttings: Fill your small pots with your prepared, slightly damp potting mix. Make a hole in the center with your finger or a pencil and insert the cutting, ensuring the leaf node that was closest to the bottom is buried in the soil. Gently firm the soil around the base.
- Create humidity: Water the soil gently until it’s evenly moist. Then, cover the pot with a plastic bag orhumidity dome. Make sure the leaves aren’t touching the plastic if possible. Place it in a bright spot, but out of direct sunlight.
The “Secret Sauce” (Pro Tips)
Here are a couple of little things I’ve learned over the years that can really make a difference:
- Don’t let the leaves touch the water (if using water propagation): While Elatostema can sometimes root in water, I find it’s far more prone to rot this way. If you do go the water route, make sure only the stem is submerged, and change the water frequently. Soil is generally a safer bet for this particular plant.
- Bottom heat is your friend: Placing your pots on a heated propagation mat can significantly speed up root development. The gentle warmth mimics spring soil temperatures and gives your cuttings that extra encouragement.
Aftercare & Troubleshooting
Once your cuttings have been potted and are snug under their humidity dome, the regular care is simple. Keep the soil consistently moist but never soggy. You’ll want to open the bag or dome for about 10-15 minutes each day to allow for air circulation. This prevents fungal issues.
You’ll know your cuttings have rooted when you see new leaf growth or gently tug on a stem and feel resistance. This can take anywhere from 3 to 6 weeks.
The biggest issue I see with Elatostema cuttings is rot. This usually happens from too much moisture and not enough air circulation. If you notice a cutting turning mushy and black, it’s best to discard it and learn from the experience. Ensure your soil mix is airy and always provide daily ventilation.
A Encouraging Closing
Creating new plants is such a magical part of gardening. Be patient with your Elatostema cuttings, give them a good environment, and trust the process. Before you know it, you’ll have a whole new collection of these darling plants to share or simply enjoy yourself! Happy propagating!
Resource:
https://identify.plantnet.org/k-world-flora/species/Elatostema%20obtusum%20Wedd./data