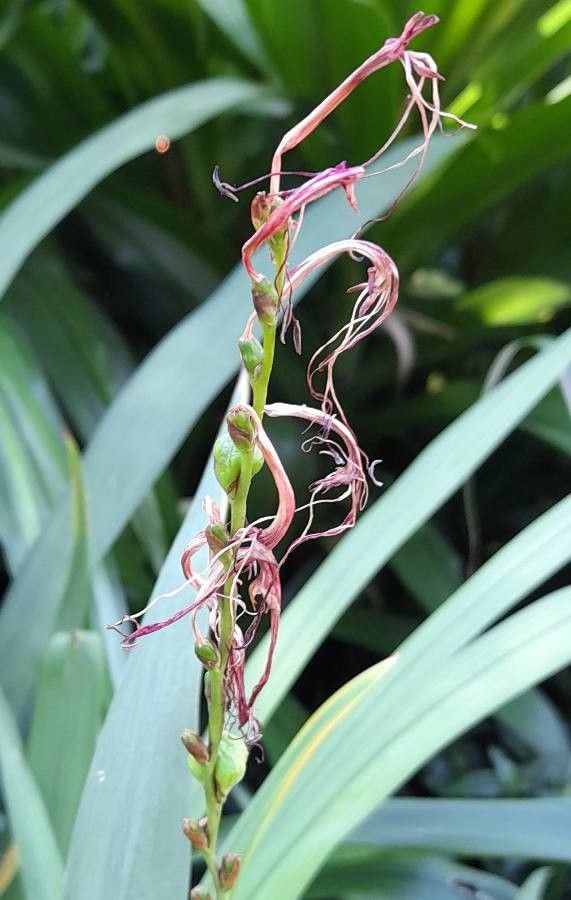
Oh, Chasmanthe bicolor! If you’ve ever seen those vibrant, jewel-toned blooms gracing a garden, you know exactly why they capture our hearts. Their upright spikes of orange and red, often kissed with yellow, are pure sunshine in plant form. And the best part? You can easily create more of these beauties yourself! Propagating them is incredibly rewarding, and I’m excited to guide you through it. For beginners, I’d say Chasmanthe is moderately easy – with a little attention, you’ll be successful!
The Best Time to Start
The absolute sweet spot for propagating Chasmanthe bicolor is immediately after flowering, which is typically in late spring or early summer. This is when the plant is actively sending energy into new growth, and the corms (which are like tiny underground bulbs) are at their most robust. Waiting until the foliage starts to yellow and die back is also acceptable, but you might find slightly less vigor in your new plants compared to starting right after blooming.
Supplies You’ll Need
- Sharp pruning shears or a clean knife: For making clean cuts.
- Well-draining potting mix: A good quality seed-starting mix or a blend of equal parts peat moss, perlite, and compost works wonders.
- Small pots or trays: For housing your new propagations.
- Dibber or pencil: To make holes for planting.
- Watering can with a fine rose: For gentle watering.
- (Optional, but recommended for quicker results) Rooting hormone: Helps to encourage root development.
- (Optional, but helpful) A heat mat: To provide consistent bottom warmth.
Propagation Methods
Chasmanthe bicolor is primarily propagated through division of its corms. It’s the most straightforward and successful method, mimicking how they spread naturally.
Corm Division: Your Best Bet
- Digging Up the Corms: Start by gently loosening the soil around the base of your established Chasmanthe plant. You can use a trowel or even your hands. Carefully lift the entire clump out of the ground. Don’t be afraid if some soil clings to the roots; that’s perfectly normal.
- Locating the Corms: Once you have the clump out, gently shake off excess soil to reveal the network of corms. You’ll see the main parent corm, often with smaller cormels (baby corms) attached to its sides or base.
- Separating the Corms: This is where your sharp pruning shears or knife come in. Gently twist or cut the smaller cormels away from the parent corm. Aim to keep at least one or two “eyes” (small buds) on each cormel. If a cormel is tiny and has no discernible eyes, it might be best to leave it attached to a larger one or discard it.
- Preparing the Corms for Planting: Inspect each cormel. If you notice any soft, mushy spots, it’s a sign of rot, and you should discard that cormel. You can leave the separated corms as they are, or if you’re using rooting hormone, lightly dip the cut end into the powder.
- Planting: Fill your small pots with the well-draining potting mix. Use your dibber or pencil to make a hole about 1-2 inches deep. Place each cormel into the hole, pointy end up (if you can discern it), and gently cover it with soil. Water thoroughly but gently.
The “Secret Sauce” (Pro Tips)
- Here’s a little trick I learned ages ago: never let the separated corms dry out completely before planting. If you can’t plant them immediately, keep them in a slightly damp paper towel in a cool, dark place for a day or two at most. Prolonged drying can significantly reduce their viability.
- For faster root development, especially if starting in cooler temperatures, I highly recommend using bottom heat. Place your pots on a seedling heat mat set to around 70-75°F (21-24°C). This gentle warmth encourages those underground roots to get a move on without drying out the surface soil too quickly.
Aftercare & Troubleshooting
Once your corms are planted, keep the soil consistently moist but never waterlogged. Think of it like a wrung-out sponge. Place the pots in a bright location, but avoid direct, scorching sun. You should start to see new shoots emerge within a few weeks to a couple of months, depending on the temperature and the vigor of your corms.
The most common issue you might encounter is rot. This usually happens when the soil stays too wet, stifling oxygen to the developing corm. If you see a corm turn mushy and black, unfortunately, it’s likely a goner. Don’t despair! Just remove the affected corm and its soil to prevent it from spreading. Ensure your potting mix is airy and your watering is judicious.
A Encouraging Closing
There you have it! Propagating Chasmanthe bicolor through corm division is a fantastic way to expand your collection or share these lovely blooms with fellow garden enthusiasts. Be patient with the process; sometimes it takes a little while for those subterranean wonders to wake up. But trust me, the thrill of seeing those first new leaves unfurl is absolutely worth the wait. Happy gardening!
Resource:
https://identify.plantnet.org/k-world-flora/species/Chasmanthe%20bicolor%20(Gasp.)%20N.E.Br./data