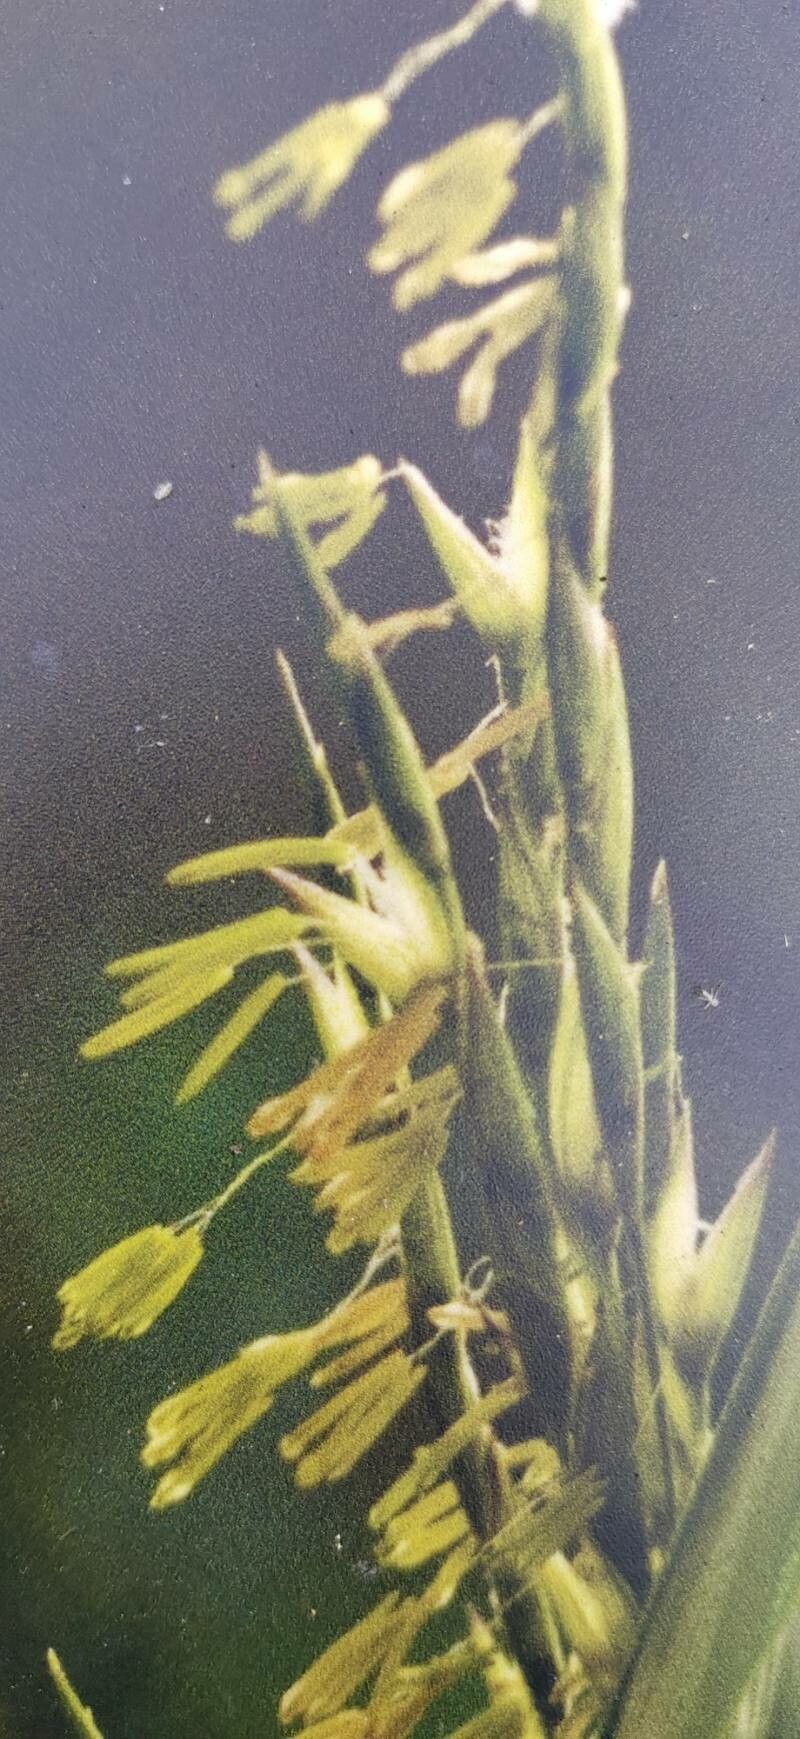
Hello fellow garden enthusiasts! Today, we’re diving into the wonderful world of propagating Sasa magnifica, a gorgeous bamboo that brings elegance and lushness to any space. I’ve been growing and sharing many plants for two decades, and let me tell you, successfully coaxing a new life from an existing one is a truly special feeling. Sasa magnifica, with its striking, upright culms and lovely foliage, is a joy to have around, and propagating it is a fantastic way to multiply that beauty. For beginners, I’d say it’s a pretty rewarding plant to try propagating, offering a good chance of success with a little care.
The Best Time to Start
The sweet spot for propagating Sasa magnifica is in late spring to early summer. This is when the plant is actively growing and has plenty of energy to put into rooting. You’re looking for healthy new growth, culms that are firm but not yet woody. Think of it as planting a flag of your garden’s vitality!
Supplies You’ll Need
Before we get our hands dirty, let’s gather our tools. Having everything ready makes the process so much smoother:
- Sharp Pruning Shears or a Knife: Cleanliness is key! Make sure they’re sterilized with rubbing alcohol to prevent the spread of any diseases.
- Rooting Hormone (Optional but Recommended): This can give your cuttings a significant boost. Look for one specifically for stems.
- Small Pots or Trays: Clean containers are essential.
- Well-Draining Potting Mix: A good blend of perlite, peat moss, and good quality compost is ideal. You can also buy a specific succulent or cactus mix.
- Water: For misting and, in one method, for rooting.
- Plastic Bag or Clear Dome: To create a mini-greenhouse effect.
- Labels: To keep track of what you’ve propagated and when!
Propagation Methods
There are a couple of lovely ways to multiply your Sasa magnifica. I find stem cuttings to be incredibly effective.
Stem Cuttings
- Select Your Culms: Look for healthy, new growth culms that are about 8-12 inches long. You want a culm that has at least two to three nodes (where the leaves emerge).
- Make the Cut: Using your sterilized shears, make a clean cut just below a node. You can take several cuttings from a single culm.
- Prepare the Cuttings: Gently remove any lower leaves, leaving just the top one or two. If one of those top leaves is very large, I like to cut it in half horizontally. This reduces water loss while still allowing for photosynthesis.
- Apply Rooting Hormone (If Using): Dip the cut end of the stem into the rooting hormone, tapping off any excess.
- Plant the Cuttings: Fill your small pots with your prepared potting mix. Make a small hole with your finger or a pencil and insert the cutting, ensuring at least one node is buried. Gently firm the soil around the base.
- Water and Cover: Water the soil thoroughly but avoid waterlogging. Then, cover the pot with a plastic bag or a clear dome to maintain high humidity. You can rest the bag on stakes to keep it from touching the leaves.
Water Propagation (A bit trickier, but fun to watch!)
- Select and Prepare: Similar to stem cuttings, choose healthy culms and make your cuts just below a node. Remove all leaves except the top one or two.
- Place in Water: Fill a clean jar or glass with room-temperature water. Place the cuttings in the water, making sure that the nodes are submerged, but the leaves are not touching the water.
- Location: Find a bright spot that doesn’t get direct, harsh sunlight.
- Change Water Regularly: Change the water every few days to keep it fresh and oxygenated. You’ll start to see roots forming in a few weeks. Once the roots are about an inch long, you can transplant them into potting mix as described above.
The “Secret Sauce” (Pro Tips)
Here are a couple of things I’ve learned that can really make a difference:
- Bottom Heat is Your Friend: If you have a heat mat designed for seedlings, placing your pots on it can significantly speed up the rooting process. It mimics the warmth of spring soil and encourages root growth.
- Don’t Rush to Plant: Even if you’re water propagating, wait until you have a good set of roots before moving your cutting to soil. For cuttings in soil, be patient! You’ll know they’ve rooted when you see new leaf growth. A gentle tug test can also work: if there’s resistance, roots are forming.
Aftercare & Troubleshooting
Once your cuttings have taken root (hooray!), it’s time for them to grow.
- Gradually Acclimate: If you used a plastic bag or dome, gradually remove it over a week or so. This helps your new plant adjust to lower humidity.
- Light and Water: Keep the soil consistently moist but not soggy. Bright, indirect light is best for young plants. As they grow stronger, they can handle more direct sun.
- Potting Up: When your new Sasa magnifica is showing good growth and has filled its small pot, you can transplant it into a slightly larger container.
The most common issue you might encounter is rot. This usually happens from overwatering or poor drainage. If you see yellowing leaves or a mushy stem, it’s often a sign of too much moisture. Ensure good airflow and allow the soil to dry out slightly between waterings.
A Gentle Encouragement
Propagating plants is a journey, and like any good gardening endeavor, it requires a bit of patience. Don’t be discouraged if a cutting doesn’t make it; it’s all part of the learning process! Celebrate the successes, learn from any setbacks, and most importantly, enjoy the reward of nurturing new life in your garden. Happy propagating!
Resource:
https://identify.plantnet.org/k-world-flora/species/Sasa%20magnifica%20(Nakai)%20Sad.Suzuki/data