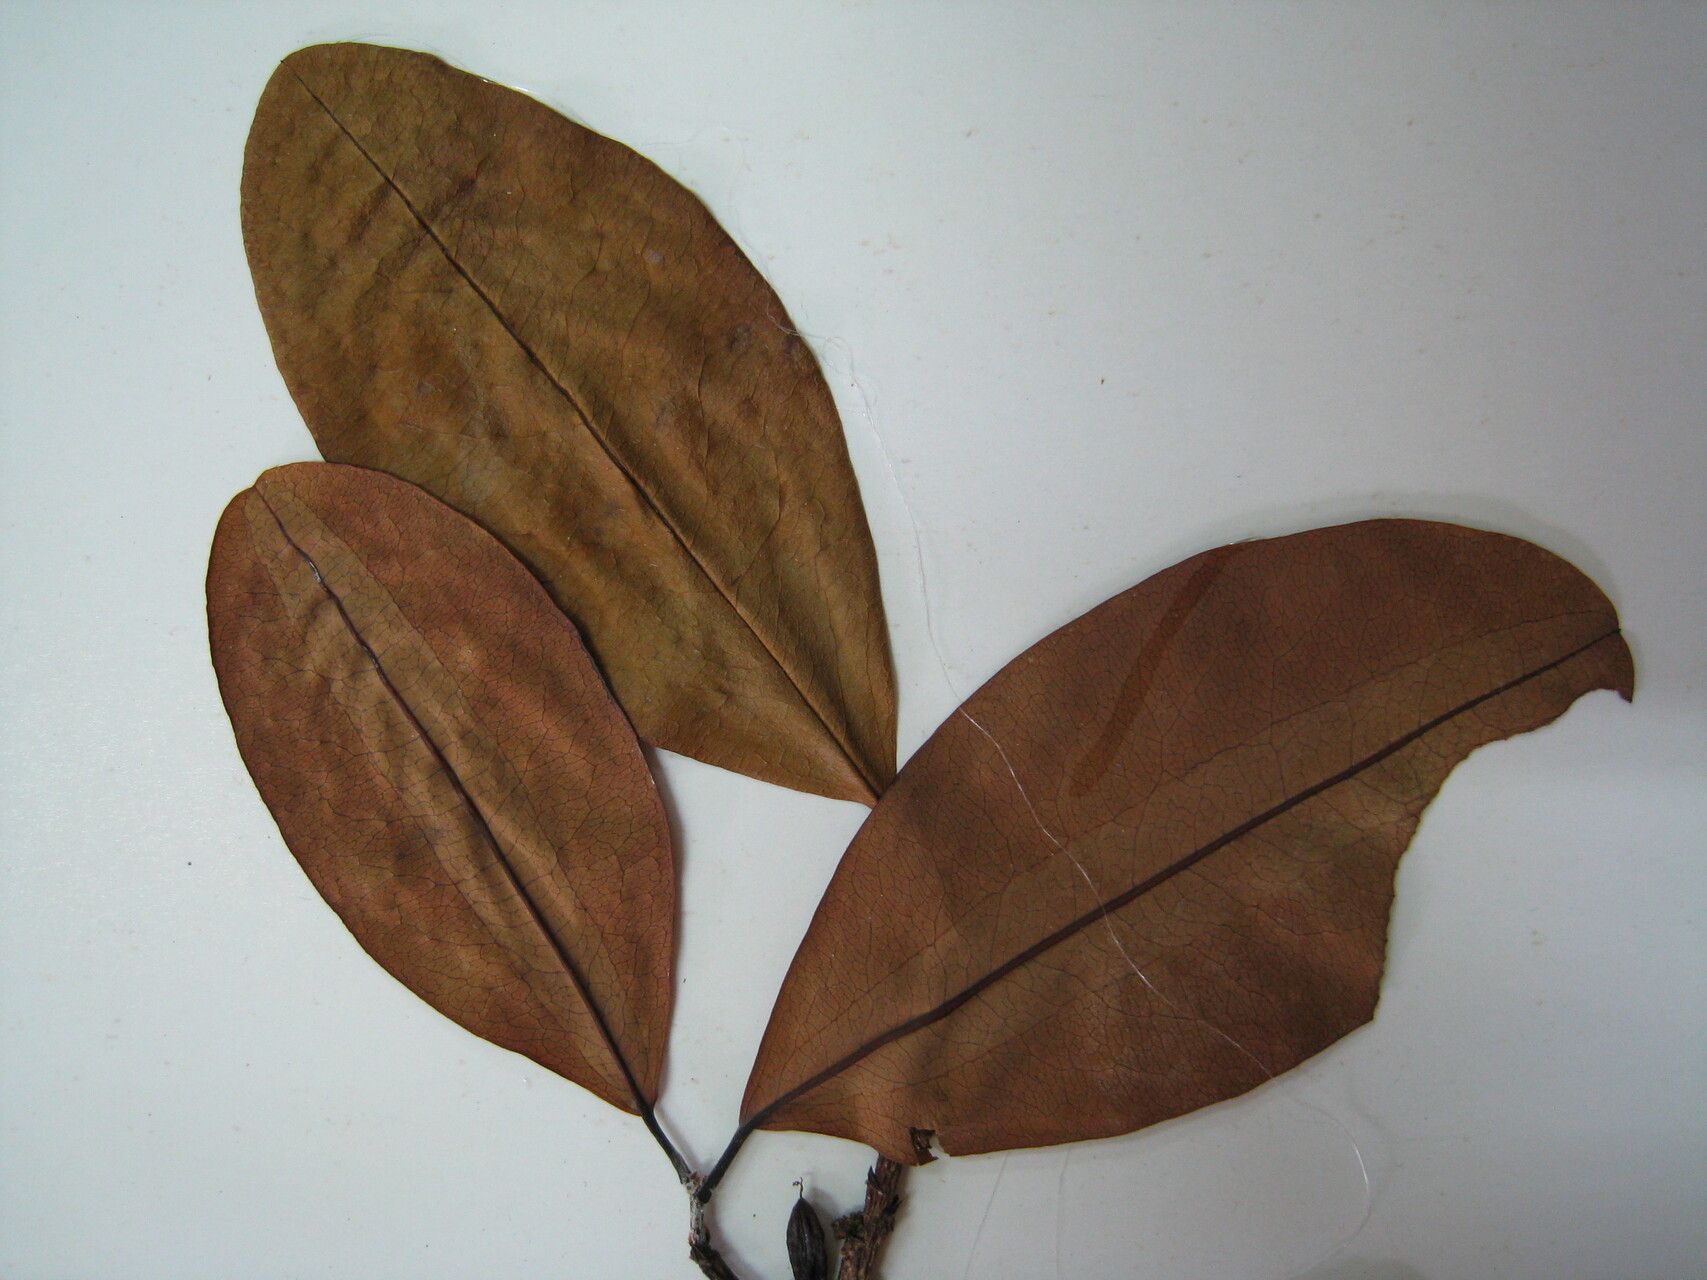
Oh, hello there! Come on in and grab a mug. Let’s chat about a plant that really has my heart fluttering: Erythroxylum lineolatum. You might know it by a few other names, but for me, it’s that gorgeous, glossy-leaved beauty with a subtle elegance that just makes any corner feel special. And the best part? Bringing more of these beauties into your life is totally doable.
Why Propagate Erythroxylum lineolatum?
Honestly, there’s something incredibly satisfying about coaxing a brand new plant to life from a tiny piece of its parent. It’s a way to multiply your joy, share with friends, or simply fill your home with more greenery. Now, is Erythroxylum lineolatum a walk in the park for absolute beginners? I’d say it’s moderately easy. It rewards a little attention and understanding, but it’s by no means fussy. You’ve got this!
The Best Time to Start
For the most success, I always aim to take cuttings when the plant is actively growing. That means late spring through early to mid-summer is your sweet spot. You’re looking for new, yet slightly hardened growth – not the super soft, floppy new shoots, but not the old, woody stems either. Think of the material that feels firm to the touch but still has a bit of flexibility.
Supplies You’ll Need
Gathering your tools before you begin makes the whole process so much smoother. Here’s what you’ll want to have on hand:
- Sharp Pruning Shears or Sterilized Knife: For clean cuts that heal well.
- Well-Draining Potting Mix: A good quality seedling mix or a blend of peat moss and perlite is perfect.
- Small Pots or Seedling Trays: Clean containers are a must.
- Rooting Hormone (Optional but Recommended): A powder or gel can significantly boost your success rate.
- Clear Plastic Bag or Dome: To create a humid environment.
- Spray Bottle: For misting.
- Water: For watering and misting.
Propagation Methods: Stem Cuttings
This is my go-to method for Erythroxylum lineolatum. It’s reliable and gives you a good chance of success.
- Select Your Cuttings: Choose a healthy stem. Make a cut just below a leaf node (where a leaf attaches to the stem). You want cuttings that are about 4-6 inches long.
- Prepare the Cuttings: Gently remove the lower leaves from your cutting, leaving just a few at the very top. This prevents them from rotting when buried.
- Apply Rooting Hormone (If Using): Dip the cut end of the stem into your rooting hormone, tapping off any excess.
- Plant Your Cuttings: Fill your small pots or trays with your potting mix. Make a small hole in the center of each with a pencil or your finger. Gently insert the cutting into the hole, ensuring the leaf nodes are covered by the soil. Firm the soil gently around the stem.
- Create a Humid Environment: Water the soil lightly, then place a clear plastic bag over the pot, or cover your tray with a dome. Make sure the plastic doesn’t touch the leaves too much.
The “Secret Sauce”
Here are a couple of little tricks I’ve learned over the years that can really make a difference:
- Bottom Heat is Your Friend: If you can, place your pots on a gentle heating mat. This warmth encourages root development from below, giving your cuttings a fantastic head start. It’s like a cozy warm bed for new roots!
- Don’t Let Leaves Touch Water: When you’re misting or watering, be mindful. If any leaves are dipping into standing water, they’re much more likely to rot. Keep leaves elevated as much as possible. A good misting every day or two is usually enough to keep the humidity up without waterlogging.
Aftercare & Troubleshooting
Once your cuttings are planted, place them in a bright location but out of direct sunlight. Direct sun will scorch those tender new cuttings. Keep the soil consistently moist but never soggy.
You’ll know your cuttings are rooting when you see new leaf growth. This can take anywhere from a few weeks to a couple of months. Gently tugging on a cutting – if you feel resistance, roots have formed!
What if things go wrong? The most common culprit is root rot. If your cuttings start to look yellow, mushy, or black at the stem, it’s a sign of too much moisture and poor air circulation. In this case, it’s sadly usually best to discard them and start again, perhaps with drier soil or better airflow. Don’t get discouraged if a few don’t make it; it’s part of the learning curve!
Keep Growing!
And there you have it! Propagating Erythroxylum lineolatum is a wonderful journey. Be patient with your little cuttings, trust the process, and celebrate every new bit of green you see. Happy gardening, my friend!
Resource:
https://identify.plantnet.org/k-world-flora/species/Erythroxylum%20lineolatum%20DC./data