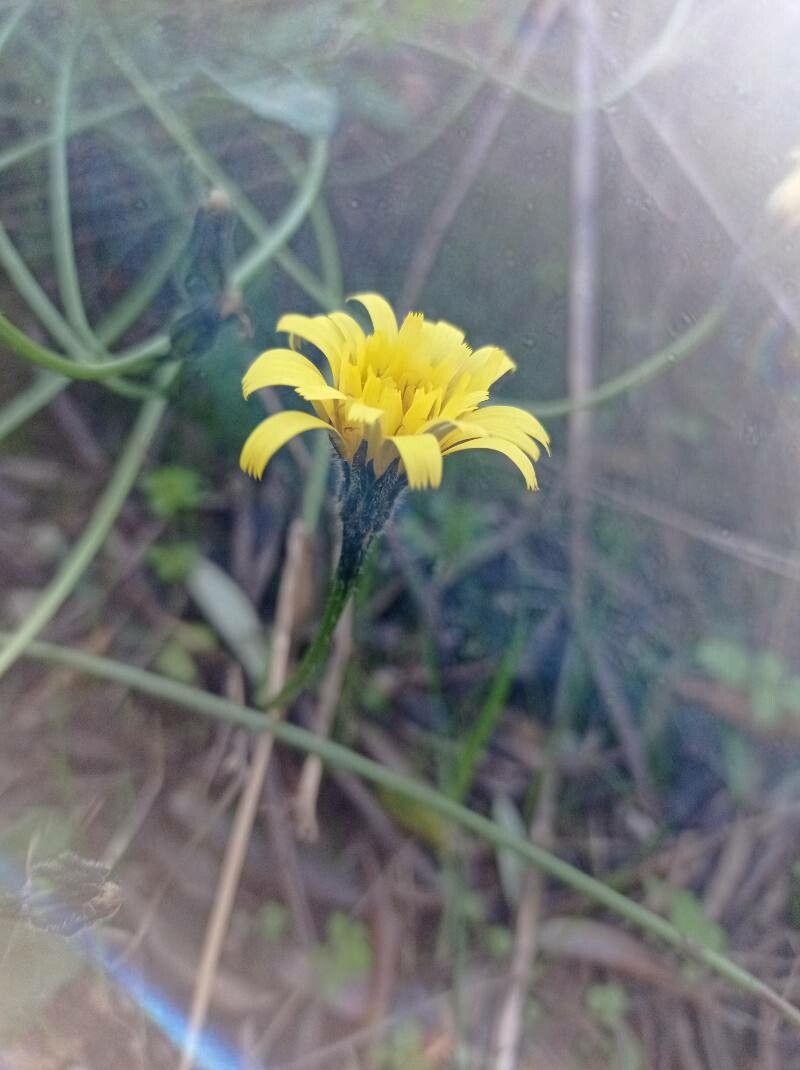
Oh, Hieracium gouanii! What a delightful choice for your garden. This hardy little plant, often called “Gouan’s hawkweed,” brings a cheerful splash of color with its bright, daisy-like flowers. Plus, it’s wonderfully forgiving, making it a great one to try your hand at propagating. Seeing a new plant spring to life from a simple cutting or division? Truly one of the most rewarding feelings a gardener can have. For beginners, I’d say Hieracium gouanii is quite welcoming. It’s not one of those finicky plants that demands constant coddling.
The Best Time to Start
My favorite time to get started with propagating Hieracium gouanii is usually in late spring or early summer. This is when the plant is actively growing and has plenty of energy to put into developing new roots. You’ll want to look for stems that are firm but not yet woody.
Supplies You’ll Need
Here’s what I like to have on hand:
- Sharp pruning shears or a clean knife: For making nice, clean cuts.
- Small pots or trays: With good drainage holes, of course!
- A well-draining potting mix: I often use a blend of standard potting soil with perlite or vermiculite to ensure excellent aeration. A little bit of coarse sand can also help.
- Rooting hormone (optional but helpful): This can give your cuttings a little boost in rooting time and success.
- A watering can with a fine rose: For gentle watering.
- Labels: So you don’t forget what you planted where!
Propagation Methods
I’ve found success with Hieracium gouanii using a couple of different methods. Let’s dive in.
1. Stem Cuttings:
This is likely the easiest and most successful method for Hieracium gouanii.
Step 1: Take Your Cuttings: In late spring or early summer, select healthy, non-flowering stems. Using your sharp pruning shears, cut a stem about 3-4 inches long. Make your cut just below a leaf node (the point where a leaf attaches to the stem).
Step 2: Prepare the Cuttings: Gently remove the lower leaves from the cutting, leaving just a few at the top.
Step 3: Dip in Rooting Hormone (Optional): If you’re using rooting hormone, lightly dip the cut end into the powder.
Step 4: Plant Your Cuttings: Fill your small pots with your well-draining mix. Make a small hole in the center with your finger or a pencil. Insert the cutting into the hole, ensuring the nodes are buried. Gently firm the soil around it.
Step 5: Water and Wait: Water the cuttings lightly. You want the soil to be moist but not soggy. Place the pots in a bright location, but out of direct, harsh sunlight.
2. Division:
If your Hieracium gouanii plant has become a bit crowded or you just want to enlarge your collection, dividing is a great option.
Step 1: Prepare the Plant: The best time for division is also in late spring or early summer, when the plant is actively growing.
Step 2: Dig Up the Plant: Carefully dig up the entire plant from its spot.
Step 3: Separate the Divisions: Gently shake off excess soil to expose the root ball. You can usually tease the plant apart with your hands. If it’s a bit stubborn, use a clean, sharp knife or spade to cut through the root ball. Each division should have a good portion of roots and at least a few healthy shoots.
Step 4: Replant: Immediately replant the divisions into their new locations or into pots with fresh potting mix. Water them in well.
The “Secret Sauce” (Pro Tips)
Here are a few things I’ve learned over the years that make a big difference:
- Don’t let the leaves touch the water (if water propagating): While I prefer soil for Hieracium gouanii, if you were to try water propagation with other plants, always ensure the cut end is in water, but the leaves are above the water line. Leaves submerged will rot and hinder root development.
- Bottom heat can be a game-changer: For my cuttings, especially if the weather is a bit cool, I’ll place them on a propagation mat or on top of the refrigerator. A little bit of gentle warmth from underneath really encourages those roots to form faster.
- A humidity dome is your friend: Covering your pots with a clear plastic bag (supported by stakes so it doesn’t collapse on the leaves) or using a propagator lid creates a humid environment that keeps the cuttings from drying out while they’re trying to root. Just remember to open it for a few minutes each day to allow for air circulation and prevent fungal issues.
Aftercare & Troubleshooting
Once you see signs of new growth emerging from your cuttings, or your divisions have settled in, it’s time for a little attentive aftercare. Keep the soil consistently moist but never waterlogged. As the young plants grow stronger, you can gradually introduce them to more light.
The most common issue you might encounter is rot. If your cuttings look mushy, black, or just seem to be giving up, it’s usually a sign of too much moisture and not enough air circulation. If you spot this, try adjusting your watering schedule and ensuring good drainage. It’s always a good idea to gently tug on a cutting after a few weeks; if it resists, you likely have roots!
A Encouraging Closing
Growing new plants is a journey, and patience is your best gardening tool. Don’t be discouraged if your first attempt isn’t perfect. Each time you try, you learn a little more. Enjoy the process of nurturing these little bits of life, and soon you’ll have a whole patch of cheerful Hieracium gouanii to admire! Happy gardening!
Resource:
https://identify.plantnet.org/k-world-flora/species/Hieracium%20gouanii%20Arv.-Touv./data