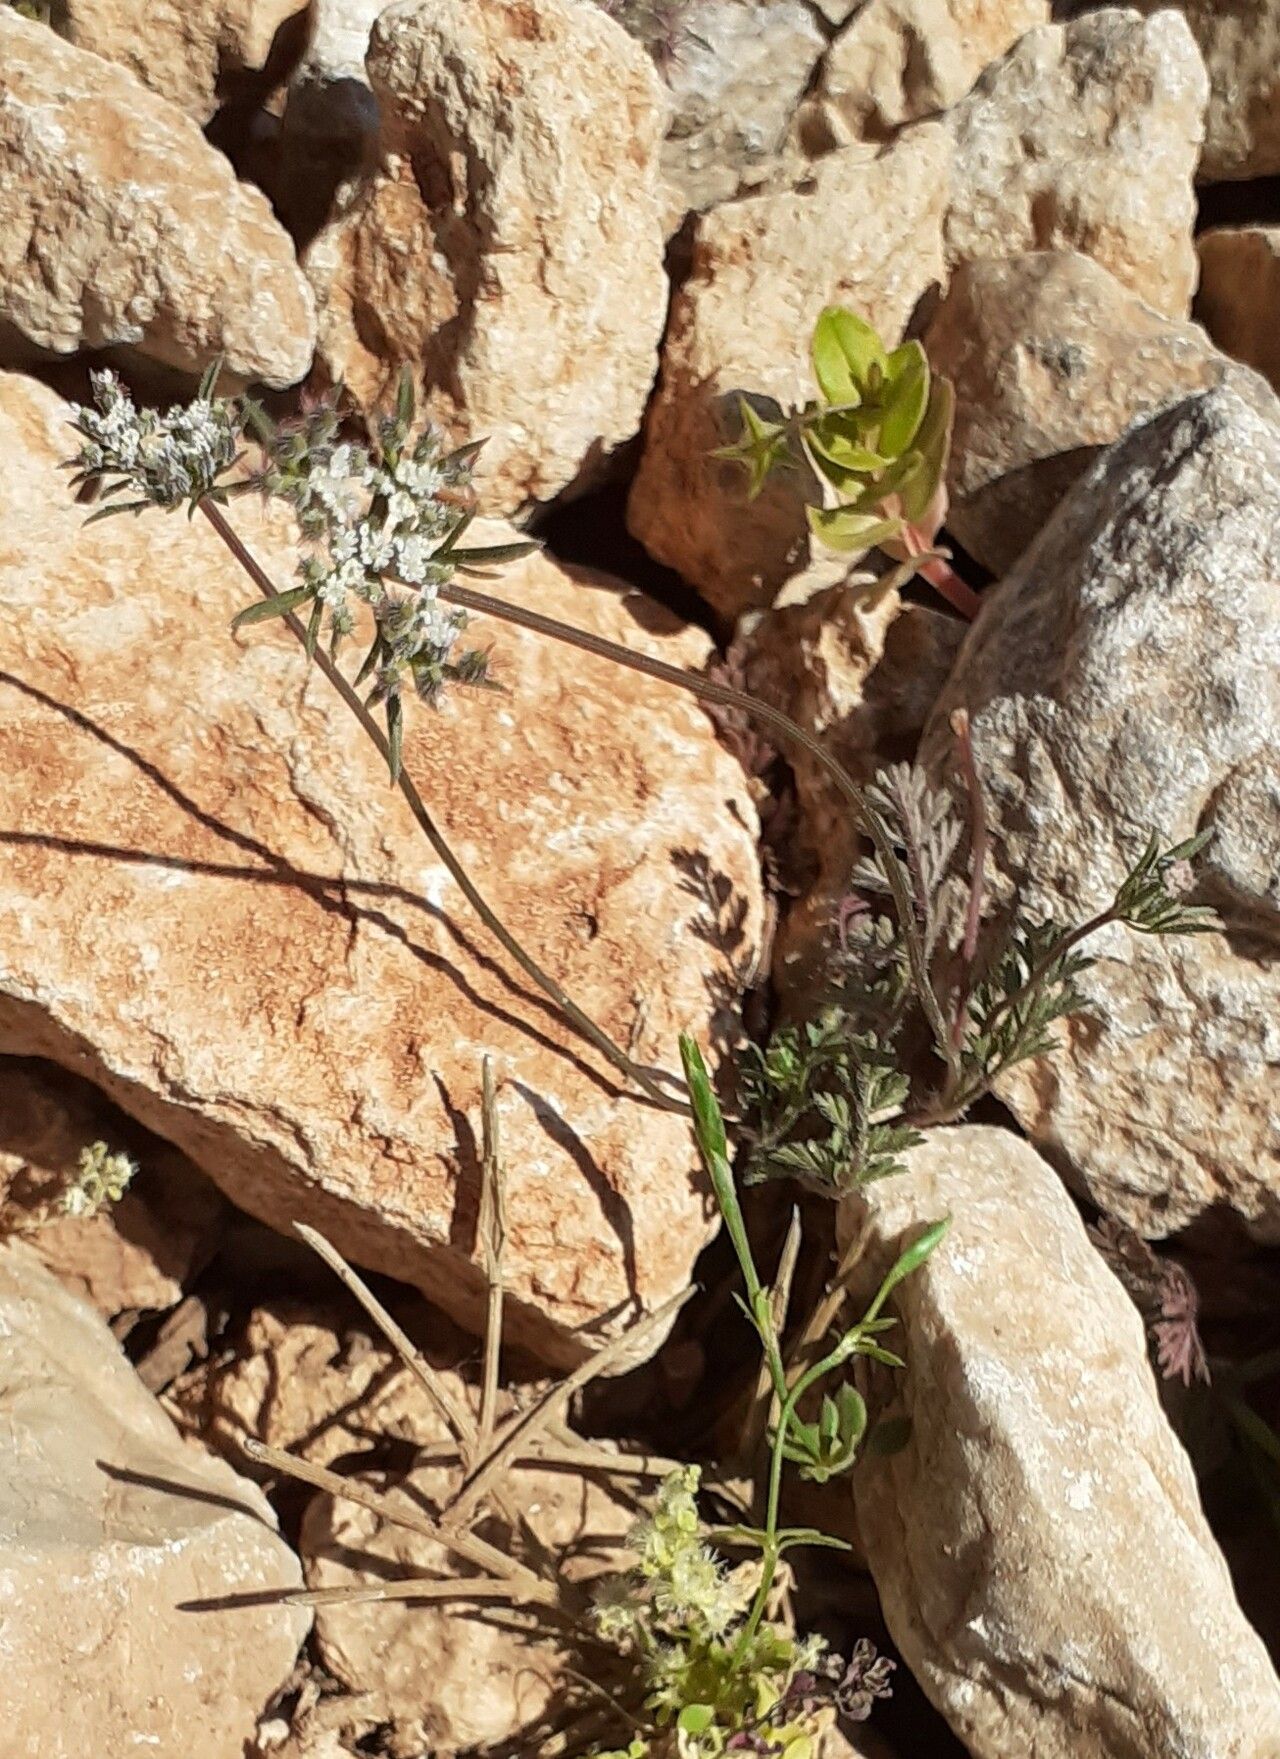
Hello there, fellow plant enthusiasts! I’m so excited to talk to you today about a truly charming plant: Daucus involucratus. If you’re looking for a bit of whimsy and delicate beauty in your garden, this is a fantastic choice. Its intricate flower heads, reminiscent of elegant lace, are a magnet for pollinators and a joy to behold.
Propagating Daucus involucratus is incredibly rewarding. There’s something magical about taking a small piece of a plant and nurturing it into a whole new life. For those just dipping their toes into the world of plant propagation, I’d say this one falls into the moderately easy category. With a little patience and a few key tips, you’ll be well on your way to expanding your collection.
The Best Time to Start
Timing is everything in the garden, and for Daucus involucratus, the sweet spot for propagation is late spring to early summer. This is when the plant is actively growing, full of energy, and those new shoots are often more vigorous and ready to root. You can also try in early autumn, but you might find the success rate a little lower as the plant prepares for dormancy. Look for healthy, non-flowering stems.
Supplies You’ll Need
Gathering your supplies beforehand makes the whole process much smoother. Here’s what you’ll want to have on hand:
- Sharp, clean pruning shears or a sharp knife: For making clean cuts.
- Rooting hormone (optional, but recommended): Helps encourage root development.
- Small pots or seed trays: With drainage holes, of course!
- A well-draining potting mix: A good blend for this would be 50% compost, 30% perlite, and 20% coco coir. This provides aeration and moisture retention without getting waterlogged.
- A watering can or mister: For gentle watering.
- Plastic bags or a propagation dome: To create a humid environment.
- Labels: To keep track of your new plantings!
Propagation Methods
We’ll focus on the most reliable method for Daucus involucratus: stem cuttings. This is where you take a piece of the parent plant and encourage it to grow roots.
- Select Your Cuttings: Choose healthy, young stems that are at least 4-6 inches long. Look for stems that haven’t flowered yet. You’ll want to make a clean cut just below a leaf node (the point where leaves attach to the stem).
- Prepare the Cutting: Gently remove the lower leaves from the cutting, leaving just the top few. This prevents them from rotting in the soil. If your stem is particularly leggy, you can also pinch off the very tip to encourage bushier growth later on.
- Apply Rooting Hormone (Optional): Dip the cut end of the stem into your rooting hormone powder. Tap off any excess. This step isn’t always necessary, but it can significantly speed up the rooting process.
- Plant Your Cuttings: Fill your pots with your prepared potting mix. Make a small hole with your finger or a pencil, about an inch deep, and insert the cutting. Gently firm the soil around the base of the cutting.
- Create Humidity: Water the soil lightly until it’s evenly moist but not soggy. Then, cover the pot with a plastic bag or place it under a propagation dome. This traps moisture and creates the humid environment young cuttings need.
- Placement: Place your pots in a bright location that receives indirect sunlight. Avoid direct sun, which can scorch the delicate cuttings.
The “Secret Sauce” (Pro Tips)
Here are a couple of little tricks I’ve learned over the years that can really boost your success:
- Bottom Heat is Your Friend: For stem cuttings, a heated propagator or a heating mat placed underneath the pots can make a world of difference. It encourages root growth from the bottom up, mimicking ideal conditions.
- Don’t Let Leaves Touch the Water (if water propagating): While we’re focusing on soil propagation here, if you ever try water propagation with other plants, remember this: any leaves submerged in water will rot and can introduce disease to your cutting. Always keep leaves out of the water. For soil, this translates to ensuring you remove those lower leaves thoroughly!
Aftercare & Troubleshooting
Once your cuttings have rooted, you’ll start to see signs of new growth. This is a wonderful moment!
- When to Check for Roots: Typically, after 3-6 weeks, you can give your cuttings a very gentle tug. If you feel resistance, you’ve got roots! You might also see new leaves starting to emerge.
- Gradual Acclimation: Once roots have formed, it’s time to gradually wean your new plants off the high humidity. If you used a plastic bag, start by opening it for a few hours each day. Eventually, you can remove it entirely.
- Watering: Continue to water moderately. Allow the top inch of soil to dry out between waterings. Overwatering is one of the most common pitfalls.
- Signs of Trouble: The most common problem you’ll encounter is rot. If your stem cuttings turn mushy and black, that’s usually a sign they’ve gotten too wet and haven’t rooted. Damping off (where the base of the stem weakens and collapses) can also happen, often due to excessive moisture and poor air circulation. If you see this, remove the affected cutting immediately to prevent it from spreading.
A Encouraging Closing
Nurturing new plants takes a bit of patience, but seeing those first tiny roots emerge and the first new leaves unfurl is such a satisfying reward. Don’t be discouraged if not every cutting takes. Gardening is a journey of learning and experimentation! Keep trying, enjoy the process, and happy propagating!
Resource:
https://identify.plantnet.org/k-world-flora/species/Daucus%20involucratus%20Sm./data