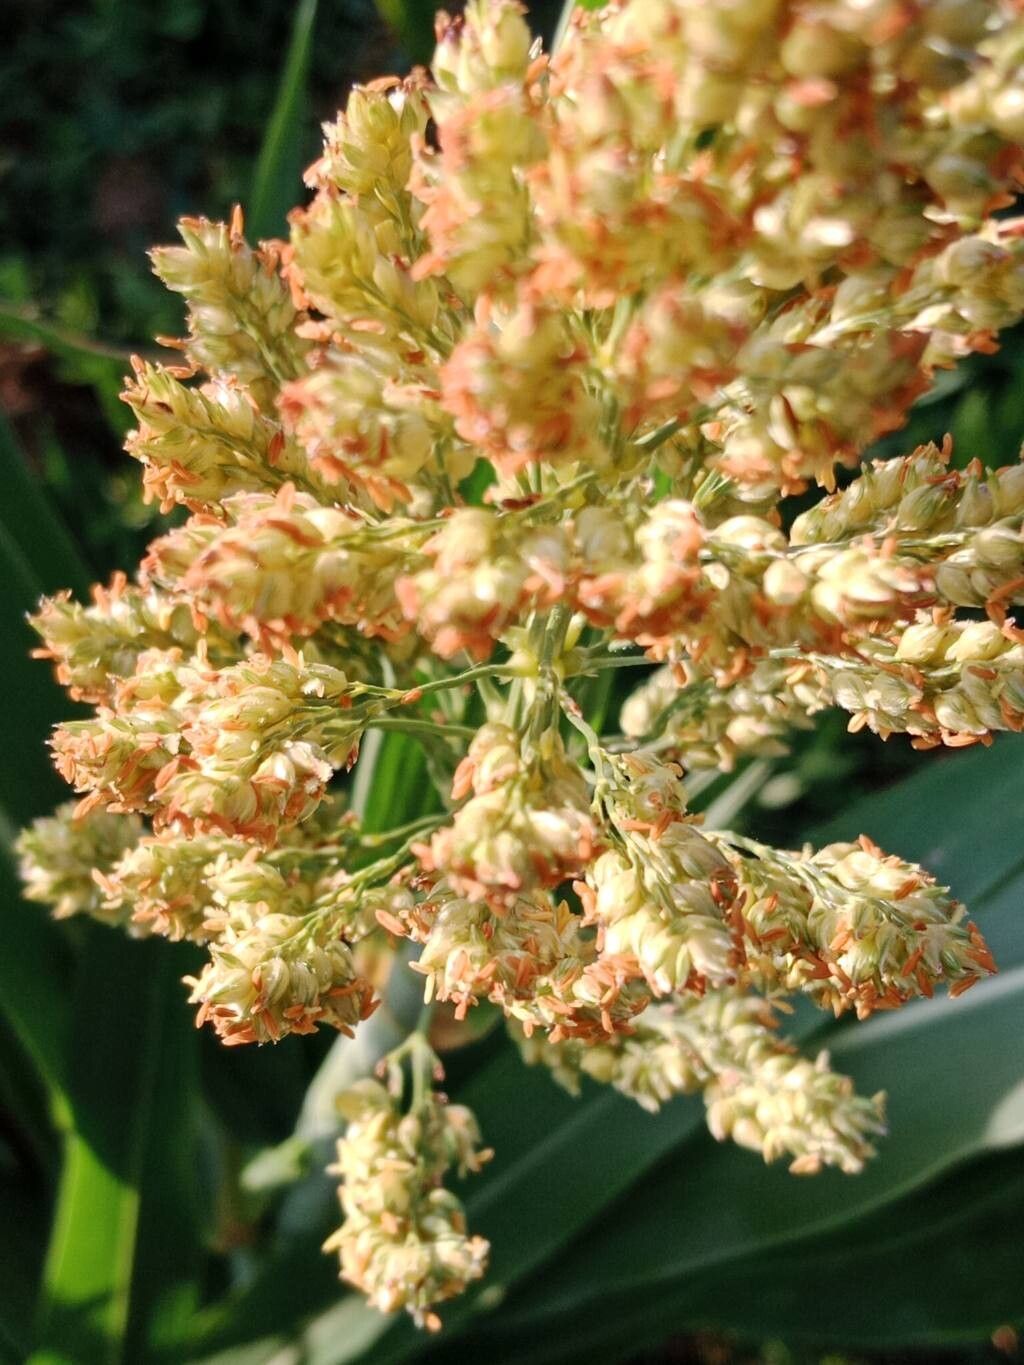
Hey there, fellow garden enthusiasts! It’s lovely to have you join me today. We’re going to dive into a plant that’s been capturing my heart for a good few years now: Sorghum bicolor, or as many of us fondly call it, sorghum.
Why Grow and Propagate Sorghum?
Honestly, sorghum is a real showstopper in the garden. It offers this gorgeous, architectural presence with its tall stalks and impressive seed heads – and it’s not just for looks! Many varieties are grown for grain, syrup, or even as a sweet forage, adding a lovely functional element to your space. Propagating it is incredibly rewarding. It’s not overly fussy, making it a great plant for beginners looking to try their hand at a bit of plant multiplication. Seeing a tiny seed or cutting develop into a thriving new plant? Pure magic!
The Best Time to Start
For sorghum, it’s all about warmth. The absolute best time to start propagating from seed is when your soil temperature consistently stays above 65°F (18°C). For most of us, this means late spring or early summer. If you’re looking to propagate from existing plants by dividing them or taking cuttings (more on that later!), doing it in late spring or early summer when the plant is actively growing is ideal. You want that good, robust energy to fuel root development.
Supplies You’ll Need
Gathering your tools beforehand makes the whole process much smoother. Here’s what I usually have on hand:
- Good quality seeds: Make sure they’re fresh!
- Well-draining seed starting mix or potting soil: Something light and airy is key.
- Small pots or seed trays: Depending on how many you’re starting.
- Pruning shears or a sharp knife: For clean cuts if you’re taking cuttings or dividing.
- Rooting hormone (optional but helpful): Especially for cuttings.
- Watering can with a fine rose nozzle: To avoid disturbing delicate seeds or roots.
- Labels and a marker: Trust me, you’ll thank yourself later!
- A warm spot: Think a sunny windowsill or a heated propagator.
Propagation Methods
Sorghum is surprisingly versatile when it comes to spreading its cheer. Here are a couple of my favorite ways to get more plants:
1. From Seed (The Classic Approach)
This is the most common and often the easiest way to get started with sorghum.
- Step 1: Prepare your pots. Fill your seed trays or small pots with your well-draining seed-starting mix. Gently firm it down.
- Step 2: Sow the seeds. Place about 1-2 seeds per cell or pot. Sorghum seeds are typically a good size, so it’s easy to handle them.
- Step 3: Cover lightly. Cover the seeds with about ½ to 1 inch of your seed-starting mix.
- Step 4: Water gently. Use your watering can with the fine rose to lightly moisten the soil. You want it damp, not waterlogged.
- Step 5: Provide warmth and light. Place the pots in a warm location that gets plenty of sunlight. If you don’t have a sunny windowsill, a grow light works wonders.
- Step 6: Be patient! Germination usually takes anywhere from 5-10 days, depending on the temperature and seed variety.
2. Division (For Established Plants)
If you’ve got a healthy, mature sorghum plant, you can often divide its root system to create new ones.
- Step 1: Dig up the plant. In late spring or early summer, carefully dig around the base of the plant and lift the entire clump out of the ground.
- Step 2: Inspect the roots. Gently shake off excess soil to expose the root ball. You’ll usually see distinct clumps or sections forming.
- Step 3: Divide the clump. Using your hands, a trowel, or even a sharp spade (if it’s a really dense clump), gently pull or cut the root ball into sections. Each section should have a good amount of roots and at least one healthy shoot or stem.
- Step 4: Replant immediately. Plant each division into its own prepared pot or directly back into the garden, ensuring the top of the root ball is at the same level it was before.
- Step 5: Water well. Water thoroughly after planting to help settle the soil and reduce transplant shock.
The “Secret Sauce” (Pro Tips)
Now for a couple of things I’ve picked up that really make a difference:
- Don’t drown your seeds or cuttings! This is probably the most common mistake. Sorghum seeds need moisture to germinate, but sitting in waterlogged soil is a fast track to rot. Aim for consistently moist, not soggy. If you’re doing water propagation (which is less common for sorghum but possible for some varieties), make sure the leaves never touch the water. They’ll rot right off!
- Bottom heat is your friend for cuttings. If you’re trying to propagate sorghum from stem cuttings (which can be a bit trickier but achievable), providing a little warmth from underneath via a heat mat can significantly speed up root formation. It mimics that cozy soil temperature they love!
Aftercare & Troubleshooting
Once those little seedlings are a few inches tall, or your divided plants are settling in, the care is pretty straightforward.
- Watering: Keep the soil consistently moist but not waterlogged. As they grow larger, they can handle a bit more dryness, but regular watering will encourage the best growth.
- Sunlight: Continue to provide plenty of light. Gradually acclimate your new plants to full sun if they’ve been indoors or in a shadier spot.
- Fertilizing (optional): Once they’re a bit established, a light feeding with a balanced liquid fertilizer can give them a nice boost.
Now, what if things don’t go as planned? The most common issue I see is rot, indicated by seedlings or cuttings turning mushy and brown, often at the soil line. This is almost always due to overwatering. If you see this, reduce watering immediately and ensure good air circulation. Sometimes, it’s just a matter of temperature – if it’s too cold, they’ll struggle to establish. Don’t be discouraged; gardening is all about learning!
A Bit of Patience Goes a Long Way
Growing new plants is such a satisfying journey. Whether you’re starting from tiny seeds or dividing a mature clump, give yourself grace. Some things will sprout and thrive immediately, others might take their time. The most important thing is to enjoy the process, learn from each attempt, and keep those hands in the soil. Happy gardening, everyone!
Resource:
https://identify.plantnet.org/k-world-flora/species/Sorghum%20bicolor%20(L.)%20Moench/data