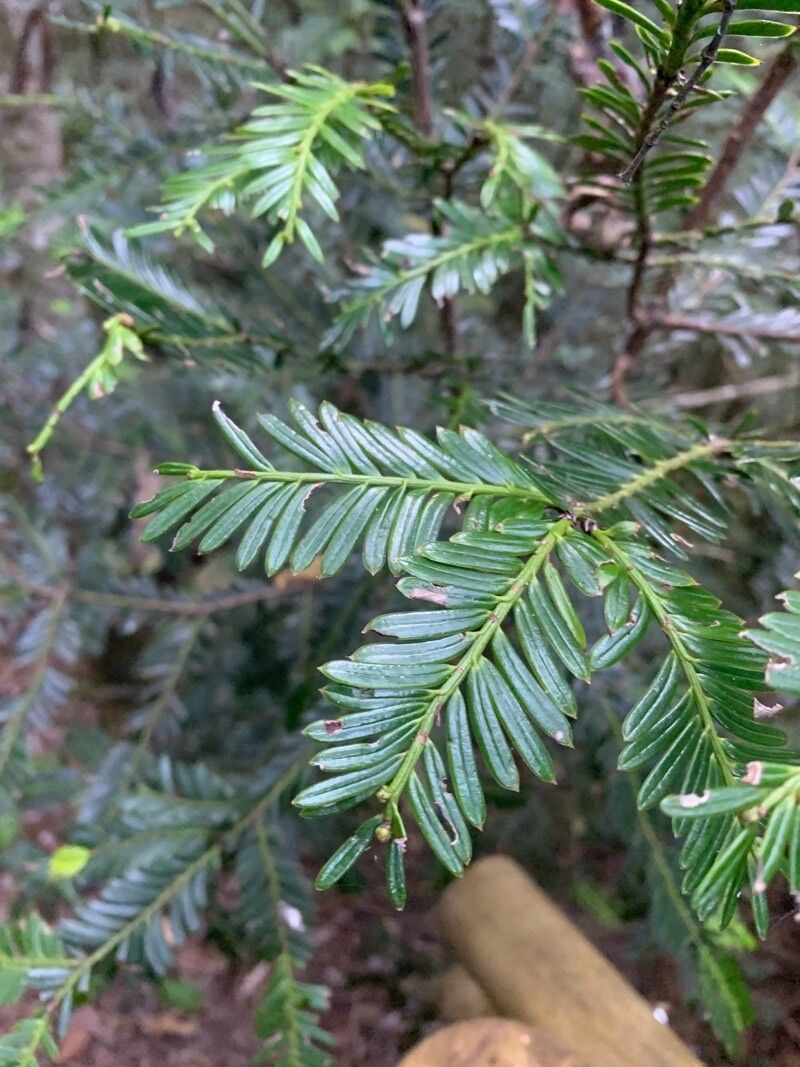
Hey there, plant pals! I’m so thrilled you’re thinking about bringing more Prumnopitys montana into your life. If you haven’t met this beauty yet, imagine a graceful conifer, often with a lovely weeping habit and attractive, rosemary-like foliage. It brings such elegance to any garden, yet it’s surprisingly low-maintenance once established. Propagating it can feel like a little horticultural magic, and the reward of nurturing a new plant from a tiny piece is simply unmatched. Now, about whether it’s easy for beginners? Honestly, Prumnopitys montana can be a bit of a thoughtful plant. It’s not the ‘stick a twig in the ground and hope for the best’ kind of plant, but with a little patience and the right approach, you’ll be well on your way!
The Best Time to Start
For the highest chance of success with Prumnopitys montana, I always recommend working with semi-hardwood cuttings. This usually means waiting until late summer or early fall, when the growth from the current season has started to firm up but isn’t fully woody. Think of it as the perfect in-between stage. This gives the cuttings enough energy to develop roots while also having a decent chance of surviving the propagation process.
Supplies You’ll Need
Here’s what you’ll want to have on hand to set yourself up for success:
- Sharp Pruning Shears or a Knife: Clean cuts are vital for preventing disease.
- Rooting Hormone: A good quality rooting powder or gel will significantly boost your success rate.
- Well-Draining Potting Mix: I like a blend of equal parts peat moss or coco coir and perlite or coarse sand. This ensures good aeration and drainage.
- Small Pots or Propagation Trays: Clean pots are a must.
- Plastic Bags or a Propagation Dome: To create a humid environment for your cuttings.
- Gloves: Especially if you’re sensitive to sap.
- Optional: Heated Seedling Mat: This can speed up root development, though it’s not strictly necessary.
Propagation Methods: Stem Cuttings
This is my go-to method for Prumnopitys montana. It’s reliable and yields great results if done carefully.
- Gather Cuttings: Select healthy, vigorous stems from a mature plant in late summer or early fall. Look for stems that are firm but still flexible – not brand new, tender shoots.
- Make the Cut: Using your sharp pruners or knife, take cuttings that are about 4-6 inches long. Make the cut just below a leaf node (where a leaf attaches to the stem). This is where the magic often happens for root formation.
- Prepare the Cuttings: Gently remove the lower leaves from the bottom half of the cutting. This prevents them from rotting in the soil and encourages rooting. Leave a few leaves at the top to help the cutting photosynthesize.
- Apply Rooting Hormone: Dip the cut end of each cutting into your rooting hormone, tapping off any excess. This stuff really helps give the plant a kickstart.
- Plant the Cuttings: Fill your pots or trays with your prepared potting mix. Make a hole in the center with a pencil or your finger, then insert the cutting, pressing the soil gently around the stem. Don’t push the cutting directly into the soil, as this can rub off the rooting hormone.
- Water Gently: Water thoroughly but gently until the soil is evenly moist.
The “Secret Sauce” (Pro Tips)
Here are a few little tricks I’ve learned over the years that can make a big difference:
- Sterility is Key: This is so important! Make sure your pruners, pots, and even your hands are clean. Any little bit of fungus or bacteria can spell doom for a delicate cutting. A quick wipe with rubbing alcohol before you start goes a long way.
- Don’t Drown Your Ambitions: When you water after planting, you want the soil to be moist, not waterlogged. Overwatering is one of the quickest ways to send a cutting to an early demise. Think of it like a wrung-out sponge – damp, but not dripping.
- Bottom Heat is a Game Changer: If you have a heated seedling mat, place your pots on it. This gentle bottom warmth mimics the ideal soil temperature for root development and can seriously speed up the process, especially if your weather is starting to cool down.
Aftercare & Troubleshooting
Once your cuttings are planted, it’s time to create their cozy environment.
- Humidity is Your Friend: Cover the pots with a clear plastic bag or place them under a propagation dome. This keeps the humidity high, preventing the cuttings from drying out before they can root. Make sure the leaves aren’t touching the plastic if possible by using stakes.
- Light and Temperature: Place your cuttings in a bright, indirect light spot. Avoid direct sun, which can scorch them. A consistent temperature is ideal. If you’re using bottom heat, great! Otherwise, just try to keep them in a stable spot.
- Checking for Roots: Be patient! This can take several weeks to a few months. You can gently tug on a cutting to feel for resistance, or sometimes you’ll see new growth emerging from the tip.
- Dealing with Problems: The most common issue is rot. If you see your cutting turning black and mushy, it’s likely a sign of too much moisture and not enough air circulation. If you catch it early, you might be able to salvage it by trimming away the rotted parts and repotting in fresh, drier mix, but often it’s best to start again. If the leaves start to wilt and yellow and there’s no sign of rot, it might be too dry or not getting enough light.
A Little More Patience, A Lot More Beauty
Propagating Prumnopitys montana is a journey, and like all good gardening endeavors, it rewards patience and observation. Don’t get discouraged if your first attempt isn’t a roaring success. Each lesson learned is a step closer to mastering your craft. Enjoy the process, celebrate the small victories, and before you know it, you’ll have a whole new generation of these wonderful trees to share. Happy growing!
Resource: