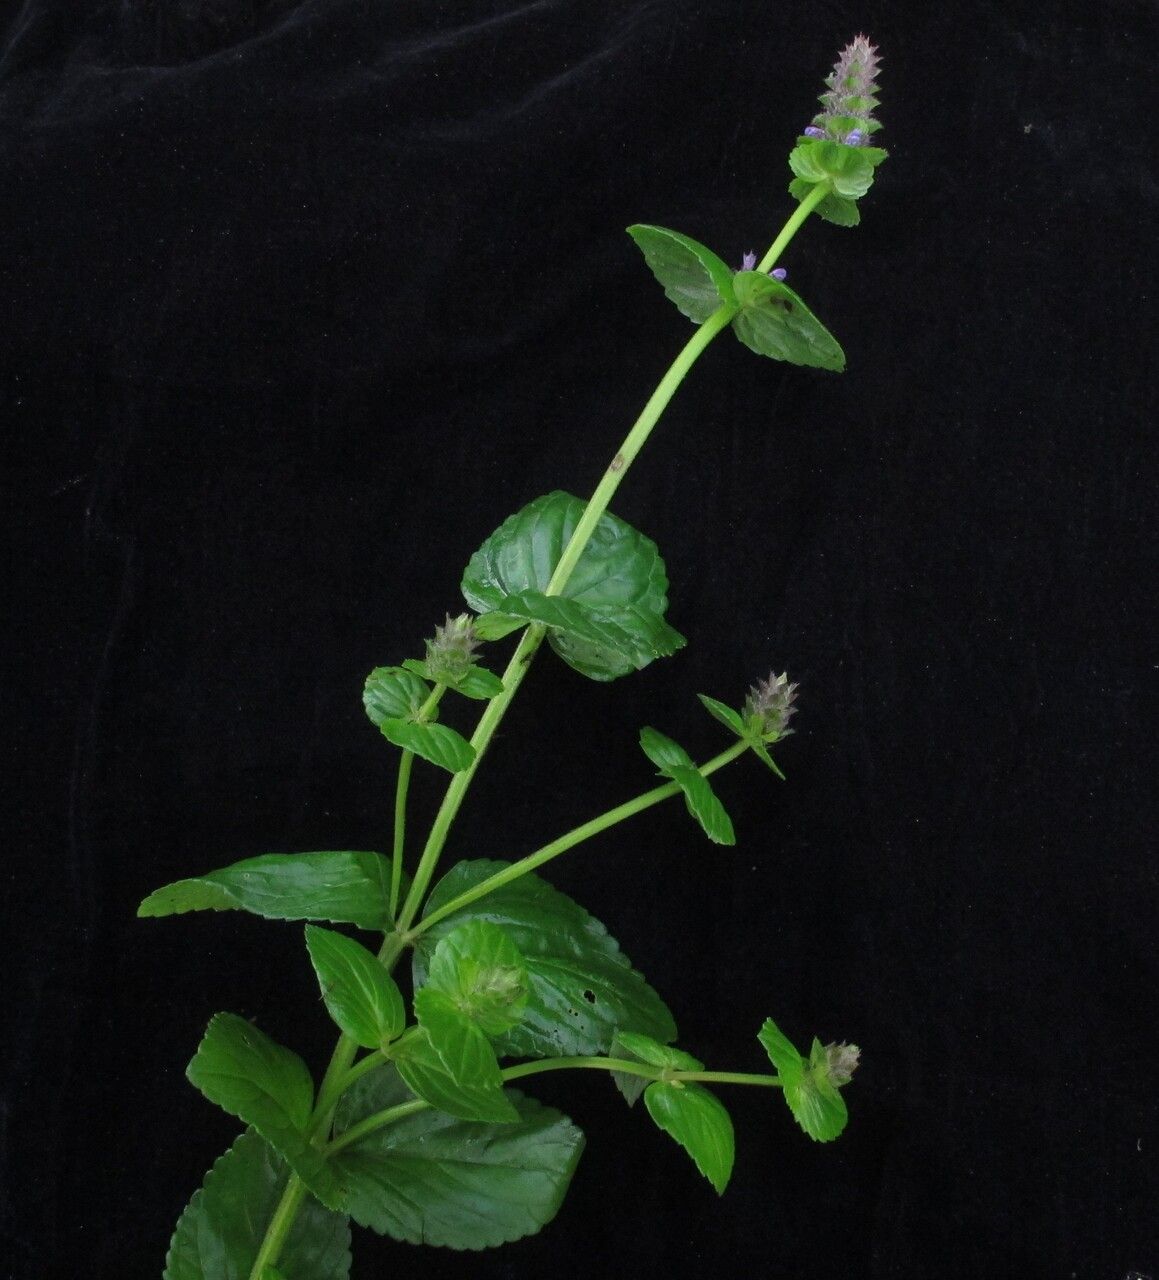
Oh, Nepeta laevigata! Isn’t it just a dream? Those lovely, often variegated leaves and those delicate, usually pink or lavender flowers. They bring such a gentle, wafting scent to the garden, and the bees absolutely adore them. Propagating these beauties is not only a wonderful way to fill your own garden with more of them, but it’s also incredibly satisfying. It’s truly one of those plants that rewards your efforts with abundance. And for those of you just dipping your toes into the world of plant propagation, I’m happy to say, Nepeta laevigata is generally quite forgiving. You’ll likely find it a delightful success!
The Best Time to Start
For the absolute best chance of success with Nepeta laevigata, I always reach for my secateurs in late spring to early summer. This is when the plant is actively growing, producing plenty of fresh energy to put into those new cuttings. You’re looking for stems that are semi-hardwood – not the floppy, brand-new green shoots, but also not the woody old stems from last year. Think of it as a nice, firm pencil thickness.
Supplies You’ll Need
Here’s what you’ll want to have gathered before you begin:
- Sharp Pruning Shears or a Craft Knife: Cleanliness is key!
- Rooting Hormone (Optional, but Recommended): Especially if you’re new to this. I like it in powder form.
- Well-Draining Potting Mix: A good blend of peat moss, perlite, and a touch of sand works wonders. Or, you can buy a specific seed-starting or propagation mix.
- Small Pots or a Propagation Tray: Make sure they have drainage holes.
- A Clear Plastic Bag or Dome: To create a mini-greenhouse.
- Watering Can or Spray Bottle: For gentle watering.
- Labels: You’ll thank yourself later!
Propagation Methods
Let’s get our hands dirty! Nepeta laevigata is a gem for propagation, and I find stem cuttings to be the most reliable and rewarding method.
-
Take Your Cuttings: Head out to your Nepeta laevigata. Look for those sturdy, semi-hardwood stems. Using your clean shears, make a cut just below a leaf node (where a leaf attaches to the stem). You want cuttings that are about 4-6 inches long. Remove the lower leaves, leaving just a couple of sets at the top.
-
Prepare Your Cuttings: If you’re using rooting hormone, give the cut end a good dip. Follow the instructions on your rooting hormone product, but generally, you’ll tap off any excess. This little step can make a big difference in encouraging strong root development.
-
Plant Them Up: Fill your pots or trays with your prepared, well-draining potting mix. Make a small hole with your finger or a pencil. Gently insert the cut end of your Nepeta cutting into the hole, ensuring the leaf nodes are below the soil surface. Firm the soil gently around the cutting.
-
Water Gently: You want the soil to be moist, but not soggy. A light watering from a watering can with a rose attachment or a good misting with a spray bottle is perfect.
-
Create a Humid Environment: This is crucial! Cover your pots or tray with a clear plastic bag or a propagation dome. This traps moisture and keeps your cuttings from drying out, which is their biggest enemy at this stage. Make sure the leaves aren’t pressing directly against the plastic. You can create a little tent with some stakes if needed.
The “Secret Sauce”
Now, a few little tricks I’ve learned over the years that really boost your propagation success:
- Bottom Heat is Your Friend: If you can, place your pots on a heat mat. Gently warming the soil from below encourages root formation much faster. It’s like giving your new cuttings a cozy little incubator.
- Don’t Let the Leaves Touch the Water (If Water Propagating): While I prefer soil cuttings for Nepeta, if you choose to try water propagation (which can work, but is a bit more prone to rot), absolutely ensure the leaves stay above the water line. Any submerged foliage will just decay and invite rot.
- Choose Your Cuttings Wisely: I always go for stems that seem to have a bit of backbone. Avoid those that are super floppy or too woody. The semi-hardwood stage is truly the sweet spot!
Aftercare & Troubleshooting
Once your Nepeta cuttings have roots – you’ll know because you’ll feel a gentle tug when you try to lift them, or you might see some roots peeking out the drainage holes – it’s time to transition them.
Carefully transplant your rooted cuttings into individual pots filled with your regular potting mix. Continue to keep them moist but not waterlogged. For the first week or two, keep them in bright, indirect light. Gradually introduce them to more sunlight as they establish.
Keep an eye out for any signs of trouble. The most common issue is rot. If your cutting turns black and mushy at the base, it’s likely rotted. This usually happens from too much moisture and not enough airflow. If you see this on one cutting, remove it immediately to prevent it from spreading. Sometimes, if you’re unlucky, a cutting just won’t take. Don’t get discouraged! It happens to all of us. Just try again with fresh cuttings.
A Little Encouragement
Propagating Nepeta laevigata is such a fulfilling gardening endeavor. Be patient with your little cuttings. They have a job to do, and that’s to grow new roots, which takes time. Enjoy the process, learn from each step, and soon you’ll have a whole garden full of these delightful plants. Happy propagating!
Resource:
https://identify.plantnet.org/k-world-flora/species/Nepeta%20laevigata%20(D.Don)%20Hand.-Mazz./data