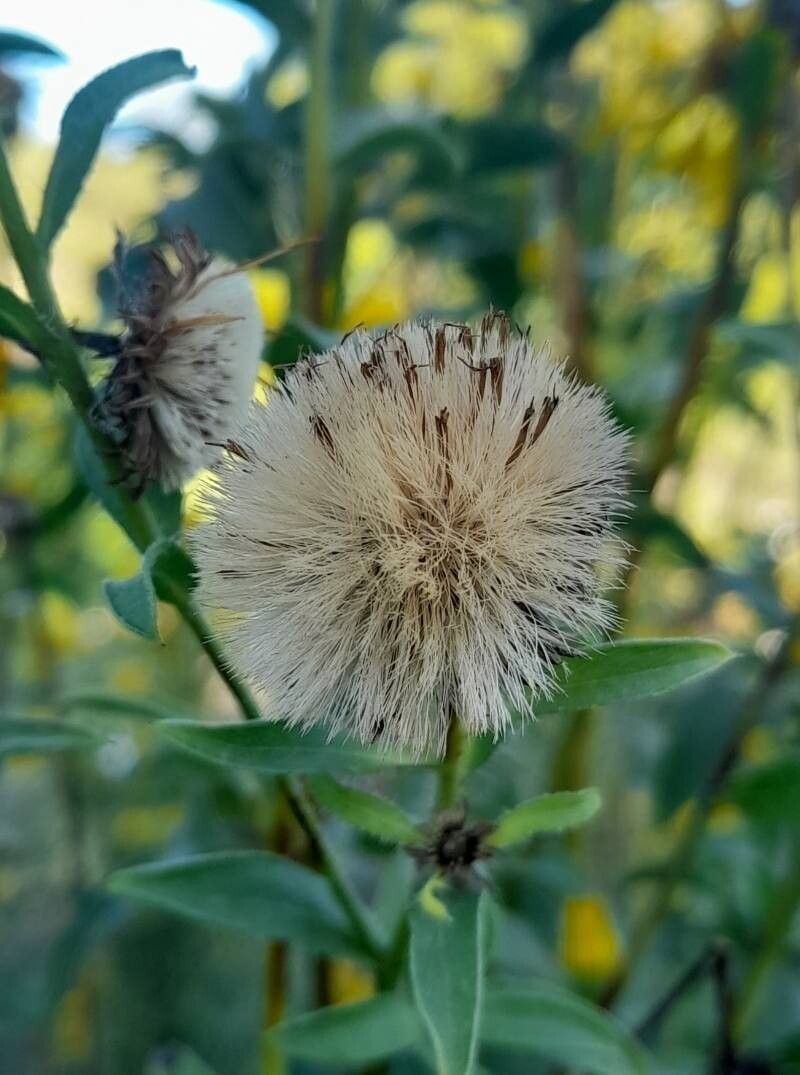
Oh, hello there, fellow plant enthusiast! It’s so good to have you joining me today. We’re going to dive into something truly special: propagating Heterotheca villosa, or as I affectionately call her, the “Golden Aster.” This prairie native is an absolute workhorse in the garden, bursting with cheerful, daisy-like yellow blooms from mid-summer right through fall. It’s a magnet for pollinators, and honestly, its fuzzy, silvery foliage is a delight even when it’s not in flower. Propagating it is wonderfully rewarding – imagine filling your garden or a friend’s with even more of this sunny disposition! And the best part? For those of you just starting out, the Golden Aster is quite forgiving, making it a fantastic plant to test your propagation skills on.
The Best Time to Start
For the highest success rates with Heterotheca villosa, I always recommend working with young, actively growing stems. My favorite window is late spring to early summer, just as the plant is really starting to put on a growth spurt. This is when the stems are fresh and full of energy, ready to produce new roots. You can also take cuttings in early fall, but the success rate might be a smidgen lower as the plant prepares for dormancy.
Supplies You’ll Need
Gathering your tools beforehand makes the whole process so much smoother. Here’s what I always have on hand:
- Clean, sharp pruning shears or a sharp knife: Essential for taking clean cuts that heal well.
- A good quality potting mix: I like a mix that drains well, so I often use a blend of peat moss, perlite, and a bit of compost. A succulent or cactus mix also works in a pinch!
- Small pots or seed trays: Clean ones, of course!
- Rooting hormone (optional but recommended): This can give your cuttings an extra boost. Gel or powder forms work equally well.
- A spray bottle with water: For keeping things humid.
- A plastic bag or clear plastic dome: To create a mini-greenhouse effect.
Propagation Methods
Heterotheca villosa is happily and easily propagated from stem cuttings. It’s my go-to method for this plant.
Here’s how I do it:
- Take the Cuttings: Select healthy, non-flowering stems. You want stems that are flexible but not floppy.
- Look for new growth that hasn’t gotten too woody. Aim for cuttings that are about 4-6 inches long.
- Using your clean shears or knife, make a clean cut just below a leaf node. A leaf node is that little bump where a leaf attaches to the stem – that’s where the magic happens and roots will form.
- Prepare the Cuttings: Gently remove the lower leaves from the cutting, leaving just a few at the very top. This prevents them from rotting when they’re in the soil.
- Apply Rooting Hormone (if using): Dip the cut end of the stem into your rooting hormone, tapping off any excess.
- Plant the Cuttings: Fill your small pots with your well-draining potting mix. Make a small hole in the center with a pencil or your finger. Insert the cut end of the stem into the hole, ensuring the leaf node where you removed the leaves is below the soil surface. Gently firm the soil around the cutting.
- Water Gently: Water the soil thoroughly until it’s moist but not soggy. A good watering helps settle the soil around the cutting.
- Create a Humid Environment: Place the potted cuttings in a bright location, but out of direct sunlight. To keep humidity high, cover the pots with a clear plastic bag, propping it up with skewers so it doesn’t touch the leaves, or place them under a clear plastic dome.
The “Secret Sauce” (Pro Tips)
Over the years, I’ve learned a few little tricks that seem to make a big difference.
- Don’t be afraid to wound the base: For slightly tougher cuttings, I’ll sometimes make a very shallow slit vertically on one side of the cut stem, about a quarter-inch long, before dipping it in rooting hormone. This gives the hormone more surface area to work with and can encourage faster root development.
- Bottom Heat is Your Friend: Placing your pots on a gentle heating mat can significantly speed up the rooting process. It mimics the warmth of the soil in summer and encourages those roots to emerge. Just be sure it’s a low-setting mat, not one that gets super hot.
- Patience with the ‘Wilts’: It’s perfectly normal for your cuttings to look a bit droopy for the first week or so. Don’t panic! As long as the leaves haven’t turned yellow or mushy, they’re likely building up their root system. Keep them misted and in their humid environment.
Aftercare & Troubleshooting
Once your cuttings start showing signs of life – you’ll see new leaf growth emerging from the top – that’s a great indicator that roots have formed. You can gently tug on a cutting; if there’s resistance, you’ve got roots!
- Gradual Acclimation: Once roots are established, start gradually introducing your new plants to normal garden conditions. First, remove the plastic cover for a few hours each day, then longer periods. Eventually, you can remove it altogether.
- Re-potting: When your plants have a good root system and are showing steady growth, it’s time to pot them up into slightly larger containers with fresh potting mix.
- Watch for Rot: The most common problem you might encounter is rot. This usually happens from overwatering or poor drainage. If you see stems turning mushy and black at the base, it’s a sign of rot. Unfortunately, these cuttings are usually beyond saving, so it’s best to discard them to prevent it from spreading. Make sure your soil is consistently moist but never waterlogged.
A Encouraging Closing
So there you have it! Propagating Heterotheca villosa is a simple joy, a wonderful way to expand your garden’s beauty and share it with others. Remember to be patient with your little green charges. Gardening is a journey, and each propagation attempt is a learning experience. Enjoy the process, celebrate every new root, and Soon enough, you’ll have a whole host of sunny Golden Asters to admire! Happy gardening!
Resource:
https://identify.plantnet.org/k-world-flora/species/Heterotheca%20villosa%20(Pursh)%20Shinners/data