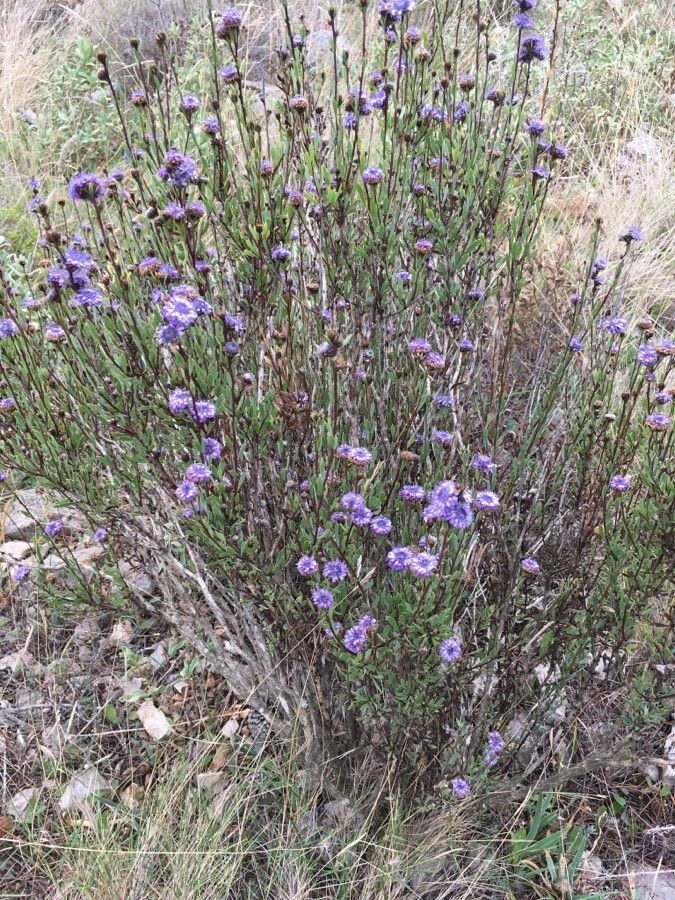
Oh, Globularia alypum! If you’re looking for a plant that offers a touch of the Mediterranean with its delightful blue flower globes and architectural appeal, you’ve found a winner. I’ve been tinkering with these beauties for years, and let me tell you, coaxing a new plant from an existing one is one of the most satisfying feelings in gardening. Propagating Globularia alypum, or as some folks call it, the Globe Daisy, isn’t the easiest plant to start for absolute beginners, but with a little patience and the right steps, you’ll be well on your way to more of these stunners.
The Best Time to Start
For the highest success rate, I’ve found that late spring to early summer, as the plant is actively growing, is prime time. You want to catch it when it’s full of vigor. Think of it as having the most energy to put into creating new roots. Avoid trying to propagate when the plant is stressed, like during a heatwave or after a cold snap.
Supplies You’ll Need
Here’s what I usually gather before I get elbow-deep in soil:
- Sharp Pruning Shears or a Craft Knife: Cleanliness is key here to prevent disease.
- Well-Draining Potting Mix: A 50/50 blend of standard potting soil and perlite or coarse sand works wonderfully. You can also buy specialized succulent or cactus mixes, which are often perfect.
- Small Pots or Trays: Clean pots with drainage holes are essential.
- Rooting Hormone (Optional but Recommended): This can give your cuttings a little extra boost, especially for trickier plants.
- Watering Can with a Fine Rose: For gentle watering.
- Plastic Bag or propagator lid: To create a humid environment.
- Labels: To keep track of what you’ve planted and when!
Propagation Methods
Globularia alypum can be successfully propagated in a couple of ways. I most commonly use stem cuttings, as it’s quite effective.
Stem Cuttings:
- Select Your Cuttings: Look for healthy, non-flowering stems from your established plant. You want pieces that are about 3-4 inches long.
- Make the Cut: Using your sharp shears or knife, make a clean cut just below a leaf node (that little bump where a leaf grows from the stem). This is where roots are most likely to form.
- Prepare the Cutting: Gently remove the lower leaves from the cutting, leaving just the top few leaves. This reduces water loss. If your cuttings are thick, you can even halve the remaining leaves to further minimize wilting.
- Apply Rooting Hormone (Optional): If you’re using rooting hormone, dip the cut end of the stem into the powder or gel. Tap off any excess.
- Pot Them Up: Fill your clean pots with the well-draining potting mix. Make a small hole in the center with your finger or a pencil.
- Plant the Cuttings: Insert the cut end of each stem cutting into the hole, ensuring that at least one leaf node is buried in the soil. Gently firm the soil around the cutting.
- Water Gently: Water the soil lightly until it’s evenly moist but not soggy.
- Create Humidity: Place the pots inside a plastic bag or cover them with a propagator lid. This traps humidity, which is crucial for cuttings to root. Make sure the leaves don’t touch the plastic if you’re using a bag.
- Find a Bright Spot: Place your pots in a warm, bright location but out of direct, scorching sunlight. An east-facing window is often ideal.
The “Secret Sauce” (Pro Tips)
Here are a couple of things I’ve learned over the years that make a real difference:
- Bottom Heat is Your Friend: If you have a heat mat or can place your pots on top of a warm appliance (like a gently humming router, but be cautious!), this can significantly speed up root development. Warmer soil encourages faster root growth.
- Don’t Drown Them! While humidity is vital, soggy soil is the quickest way to rot off your precious cuttings. I like to water thoroughly initially, then keep the soil just slightly moist. If you see condensation constantly beading on the inside of your plastic cover, it might be a bit too much; just lift the cover for an hour or so to air it out.
Aftercare & Troubleshooting
Once you see new growth emerging from your cuttings, that’s a fantastic sign that roots are forming! This usually takes anywhere from 4 to 8 weeks, sometimes longer depending on conditions.
Once roots are established (you might even see them peeking out of the drainage holes), you can gradually acclimatize your new plants. This means slowly opening the plastic bag or propagator lid for longer periods each day over a week or two. Once hardened off, they can be treated like a small, established plant.
The most common problem you’ll face is rot. If a cutting turns black and mushy, or wilts dramatically even though the soil is moist, it’s likely rotted. This usually means the conditions were too wet or the cutting wasn’t healthy to begin with. Don’t be discouraged! Just pull out the rotted cutting, clean your pot, and try again. Sometimes you’ll see wilting without rot; this can indicate it’s just too dry or not humid enough.
A Encouraging Closing
Propagating plants is an exercise in patience and observation. Don’t get discouraged if your first attempt isn’t perfect. Every gardener has learned through trial and error, and each new plant you successfully grow is a testament to your dedication and your green thumb. Enjoy the process, celebrate every little sign of progress, and soon you’ll have a lovely collection of Globularia alypum to fill your garden or pots! Happy gardening!
Resource:
https://identify.plantnet.org/k-world-flora/species/Globularia%20alypum%20L./data