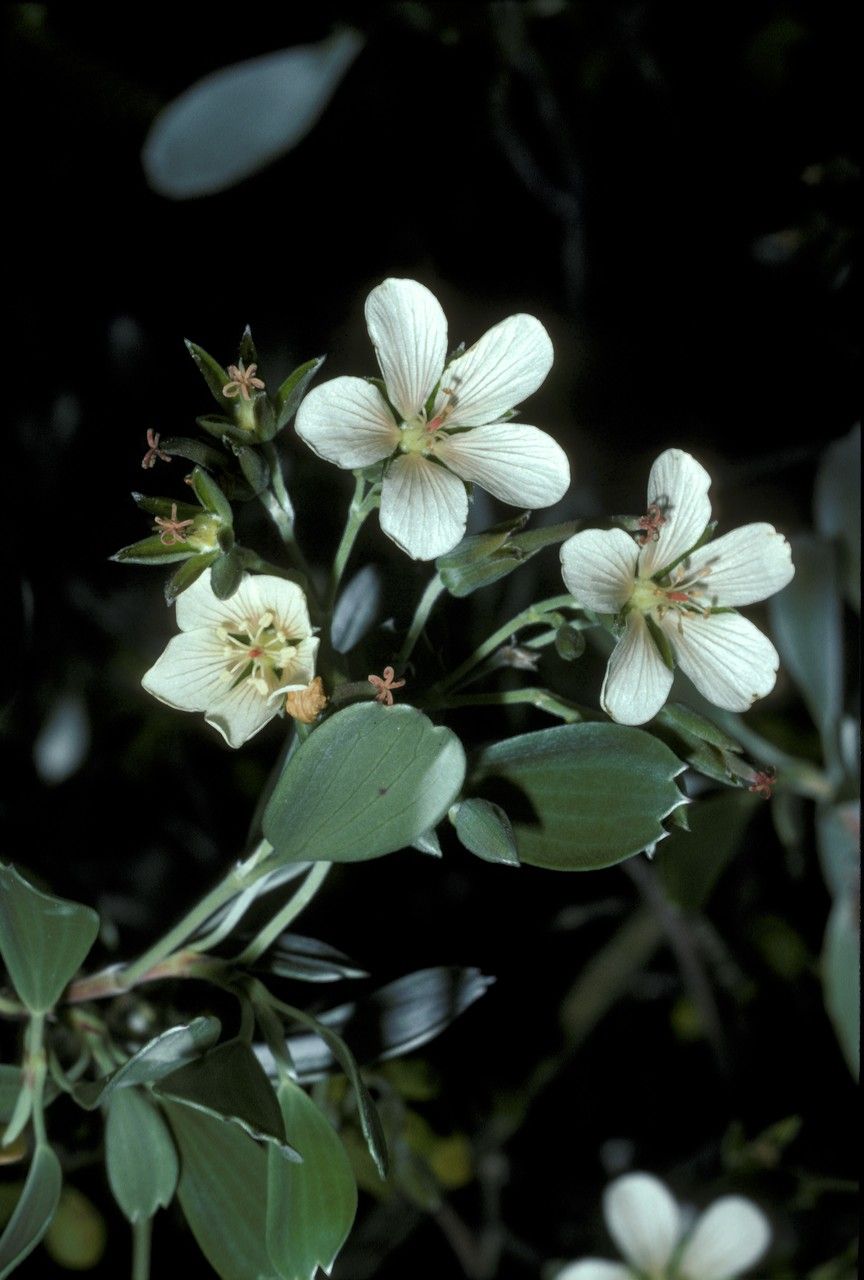
Hello there, fellow plant enthusiasts! Gather ‘round, I’ve got something special to share with you today. Many of you know and love Geranium cuneatum, that delightful little plant with its often intricately shaped leaves and charming blooms. There’s something incredibly satisfying about watching a new plant emerge from a tiny piece of its parent, and Geranium cuneatum is a fantastic candidate for this rewarding endeavor. Good news for those of you just dipping your toes into propagation: this one is wonderfully forgiving and a great choice for beginners. You’ll be creating your own little geranium family in no time!
The Best Time to Start
When it comes to Geranium cuneatum, the sweet spot for propagation is generally in late spring or early summer. This is when the plant is actively growing and has plenty of energy to put into developing new roots. Look for stems that are firm and not too woody, but also not incredibly soft and floppy. Think of it as finding the “just right” stage – healthy and vigorous.
Supplies You’ll Need
Here’s what you’ll want to have on hand before you get started:
- Sharp, clean pruning shears or a clean knife. Sterility is key to preventing disease.
- Rooting hormone (optional, but helpful). I prefer the powder form, but liquid works too.
- A well-draining potting mix. A good blend for succulents or a standard potting mix amended with perlite or sand is perfect.
- Small pots or seed trays. Clean ones, of course!
- A spray bottle. For gentle misting.
- Clear plastic bags or a propagator. To create a humid environment.
- A warm location. With bright, indirect light.
Propagation Methods
Let’s dive into how we’ll create new Geranium cuneatum plants. I find that stem cuttings are the most reliable and straightforward method for this particular plant.
-
Take Your Cuttings: Gently select a healthy stem that’s about 4-6 inches long. Using your sharp shears or knife, make a clean cut just below a leaf node (that’s the little bump where a leaf grows from the stem).
-
Prepare the Cuttings: Carefully remove the lower leaves from the cutting, leaving only the top few leaves. This prevents them from rotting once planted. If the remaining leaves are very large, you can even cut them in half horizontally to reduce water loss.
-
Apply Rooting Hormone (Optional): If you’re using rooting hormone, dip the cut end of the stem into the powder or solution. Tap off any excess. This isn’t strictly essential for Geranium cuneatum, but it can give your cuttings an extra boost.
-
Potting Up: Fill your small pots with your prepared potting mix. Make a small hole in the center with your finger or a pencil. Insert the cut end of the geranium stem into the hole, making sure the node is below the soil surface. Gently firm the soil around the cutting.
-
Create Humidity: Water the soil gently until it’s evenly moist. Then, cover the pot with a clear plastic bag or pop it into a propagator. Make sure the leaves aren’t touching the plastic if possible. This creates a humid microclimate, which is crucial for cuttings to root.
The “Secret Sauce” (Pro Tips)
Now, for a couple of little tricks I’ve learned over the years that can make a real difference:
- Don’t Drench, Just Moisten: When you water after potting, aim for moist, not soggy. Overwatering is the quickest way to invite rot. I like to water until I see a little moisture drain from the bottom, then let it adjust.
- Bottom Heat is Your Friend: If you have the space and resources, placing your pots on a gentle heat mat can significantly speed up the rooting process. It mimics the warmth of spring soil and encourages those roots to venture out. Just a gentle warmth is needed, not hot!
Aftercare & Troubleshooting
Once your cuttings are potted and covered, place them in a spot with bright, indirect light. Avoid direct sun, as it can scorch the delicate cuttings. Mist them occasionally if the soil starts to dry out, but remember, we don’t want them waterlogged.
You’ll know your cuttings are rooting when you see new growth appearing at the top or feel a slight resistance when you gently tug on the stem. This usually takes anywhere from 3 to 6 weeks, so be patient!
The most common issue you might encounter is rot. If you see your cutting turning mushy and black, it’s usually a sign of too much moisture and poor air circulation. Unfortunately, at that point, it’s usually best to discard it and try again with sterile tools and a lighter hand on the watering.
A Encouraging Closing
There you have it! Propagating Geranium cuneatum is a wonderfully accessible and fulfilling gardening activity. Don’t be discouraged if your first few attempts aren’t perfect. Gardening is a journey, and every experiment teaches us something new. So, grab your snips, get your hands in the soil, and enjoy the magic of creating new life. Happy propagating!
Resource:
https://identify.plantnet.org/k-world-flora/species/Geranium%20cuneatum%20Hook./data