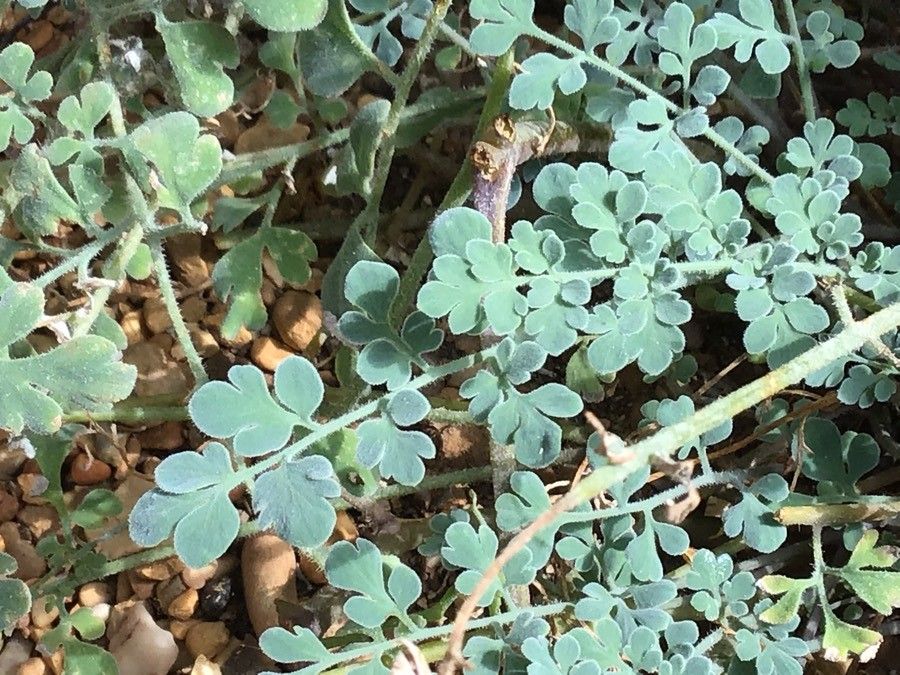
Oh, hello there! Pull up a chair. I’ve got my favorite mug warming my hands, and I’m so excited to chat about Corydalis tomentella. If you’ve ever seen this beauty in a garden, you’ll know why I’m so smitten. Those delicate, fern-like leaves, often a lovely silvery-green, and those charming little pale blue or white flowers that appear like magic – it’s just a breath of fresh air.
Propagating Corydalis tomentella can be a wonderfully rewarding endeavor. It’s a fantastic way to expand your collection or share these delights with gardening friends. Now, for the good news: it’s not an overly fussy plant to propagate, making it a great project even if you’re just dipping your toes into the world of plant multiplication.
The Best Time to Start
My absolute favorite time to get my hands dirty with Corydalis tomentella propagation is in the late spring or early summer. This is when the plant is actively growing, sending out fresh, vigorous shoots. You’ll find the stems are pliant and full of life, which always translates to better rooting success. Waiting until the weather is consistently warm, but before the intense heat of mid-summer, is usually the sweet spot.
Supplies You’ll Need
Before we dive in, let’s gather our little helpers:
- Sharp, clean pruning shears or a sharp knife: Essential for making clean cuts.
- Rooting hormone (optional but recommended): A little boost never hurts!
- Small pots or trays: For your cuttings to settle into.
- Well-draining potting mix: I like a blend of equal parts good quality potting soil and perlite or coarse sand. You want it to dry out between waterings.
- Watering can or mister: For gentle hydration.
- A plastic bag or clear dome: To create a humid microclimate for your cuttings.
- Labels: So you remember what you planted where!
Propagation Methods: Stem Cuttings
This is my go-to method for Corydalis tomentella. It’s straightforward and yields excellent results.
- Select Your Cuttings: Look for healthy, non-flowering stems on your mature plant. Aim for stems that are about 3-4 inches long. Gently twist or snip them off from the parent plant.
- Prepare the Cuttings: Pinch off any lower leaves that would be below the soil line. This prevents them from rotting. If the leaves are quite large, you can even snip them in half to reduce water loss through transpiration.
- Dip in Rooting Hormone: This is where the ‘optional but recommended’ comes in. Dip the cut end of each stem into your rooting hormone powder or gel. Tap off any excess.
- Plant Your Cuttings: Fill your small pots or trays with your prepared potting mix. Make a small hole with your finger or a pencil. Gently insert the cut end of the stem cutting into the hole, ensuring it’s firm in the soil.
- Water Gently: Give your newly planted cuttings a good, gentle watering. You want the soil to be moist but not soggy.
The “Secret Sauce” (Pro Tips)
Now for a couple of little tricks I’ve picked up over the years:
- Bottom Heat is Your Friend: Corydalis tomentella roots are eager to get going with a bit of warmth. Placing your pots on a heated propagation mat (set to a low temperature, around 70-75°F or 21-24°C) can significantly speed up root development. You’ll wonder how you ever gardened without it!
- Don’t Let the Leaves Touch the Sides of the Bag: Once you’ve placed your cuttings in their humid little environment (covered with a plastic bag or propagator lid), make sure the leaves aren’t constantly pressed against the plastic. This can encourage fungal issues. If needed, prop up the bag with a small stick.
Aftercare & Troubleshooting
Once your cuttings are tucked in, find them a spot with bright, indirect light. No direct sun, please – it will scorch those tender new plants. Keep the soil consistently moist but never waterlogged. Mist the leaves occasionally if they look a little sad.
You’ll start to see the magic happen when you notice new leaf growth emerging from the top of the cutting. This is a sure sign that roots are forming! You can gently tug on a cutting; if there’s resistance, roots have taken hold. This usually takes a few weeks.
The most common problem you might encounter is rot. If you see your cuttings turning black and mushy, it’s usually due to overwatering or poor air circulation. Don’t be too disheartened if a few don’t make it – it’s all part of the learning curve! Just pull out the offending cuttings and ensure good drainage for the rest.
A Encouraging Closing
There you have it! Propagating Corydalis tomentella is a simple joy, a little bit of magic you can cultivate yourself. Be patient with your cuttings; sometimes they take their sweet time. Enjoy the process, celebrate every new leaf, and soon you’ll have an abundance of these lovely plants to adorn your garden or share with those you cherish. Happy propagating!
Resource:
https://identify.plantnet.org/k-world-flora/species/Corydalis%20tomentella%20Franch./data