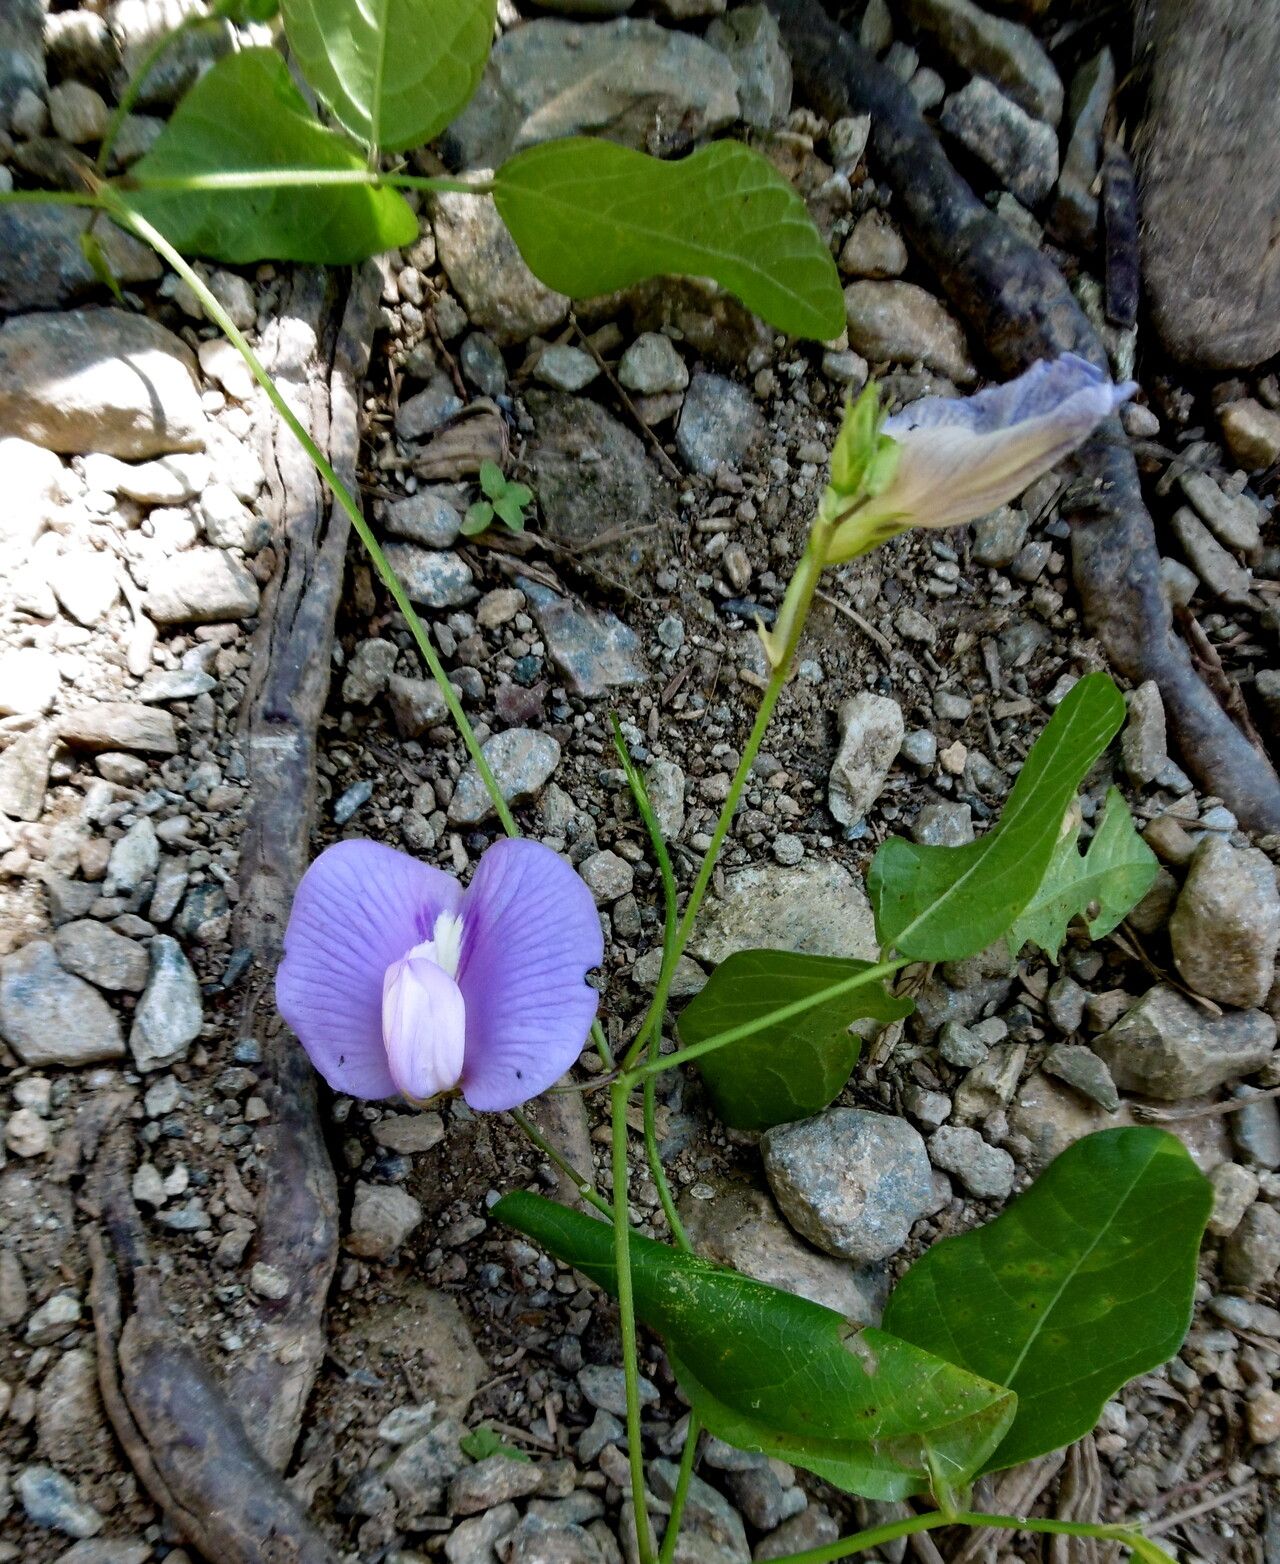
Oh, hello there! Come on in, grab a mug. I’m so glad you’re curious about Clitoria guianensis. Isn’t she a beauty? Those vibrant blue, butterfly-shaped blooms are simply breathtaking, and they seem to glow with an inner light, don’t they? Plus, they attract all sorts of lovely pollinators to the garden. If you’ve ever admired one of these stunners and thought, “I wish I had more of those!”, you’re in the right place. Propagating Clitoria guianensis can feel like a bit of magic in the making, and I’m here to walk you through it. For beginners, I’d say it’s moderately easy – a little patience and a few key steps, and you’ll be rewarded with new plants.
The Best Time to Start
When it comes to getting those new baby plants going, spring and early summer are your best friends. This is when the plant is in a period of active growth, meaning it’s producing lots of energy and is more receptive to rooting. You’re looking for healthy, non-woody stems that are at least 4-6 inches long. Think of it as catching the plant when it’s feeling its most vigorous!
Supplies You’ll Need
Here’s what you’ll want to gather before you get started:
- Sharp pruning shears or a clean knife: For taking clean cuts.
- Rooting hormone (optional but recommended): Look for one that contains IBA. It really gives cuttings a boost.
- Well-draining potting mix: A good blend of peat moss or coir, perlite, and a little compost works wonders.
- Small pots or seed trays: Clean ones, please!
- Plastic bags or a propagator: To create a humid environment.
- Watering can or spray bottle: For gentle watering.
- Labels and a marker: To keep track of your propagation efforts.
Propagation Methods
The most reliable way I’ve found to increase my Clitoria guianensis population is through stem cuttings. It’s straightforward and usually yields good results.
Stem Cuttings:
- First, select a healthy, semi-hardwood stem from your mature plant. Aim for a stem that’s flexible but not completely soft and green.
- Using your sharp shears or knife, take a cutting that’s about 4-6 inches long. Make the cut just below a leaf node (where a leaf attaches to the stem).
- Gently remove the lower leaves from your cutting. You want to keep a couple of leaves at the top to help with photosynthesis, but too many will draw energy away from root development.
- If you’re using rooting hormone, dip the cut end into the powder or gel according to the product’s instructions. This step is optional, but I find it really speeds things up.
- Now, prepare your pots. Fill them with your well-draining potting mix. Make a small hole in the center of the soil with your finger or a pencil.
- Insert the treated cutting into the hole, making sure the lowest leaf node is below the soil surface. Gently firm the soil around the base of the cutting.
- Water thoroughly but gently, ensuring the soil is moist but not waterlogged.
- To create a humid microclimate, place a plastic bag loosely over the pot or place the pot inside a propagator. Make sure the leaves aren’t touching the plastic. Secure the bag with a rubber band or tie.
- Place your cuttings in a bright location that receives indirect sunlight. Avoid direct sun, which can scorch the tender cuttings.
The “Secret Sauce” (Pro Tips)
Here are a few little tricks I’ve learned over the years that can make all the difference:
- Choose your cuttings wisely. I like to take cuttings in the morning after the dew has dried. The plant is often at its most hydrated then, and the cuttings tend to be more robust.
- Bottom heat is your friend. If you can, place your pots on a warm propagation mat. This gentle warmth encourages root development from below, really giving those roots a kickstart. It’s like giving them a warm bath!
- Don’t overcrowd your cuttings. Give each one space. They need good air circulation to prevent fungal issues. If you see any signs of mold or rot developing, remove the affected cutting immediately to protect the others.
Aftercare & Troubleshooting
Once your cuttings have been in their humid environment for a few weeks, you might start to see new growth. That’s a wonderful sign! At this point, you can gradually acclimatize them to normal conditions. Open the plastic bag a little more each day for about a week, or ventilate your propagator more frequently.
The real test – and the most exciting part – is when you feel a gentle tug when you lightly pull on a leaf. That means roots have formed! You can also carefully slide the plant out of its pot to check for a good root system. Once they’re well-rooted, you can transplant them into slightly larger pots with fresh potting mix. Continue to water them regularly, keeping the soil consistently moist but not soggy.
What if things don’t go as planned? The most common issue is rot. This usually happens from overwatering or poor drainage. If you see a cutting turn mushy or black, it’s usually a sign of rot. Sadly, these can’t be saved, so remove them immediately and check your watering and drainage. Another sign of failure is if the cutting wilts and fails to perk up after a few days. This could indicate it didn’t root, or it’s not getting enough humidity. Don’t be discouraged; sometimes it just takes a few tries!
A Encouraging Closing
Propagating plants is a journey, and every cutting is a learning experience. Don’t be disheartened if your first attempts aren’t perfect. Be patient, observe your little Clitoria guianensis babies, and celebrate every little sign of progress. The joy of watching a new plant grow from a small piece of another is truly special. Happy propagating!
Resource:
https://identify.plantnet.org/k-world-flora/species/Clitoria%20guianensis%20(Aubl.)%20Benth./data