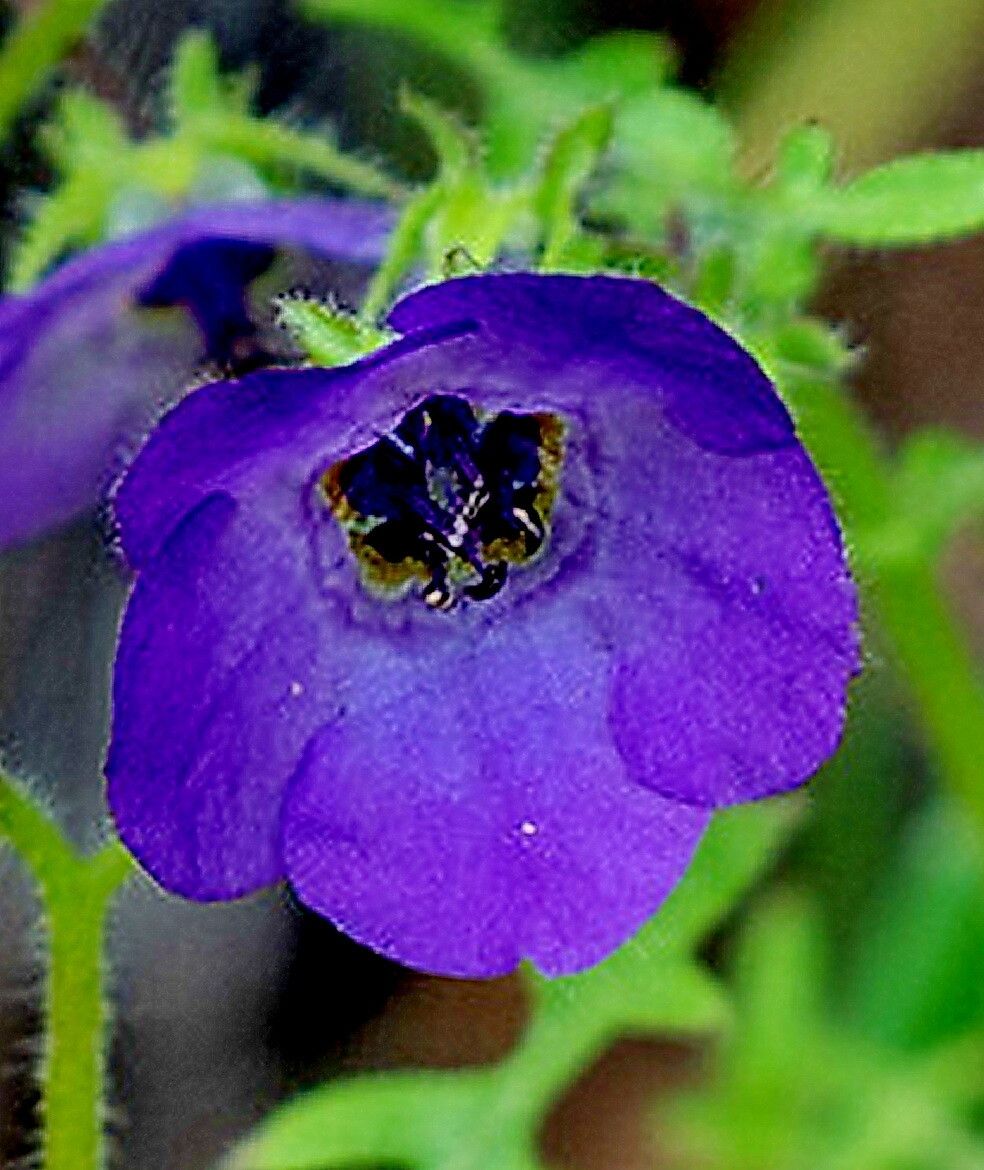
Oh, Pholistoma auritum! If you’ve ever seen those breathtaking, trumpet-shaped flowers in shades of lavender and blue gracing a garden, you know exactly what I’m talking about. It’s one of those plants that just makes you stop and stare. And the best part? They’re surprisingly easy to grow and even easier to get more of! I’ve been coaxing new life from my favorites for years, and it’s pure joy sharing these little green babies with friends. If you’re new to it, you’ll find this a wonderfully rewarding plant to start with.
The Best Time to Start
For the highest success rate with Pholistoma auritum, you’ll want to aim for late spring or early summer. This is when the plant is actively growing and has plenty of energy to put into developing new roots. Think of it as giving your cuttings the best possible start with warm temperatures and long daylight hours. Starting a bit later in the season might still work, but you’ll have a better chance of vigorous growth if you time it right.
Supplies You’ll Need
- Sharp Pruning Shears or a Clean Knife: For making clean cuts to avoid crushing the stems.
- Well-Draining Potting Mix: A good option is a seed-starting mix or a blend of potting soil and perlite (about 1:1 ratio). You can also use a cactus/succulent mix.
- Small Pots or Seedling Trays: Clean containers with drainage holes are essential.
- Optional: Rooting Hormone: While Pholistoma auritum is quite happy to root on its own, a rooting hormone can speed things up a bit.
- Watering Can with a Fine Rose: For gentle watering without disturbing young roots.
- Plastic Bags or Clear Domes: To create a mini-greenhouse effect.
Propagation Methods
Pholistoma auritum is a gem because it’s so adaptable. I usually find success with a couple of simple methods.
Stem Cuttings: My Go-To
This is my absolute favorite way to get more Pholistoma. It’s straightforward and yields great results.
- Select Healthy Stems: Look for vibrant, disease-free stems on your parent plant. You want ones that are not flowering yet, usually about 4-6 inches long.
- Make the Cut: Using your sharp shears or knife, make a clean cut just below a leaf node. A leaf node is that little bump where a leaf grows from the stem. This is where the magic happens and roots will emerge.
- Prepare the Cuttings: Gently remove the lower leaves, leaving just a couple of leaves at the very top. This prevents them from rotting in the soil.
- Optional: Dip in Rooting Hormone: If you’re using rooting hormone, dip the cut end into it, tapping off any excess.
- Planting: Stick the prepared cuttings into your well-draining potting mix. Make sure at least one leaf node is buried below the surface. Gently firm the soil around the stem.
- Water and Cover: Water thoroughly but gently. Then, cover the pots or trays with a plastic bag or a clear dome to keep humidity high. This is crucial for preventing the cuttings from drying out before they root.
Water Propagation: For the Impatient Gardener
If you like to see the roots forming, this method is for you!
- Take Cuttings: Follow steps 1-3 from the stem cutting method.
- Place in Water: Put the cuttings in a small jar or glass filled with clean water. Make sure no leaves are submerged in the water, as this will cause them to rot.
- Find a Bright Spot: Place the container in a bright location, but out of direct sunlight.
- Change Water Regularly: Change the water every few days to keep it fresh and prevent bacterial growth.
- Plant When Ready: Once you see about an inch of root growth, you can carefully transplant the cuttings into pots filled with your well-draining potting mix. Treat them as you would newly rooted cuttings from stem propagation.
The “Secret Sauce” (Pro Tips)
Over the years, I’ve picked up a few little tricks that seem to make all the difference.
- Bottom Heat is Your Friend: If you have a heat mat designed for seedlings, placing your pots on it can significantly speed up root development. It mimics the warmth of summer soil.
- Don’t Overwater, But Keep it Moist: This is key. The soil should feel consistently moist, not soggy. If the soil feels dry to the touch, it’s time to water. Soggy conditions are a fast track to root rot.
- Patience with Leaf Drop: Sometimes, a cutting might drop a leaf or two. Don’t panic! As long as the stem looks healthy and isn’t mushy, it’s often just the plant shedding its older leaves to focus energy on root formation.
Aftercare & Troubleshooting
Once your cuttings have developed a good set of roots – you’ll often see new leaf growth appearing as a sign – it’s time to transition them.
- Gradual Acclimation: If you used a plastic bag or dome, gradually remove it over a few days. Start by opening it for a few hours a day, then leave it off completely. This helps the new plant adjust to lower humidity.
- Move to Slightly Larger Pots: Once the roots are well-established and filling the current pot, you can carefully transplant them into slightly larger containers. Continue to use your well-draining mix.
- Watering: Water them as you would a mature plant, allowing the soil to dry out slightly between waterings.
- Signs of Trouble: The most common issue you’ll encounter is root rot, which is usually caused by overwatering and poor drainage. If your cutting turns mushy, black, or starts to smell, it’s likely gone too far. Another sign of distress is wilting even when the soil is moist; this can also point to root problems. If you see this, try to ensure your soil drains exceptionally well.
A Encouraging Closing
Propagating Pholistoma auritum is a wonderfully rewarding journey into the life cycle of this beautiful plant. Don’t be discouraged if your first few attempts aren’t perfect; gardening is all about learning and adapting. Be patient, enjoy the process of nurturing these tiny new plants, and soon you’ll have a whole garden blooming with those stunning blue trumpets! Happy gardening!
Resource:
https://identify.plantnet.org/k-world-flora/species/Pholistoma%20auritum%20(Lindl.)%20Lilja/data