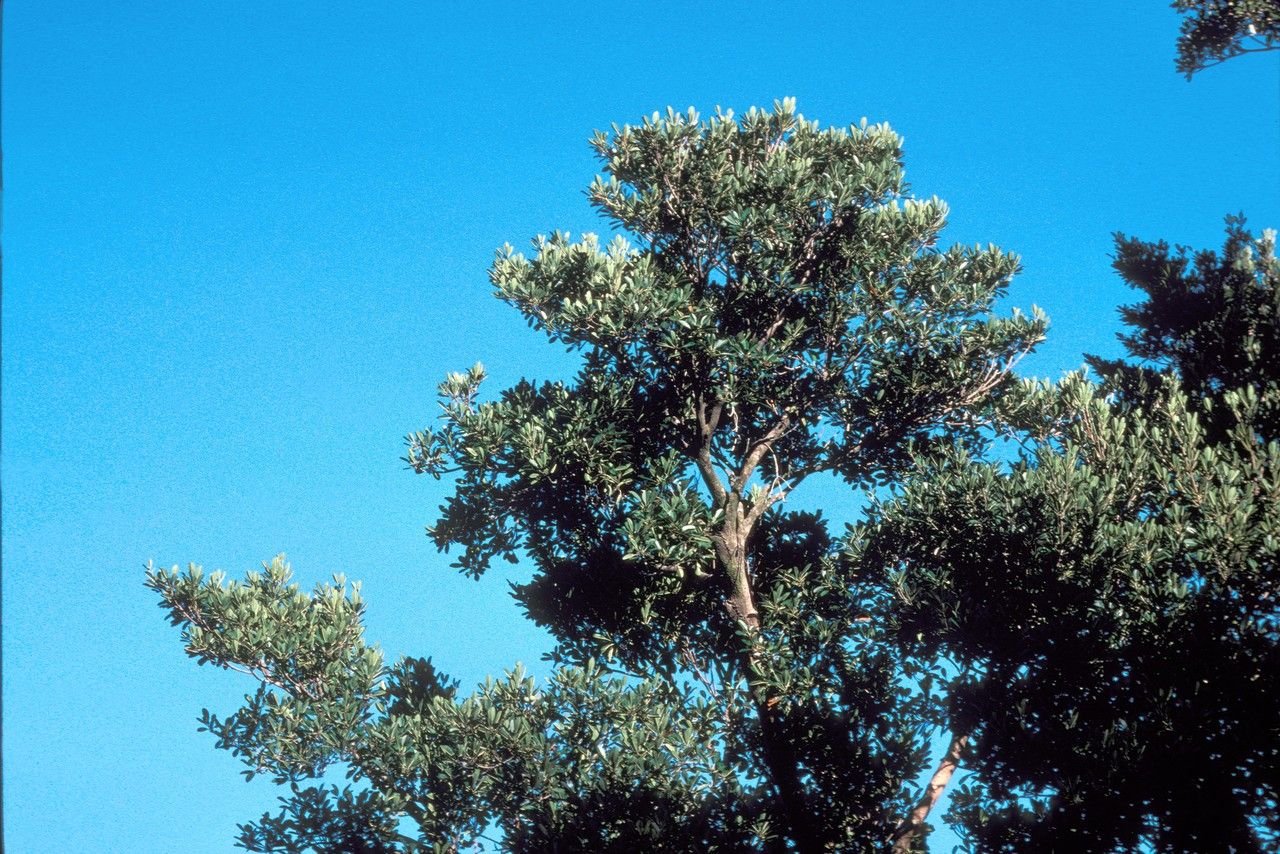
Hello, fellow plant lovers! I’m so excited to chat with you today about one of my absolute favorites: Labourdonnaisia calophylloides. If you haven’t met this beauty yet, imagine lush, glossy leaves that shimmer in the sunlight, and an elegant stature that adds a touch of exotic charm to any space. It’s a real showstopper, and the best part? You can bring more of that magic into your life by propagating it yourself!
Now, I know when you hear “propagation,” some of you might get a little nervous. Is it tricky? Will I mess it up? Well, with Labourdonnaisia calophylloides, I’d say it’s moderately easy, especially if you follow a few key steps. It’s a rewarding challenge, and the satisfaction of watching a tiny cutting transform into a thriving plant is just immense.
The Best Time to Start
When it comes to getting the most bang for your buck with propagation, spring and early summer are your golden ticket. This is when the plant is actively growing and has the most energy to put into developing new roots. Look for stems that are firm but not woody – often called “semi-hardwood cuttings.” They’ll snap cleanly when bent, rather than just wilting.
Supplies You’ll Need
Let’s get our toolkit ready. Having everything on hand makes the process so much smoother:
- Sharp pruning shears or a clean, sharp knife: For making clean cuts.
- Rooting hormone powder or gel: This really gives your cuttings an extra boost.
- A well-draining potting mix: I like a blend of peat moss, perlite, and a bit of compost.
- Small pots or propagation trays: With drainage holes, of course!
- Plastic bags or a propagation dome: To create a humid environment.
- Water: For misting and keeping things moist.
- (Optional but highly recommended) A heat mat: Gives those roots a warm cozy place to form.
Propagation Methods: Taking Cuttings
The most reliable way to propagate Labourdonnaisia calophylloides is through stem cuttings. It’s pretty straightforward once you get the hang of it:
- Select your cutting: Choose a healthy stem that’s about 4-6 inches long. Make a clean cut just below a leaf node (where a leaf attaches to the stem). This is where the magic really happens for rooting.
- Prepare the cutting: Gently remove the lower leaves from the cutting, leaving just a few at the top. If the remaining leaves are very large, you can trim them in half. This reduces water loss.
- Apply rooting hormone: Dip the cut end of the stem into your rooting hormone powder or gel. Make sure it’s evenly coated.
- Potting up: Fill your pots or trays with your prepared potting mix, moistening it slightly. Make a small hole in the center with your finger or a pencil.
- Insert the cutting: Gently place the prepared cutting into the hole, ensuring the rooting hormone stays on the cut end. Firm the soil gently around the stem to secure it.
- Create humidity: Water the soil lightly. Then, cover the pot with a plastic bag or place it under a propagation dome. This is crucial for keeping the humidity high, which is what cuttings need to prevent drying out before they root. Make sure the leaves don’t touch the sides of the bag if possible, as this can encourage rot.
- Placement: Place your pots in a bright spot, but out of direct sunlight. The leaves can scorch easily! If you’re using a heat mat, place the pots on top of it.
The “Secret Sauce” (Pro Tips)
Here are a couple of little tricks I’ve learned over the years that really help boost your success rate:
- Bottom heat is your friend: As I mentioned, a heat mat is a game-changer. It encourages roots to form much faster because it keeps the base of the cutting at a consistently warm temperature, mimicking ideal soil conditions.
- Don’t be afraid to clean up: When you remove the lower leaves, go ahead and remove any leaves that might end up submerged if you ever try water propagation. Any plant matter sitting in water will quickly turn mushy and promote rot.
Aftercare & Troubleshooting
Once your cuttings have been potted, patience is key! Keep the soil consistently moist but not waterlogged. You can also lightly mist the leaves every few days to maintain humidity, especially if you don’t have a dome.
You’ll know your cuttings are rooting when you see new leaf growth or feel a gentle resistance when you tug lightly on the stem. This can take anywhere from 4-8 weeks, sometimes longer.
The most common issue you’ll run into is rot. If you notice your cutting becoming black and mushy, it’s usually a sign of too much moisture and not enough air circulation. Sadly, at this point, it’s usually best to discard it and try again. Good drainage and a not-too-wet soil are your best defense against this.
A Little Garden Encouragement
Propagating plants is all about learning and experimenting. Some will take off like wildfire, and others might be a bit more stubborn. Don’t get discouraged if your first few attempts aren’t perfect. Each one is a learning opportunity! Enjoy the process, and soon you’ll have a whole collection of these gorgeous Labourdonnaisia calophylloides. Happy planting!
Resource:
https://identify.plantnet.org/k-world-flora/species/Labourdonnaisia%20calophylloides%20Bojer/data