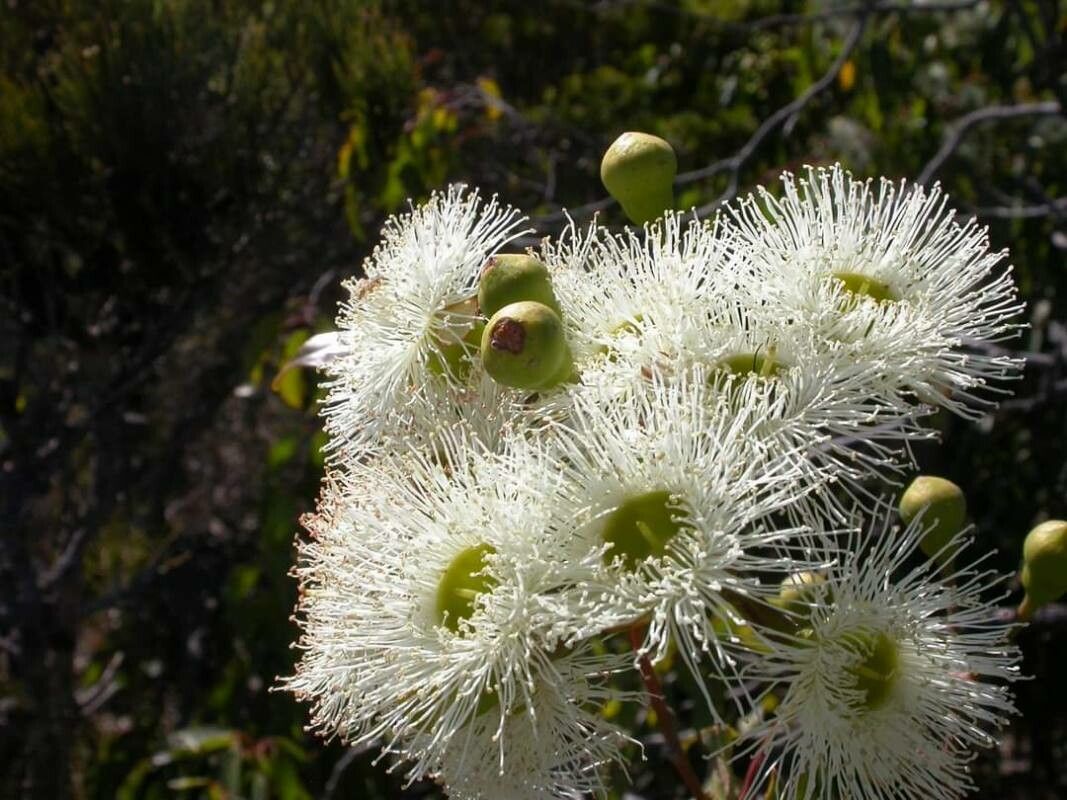
Oh, Eucalyptus drummondii! What a joy it is to talk about this particular gum tree. If you haven’t encountered it yet, imagine a slender, elegant tree with beautiful, silvery-blue foliage that releases that intoxicating eucalyptus scent into the air. It’s a welcome addition to any garden, especially if you love that distinct Australian aroma. Propagating your own? That, my friends, is a truly rewarding endeavor. It connects you to the plant on a deeper level, and honestly, there’s a special kind of pride in seeing your little seedling unfurl its first true leaves. Now, for the good news: while some eucalyptus can be a bit finicky, Eucalyptus drummondii is generally considered moderately easy to propagate, making it a great project for those dipping their toes into the world of plant multiplication.
The Best Time to Start
When it comes to getting your Eucalyptus drummondii off to a good start, late spring to early summer is your golden window. This is when the plant is actively growing and has plenty of energy to invest in establishing new roots. Look for stems that are still somewhat flexible but have started to harden off – we call these “semi-hardwood” cuttings. Avoid anything that’s fully woody or still very soft and sappy.
Supplies You’ll Need
Before we get our hands dirty, let’s gather our tools. It’s always better to be prepared!
- Clean, sharp pruning shears or a sharp knife: Essential for making clean cuts that heal well.
- Rooting hormone (optional but recommended): A gentle dip can significantly boost your success rate. I like to use a powder or gel.
- Well-draining propagation mix: A 50/50 blend of perlite and coco coir is my go-to. You can also use a specialized seedling mix. The key is excellent drainage to prevent rot.
- Small pots or trays: Clean, shallow containers work best.
- Plastic bags or a propagator: To create a humid environment for your cuttings.
- Labels and a marker: Trust me, you’ll thank yourself later for labeling!
- Watering can with a fine rose: Gentle watering is crucial.
Propagation Methods
Let’s dive into how we can coax new life from our beloved Eucalyptus drummondii.
Stem Cuttings (My Preferred Method):
This is where I find the most consistent success.
- Take your cuttings: Select healthy stems from your mother plant. Aim for cuttings about 4-6 inches long. With your clean shears or knife, make a cut just below a leaf node (where a leaf attaches to the stem). Remove the lower leaves, leaving just a few at the top.
- Prepare the cutting: If you’re using rooting hormone, dip the cut end into it, tapping off any excess.
- Pot them up: Fill your clean pots or trays with your propagation mix. Make a small hole in the center with your finger or a pencil. Gently insert the cutting into the hole, ensuring the cut end is making good contact with the soil. Firm the soil gently around the base.
- Water and cover: Water the soil thoroughly but gently. You want it moist, not waterlogged. Now, cover the pot or tray with a plastic bag or place it in a propagator. This creates a mini-greenhouse, keeping humidity high.
Water Propagation (A Visual Treat):
While I find cuttings more reliable for eucalyptus, water propagation can be fun to watch.
- Similar cuttings: Prepare your cuttings as described above, but instead of potting them, simply place them in a clean jar or glass of water.
- Keep it clean: Crucially, change the water every 2-3 days. This prevents bacterial growth and keeps the water fresh.
- Where to place: Keep them in bright, indirect light. You’ll start to see tiny white roots emerge from the nodes. Once the roots are about an inch long, they are ready to be potted up into your well-draining soil mix.
The “Secret Sauce” (Pro Tips)
Here are a few little tricks I’ve picked up over the years that can really make a difference.
- Don’t let the leaves touch the water (for water propagation): If you’re rooting in water, make sure the leaves are above the waterline. Any submerged leaves will rot, which can contaminate the water and harm your cutting.
- Bottom heat is your friend: Eucalyptus love a bit of warmth from below. Placing your pots or propagator on a heated seed mat can dramatically speed up root formation. It mimics the natural warmth of a spring soil, providing that extra encouragement.
- Acclimatize slowly: When your cuttings have developed a good root system and are ready to come out of their humid environment, do it gradually. Tentatively open the plastic bag for a few hours each day for a week before removing it entirely. This prevents shock.
Aftercare & Troubleshooting
Once you see those first signs of new growth – tiny leaves unfurling at the top – it’s a cause for celebration!
Keep the soil consistently moist but not soggy. As the young plants grow stronger, you can gradually transition them to a regular watering schedule. If you used a rooting hormone, you might not need to fertilize for a few months.
What if things go wrong? The most common culprit is rot. If your cuttings look limp and mushy, or the base turns black and soft, it’s likely due to too much moisture and poor drainage. Don’t despair! It happens to the best of us. Remove any affected cuttings immediately to prevent it from spreading. Sometimes, it’s just a matter of trying again with a slightly different approach to watering or a change in your soil mix.
A Encouraging Closing
Growing your own Eucalyptus drummondii is a journey, and like any good journey, it’s about enjoying the process. Be patient with your cuttings; they work on their own time. Celebrate the small victories, learn from any setbacks, and soon enough, you’ll have your very own little eucalyptus trees to admire and enjoy. Happy propagating!
Resource:
https://identify.plantnet.org/k-world-flora/species/Eucalyptus%20drummondii%20Benth./data