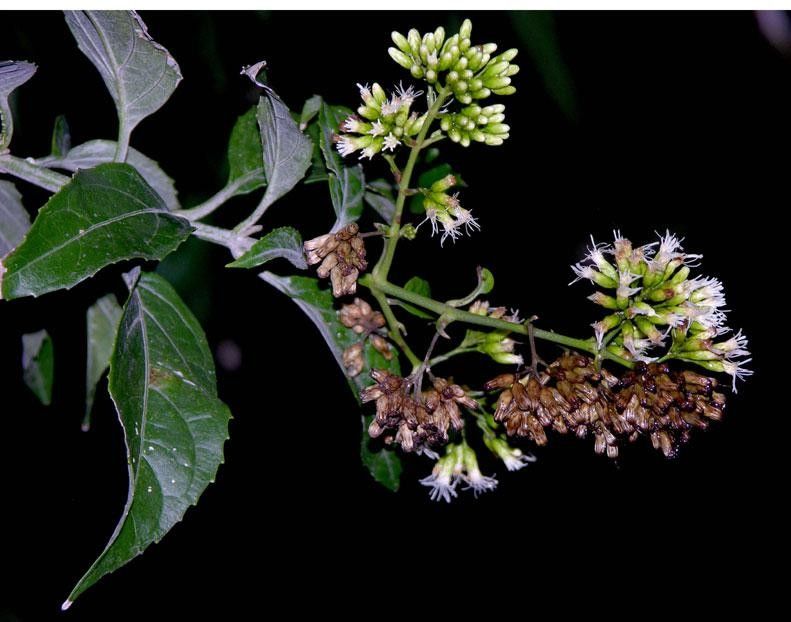
Oh, Critonia morifolia! What a delightful plant to bring into your garden, or even just to enjoy on a sunny windowsill. If you’re drawn to its lovely foliage and charming, often fragrant, little flowers, you’re in good company. And the best part? Bringing more of them into existence is a truly fulfilling experience. I’ve found Critonia morifolia to be a pretty good sport when it comes to propagation, making it a rewarding project even for those newer to the gardening scene.
The Best Time to Start
For the very best chance of success, I always reach for my pruning shears in late spring or early summer. This is when the plant is in its most vigorous growth phase. The stems are still somewhat soft and pliable, but they’ve had time to develop some maturity. You want to select stems that are growing well, not the super floppy new shoots, nor the old woody bits.
Supplies You’ll Need
Gathering your tools beforehand makes the whole process smoother. Here’s what I usually have on hand:
- Potting Mix: A well-draining mix is key. I often use a blend of equal parts peat moss or coco coir, perlite, and a little bit of potting soil. You can also find specific propagation mixes.
- Clean, Sharp Pruning Shears or a Knife: A clean cut is a healthy cut! Dull tools can crush stems, inviting disease.
- Rooting Hormone: While not strictly essential for Critonia morifolia (they can root quite readily!), it certainly speeds things up and increases the success rate. I prefer a powder or gel.
- Small Pots or Seed Trays: Clean pots are a must to prevent any lingering pathogens.
- Plastic Bags or a Propagator: To create a humid environment.
- A Spray Bottle: For misting.
- Labels: Trust me, you’ll thank yourself later when you have multiple plants!
Propagation Methods
Stem cuttings are my go-to for Critonia morifolia. They’re straightforward and typically yield great results.
Stem Cuttings:
- Select Your Cuttings: Find a healthy stem that’s actively growing but not brand new. You’re looking for stems that are slightly firm, often referred to as “semi-hardwood.”
- Make the Cut: Using your clean shears, take a cutting about 4-6 inches long. Make the cut just below a leaf node (where a leaf attaches to the stem). This is where the magic happens, as root hormones are concentrated there.
- Prepare the Cutting: Gently remove the lower leaves from the cutting, leaving just a few at the top. If any leaves are very large, I’ll often cut them in half horizontally to reduce water loss through transpiration.
- Apply Rooting Hormone (Optional but Recommended): Dip the cut end of the stem into your rooting hormone, giving it a gentle tap to remove any excess.
- Plant the Cuttings: Fill your small pots or trays with your prepared potting mix. Make a small hole with a pencil or your finger, and gently insert the cutting, ensuring the leaf nodes are buried in the soil.
- Water and Cover: Water the mix thoroughly until it’s moist but not soggy. Then, cover the pots or tray with a plastic bag or place them in a propagator. This creates a humid microclimate that helps prevent the cuttings from drying out.
The “Secret Sauce” (Pro Tips)
Here are a couple of things I’ve learned over the years that really help:
- Bottom Heat is Your Friend: If you have a heat mat designed for seedlings, placing your pots on it makes a huge difference. Warmer soil encourages root development much faster. Just a gentle warmth, no scorching required!
- Don’t Over-Mist: While humidity is important, I’ve found that over-watering can lead to rot, especially at the base of the cutting. A light misting of the leaves and covering the pot is usually enough. If you see condensation building up excessively on the plastic, you can lift it for a short while to let it air out.
- Patience with the First Leaves: Sometimes, the leaves on your cutting might look a bit sad initially. Don’t be too quick to discard them! As long as the stem itself still looks plump and healthy, give it time. The plant is focusing its energy on building roots.
Aftercare & Troubleshooting
Once you start to see signs of new growth – a tiny leaf uncurling or a slight resistance when you gently tug on the cutting – that’s a good indication that roots have formed.
- Gradual Acclimatization: When you see roots, it’s time to slowly remove the plastic cover over a few days. Start by lifting it for an hour or two each day, gradually increasing the time until the cutting is fully exposed to ambient humidity.
- Watering: Continue to water as needed, keeping the soil consistently moist but never waterlogged. The leaves should look perkier, not droopy.
- First Repotting: Once the new plant has developed a decent root system (you might see roots peeking out the bottom of the pot), it’s ready for a slightly larger pot with fresh potting mix.
Signs of Trouble: The most common issue is rot, which usually looks like a blackened, mushy stem base. This is almost always due to too much moisture and poor drainage. If you see this, unfortunately, that cutting is likely lost. Preventing it is key. Yellowing leaves can also sometimes indicate overwatering, or if the plant is just extremely stressed. Stay observant!
A Little Encouraging Word
Propagating plants is a journey, not a race. There will be times when things don’t go quite as planned, and that’s perfectly normal. Don’t get discouraged! With a little observation and patience, you’ll soon be sharing your love for Critonia morifolia with friends and family. Enjoy the process of nurturing these new little lives!
Resource: