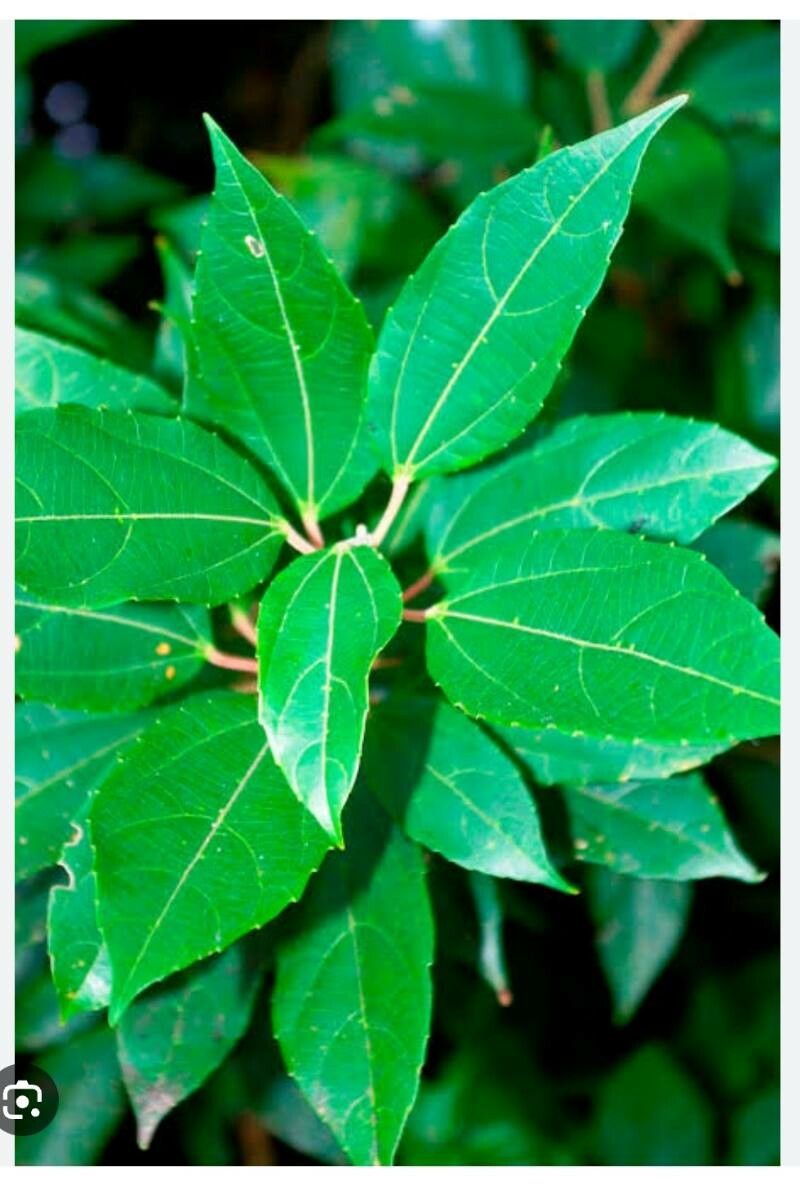
Hello fellow garden enthusiasts! Today, we’re diving into the wonderful world of Alchornea triplinervia, often lovingly called the “broadleaf evergreen” or sometimes the “Christmas bush” for its lush foliage. If you’re looking for a plant that offers gorgeous, glossy green leaves and a bit of tropical flair, you’ve found a winner. And the best part? You can easily multiply this beauty yourself! Propagating Alchornea triplinervia is a truly rewarding experience. It’s not overly fussy, making it a great plant for those of you just starting to explore the joys of plant propagation.
The Best Time to Start
From my experience, the spring and early summer are your prime windows for success. This is when the plant is bursting with new growth, and the cuttings have the most energy to root. Aim for when you see those tender, new shoots emerging. You can also have some luck with semi-ripe cuttings later in the summer, but I find spring gives the most vigorous results.
Supplies You’ll Need
Gathering your tools beforehand makes the whole process smooth sailing. Here’s what I typically have on hand:
- Sharp pruning shears or a clean, sharp knife: For making clean cuts.
- Rooting hormone powder or gel: This really gives your cuttings a boost. I swear by it.
- A well-draining potting mix: I like a blend of equal parts perlite and peat moss, or a good quality seed-starting mix for a finer texture.
- Small pots or seed trays: Clean ones are key!
- A clear plastic bag or propagator lid: To create a humid environment.
- Pots (if water propagating): Just a simple glass jar or small pot will do.
- Labels and a marker: To keep track of what you’ve planted.
Propagation Methods
Let’s get our hands dirty with the most reliable ways to grow more Alchornea triplinervia.
Stem Cuttings: My Go-To Method
This is my absolute favorite way to propagate Alchornea triplinervia.
- Take Your Cuttings: Look for healthy, non-flowering stems. You want pieces that are about 4-6 inches long. Make a clean cut just below a leaf node (where a leaf attaches to the stem).
- Prepare the Cuttings: Gently remove the lower leaves. Leave just a couple of leaves at the very top to help the cutting photosynthesize. If the remaining leaves are large, I sometimes cut them in half to reduce water loss.
- Apply Rooting Hormone: Dip the cut end of each stem into your rooting hormone. Tap off any excess. This step is really important for encouraging strong root development.
- Plant the Cuttings: Fill your small pots with your well-draining potting mix. Make a small hole with your finger or a pencil, then insert the cutting. Gently firm the soil around the base.
- Create a Humid Environment: Water the soil lightly. Then, cover the pot with a clear plastic bag or place it in a propagator. Make sure the leaves don’t touch the sides of the bag too much.
Water Propagation: The Simple Option
If you’re feeling a bit hesitant, water propagation is a wonderfully visual way to start.
- Take Your Cuttings: Use the same 4-6 inch cuttings as above, making sure to remove the lower leaves.
- Place in Water: Put the cuttings in a clean jar or pot filled with fresh water. Ensure the leaf nodes (where the leaves were removed) are submerged.
- Positioning: Place the jar in a bright spot, out of direct sunlight. Change the water every few days to keep it fresh and prevent stagnation.
- Watch for Roots: You should start to see little white roots appearing within a few weeks. Once the roots are about an inch long, it’s time to move them to soil.
The “Secret Sauce” (Pro Tips)
Here are a few little tricks I’ve picked up over the years that really make a difference:
- Bottom Heat is Your Friend: For stem cuttings, placing your pots on a heated propagation mat can dramatically speed up root formation. The warmth encourages root cells to develop much faster. It’s like giving your cuttings a warm hug!
- Don’t Drown Your Leaves: When using the plastic bag method for cuttings, make sure those leaves aren’t constantly touching the inside of the bag. This can lead to fungal issues and rot. You can use little stakes to prop up the bag if needed.
- Sterilize, Sterilize, Sterilize: I can’t stress this enough. Clean tools and pots are your first line of defense against disease. A quick wipe down with rubbing alcohol goes a long way in preventing nasty infections that can kill your precious cuttings.
Aftercare & Troubleshooting
Once you see those roots starting to emerge – hooray!
- For Cuttings in Soil: Keep the soil consistently moist but not waterlogged. You can start to gradually acclimate them to lower humidity by opening the plastic bag for a few hours each day over a week. Once they look happy and are putting on new growth, you can remove the cover entirely. Pot them up into larger pots once they have a good root system.
- For Cuttings in Water: When the roots are about an inch long, gently transplant them into your well-draining potting mix. Water them in well, and then follow the same humidity management as above for cuttings taken directly into soil.
- Troubleshooting: The most common issue is rot. If a cutting turns black and mushy, it’s likely rot. This usually happens due to overwatering or poor air circulation. Remove the affected cutting immediately to prevent it from spreading. If your cuttings simply refuse to root after several weeks, they might not have been vigorous enough to begin with, or perhaps the conditions weren’t quite right. Don’t be discouraged – just try again with new cuttings!
Happy Propagating!
Watching a new plant sprout from a tiny cutting is one of the most magical things in gardening. Be patient with your Alchornea triplinervia – sometimes they take their time, and that’s perfectly okay. Enjoy the process, celebrate every little sign of life, and soon you’ll have a whole collection of these beautiful plants to share or keep for yourself. Happy gardening!
Resource: