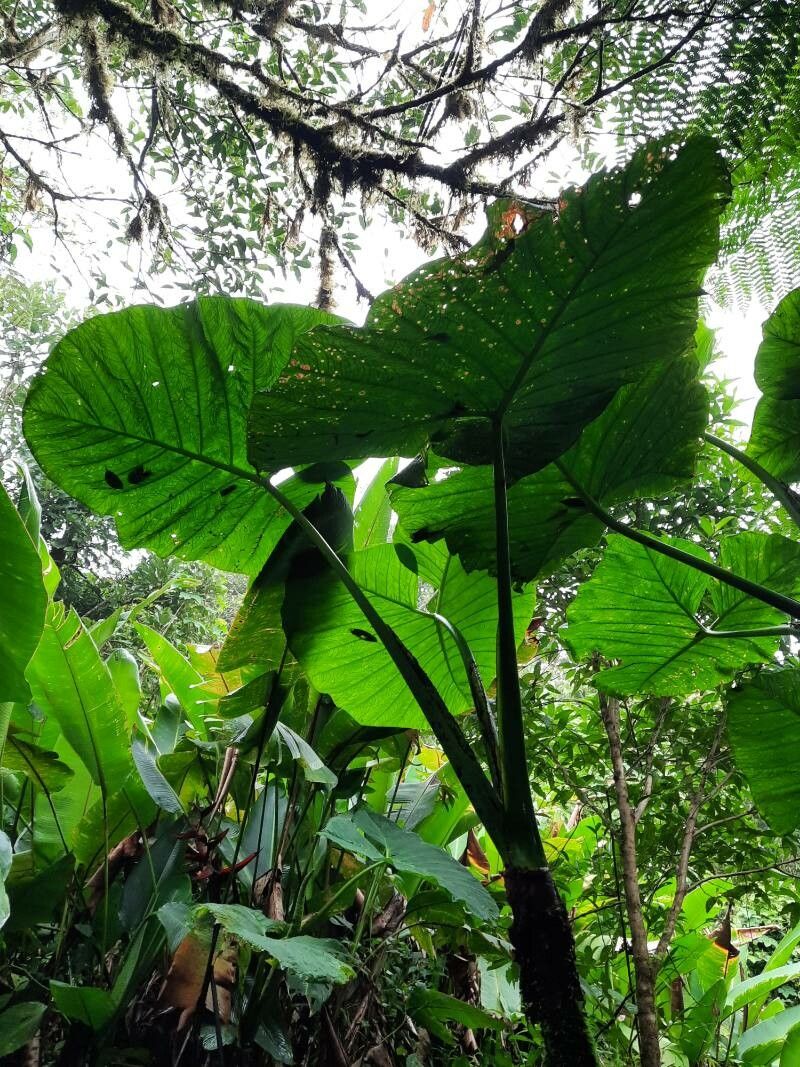
Oh, hello there! Come on in, grab a seat. I’m so excited you’re here to talk about Xanthosoma undipes, or as I affectionately call them, “Emerald Giants.” These beauties, with their dramatic, arrowhead-shaped leaves and their generally robust nature, bring such a wonderful tropical flair to any space.
If you’ve ever admired a particularly lush Xanthosoma and thought, “I wish I had more of those!”, you’re in luck. Propagating them is incredibly rewarding. And the best part? For those of you just dipping your toes into the world of plant propagation, Xanthosoma undipes is a wonderfully forgiving subject. You’ll be making more of these gorgeous plants before you know it!
The Best Time to Start
When it comes to getting new Xanthosoma undipes off to a good start, think about when they’re really showing off – that’s usually active growth periods. For most of us, this means late spring through summer. You’ll see new leaves unfurling, and the plant will have plenty of energy to put into rooting. Trying to propagate in the dead of winter, when the plant is a bit sleepy, is just setting yourself up for a slower start (or no start at all!).
Supplies You’ll Need
To set yourself up for success, here’s what you’ll want to gather:
- Sharp, clean pruning shears or a knife: Sanitize them with rubbing alcohol between cuts to prevent disease.
- A well-draining potting mix: I like a blend of regular potting soil with perlite or orchid bark for extra aeration. Some growers even use a coir-based mix.
- Small pots or propagation trays: With drainage holes, of course!
- Rooting hormone (optional, but helpful): A powder or gel can speed up the process and improve success rates.
- A clear plastic bag or a mini-greenhouse: This helps maintain humidity.
- Water: For keeping things moist.
- A small trowel or scoop: For filling pots.
Propagation Methods
There are a couple of fantastic ways to multiply your Xanthosoma undipes. I find both work beautifully.
Method 1: Division (The Easiest Start)
This is my go-to for beginners. When your Xanthosoma gets a bit crowded in its pot, or you notice new plantlets forming around the base, it’s time to divide!
- Gently remove the parent plant from its pot. You might need to tap the bottom and sides to loosen it.
- Carefully shake away some of the excess soil to expose the rhizomes and roots.
- Look for offset pups – these are smaller plants growing from the main root system. They’ll often have their own small roots.
- Using your hands or a clean knife, gently separate a pup that has at least one or two healthy roots. If you have to cut through a thicker rhizome to get a good piece, that’s perfectly fine.
- Pot each separated pup into its own small pot filled with your well-draining potting mix.
- Water thoroughly and place in a warm spot with bright, indirect light.
Method 2: Stem Cuttings (From the Stalks)
This method uses the thick, fleshy stems that emerge from the soil.
- Identify a healthy, mature stem on your Xanthosoma. Choose one that is at least a few inches tall and has a leaf or two.
- Using your clean shears or knife, make a cut just below a leaf node. You want a piece that’s a few inches long, with at least one node.
- Remove any lower leaves that might rot if submerged in water or soil.
- (Optional but Recommended): Dip the cut end into rooting hormone, tapping off any excess.
- Now, you have two main options:
- Water Propagation: Place the cutting in a jar or glass of water, ensuring the leaf nodes are submerged but the leaves themselves are not touching the water. Change the water every few days. Roots should appear in a few weeks.
- Soil Propagation: Plant the cutting directly into your well-draining potting mix. Make sure a leaf node is buried in the soil. Water well and cover with a clear plastic bag or a mini-greenhouse to create a humid environment.
The “Secret Sauce” (Pro Tips)
Here are a couple of things I’ve learned over the years that really make a difference:
- Don’t let the leaves touch the water when water propagating. This is crucial! If the foliage sits in water, it’s much more prone to rotting. Keep those leaves up and dry for the best chance of root development.
- Bottom heat is your friend. For stem cuttings, popping them on a seedling heat mat can significantly speed up root formation. It mimics the warmth of their natural growing season and gives those roots a kickstart.
- Patience with the pups. When you divide, don’t be discouraged if a pup seems a little wilted for a day or two. They’re just adjusting to their new life! Give them consistent moisture and warmth, and they’ll usually perk up.
Aftercare & Troubleshooting
Once your cuttings have developed a good root system (you’ll see roots pushing out of the drainage holes, or the leaves will look perkier and more upright), it’s time to transition them to their permanent home.
- Transplant carefully into a pot with your well-draining potting mix.
- Water thoroughly and continue to provide bright, indirect light.
- Keep the humidity high for the first week or two. Those plastic bags or domes are helpful here.
- Watch out for rot. The biggest culprit for new propagations failing is overwatering. If the stem or pup turns mushy and black, it’s likely rot. This often happens if it’s too wet and not enough air circulation. If you see it, trim away the rotten parts with a clean knife and try again, but make sure to let the soil dry out a bit more between waterings. Yellowing leaves can also indicate overwatering, or sometimes simply stress from the transplant.
A Encouraging Closing
Growing new plants is such a fulfilling journey, isn’t it? It’s a little bit of magic, and a whole lot of learning. Be patient with your Xanthosoma undipes propagations. Some will root faster than others, and that’s perfectly normal. Enjoy the process of watching new life emerge. Happy planting!
Resource: