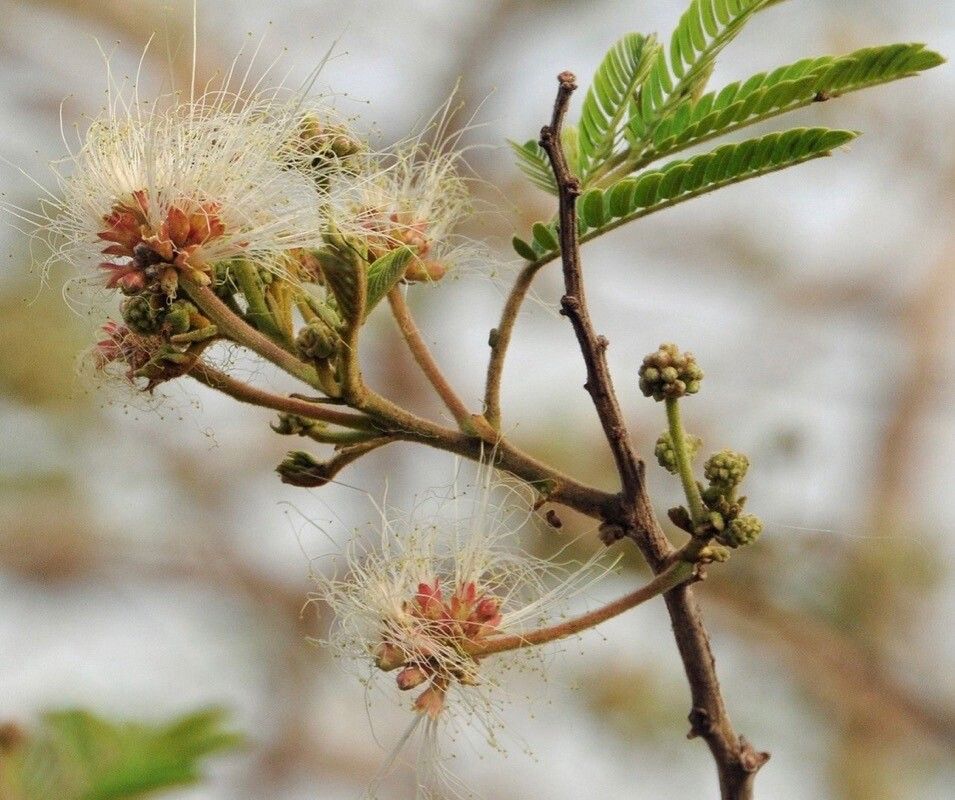
Oh, hello there! Pull up a chair and let’s chat about something truly special: propagating Albizia chevalieri. If you’ve ever seen these beauties gracing a garden, you’ll know why they steal the show. Their delicate, feathery foliage and charming, often fragrant, blooms are just gorgeous. And there’s a special kind of joy that comes from coaxing a new life from a parent plant. It’s a little bit magic, really. Now, is Albizia chevalieri a walk in the park for absolute beginners? Honestly, it can be a tad more involved than, say, a spider plant, but with a bit of care and attention, you’ll be rewarded with success.
The Best Time to Start
For the highest chances of success, I find that late spring to early summer, just as the plant is entering its vigorous growth phase, is absolutely the sweet spot. You want to take cuttings when the stems are still somewhat flexible but have had a chance to mature a bit. Avoid taking cuttings from new, floppy growth or from wood that’s already quite hard and woody.
Supplies You’ll Need
Gathering your tools before you start makes everything so much smoother. Here’s what I always have on hand:
- Sharp Pruning Shears or a Grafting Knife: Cleanliness is key!
- Rooting Hormone: A powder or gel specifically for stem cuttings.
- Seed Starting Mix or a Well-Draining Potting Mix: I like a mix of peat moss, perlite, and a bit of coco coir.
- Small Pots or Trays: With drainage holes, of course.
- Plastic Bags or a Propagator: To create a humid environment.
- Watering Can with a Fine Rose: For gentle watering.
Propagation Methods
While Albizia chevalieri can be grown from seeds, I find that stem cuttings give us more control and a faster return.
Stem Cuttings: My Go-To
- Select Your Cutting: Look for a healthy, semi-hardwood stem. You’re aiming for a piece about 4 to 6 inches long. Make sure it has at least two or three sets of leaves.
- Make the Cut: Using your clean shears or knife, make a clean cut just below a leaf node. This is where the magic happens for root formation.
- Prepare the Cutting: Gently remove the lower leaves, leaving just a couple at the very top. This prevents them from rotting in the soil.
- Dip in Rooting Hormone: Dip the cut end into your rooting hormone, ensuring it’s coated well. Tap off any excess.
- Plant the Cutting: Fill your small pots with your well-draining mix. Make a small hole in the center with your finger or a pencil. Gently insert the cutting, ensuring the node where you removed the leaves is buried. Firm the soil around it.
- Water Gently: Water thoroughly but gently, allowing the excess to drain away.
- Create Humidity: Place the pot inside a plastic bag, or cover it with a propagator lid. You want to create a mini-greenhouse effect. Just be careful to ensure the leaves don’t touch the plastic.
Water Propagation (with a caveat)
While I do sometimes use water propagation for other plants, I find that Albizia chevalieri can be a bit more prone to rot in plain water. If you decide to try this, be extra vigilant about changing the water daily and ensure no leaves are submerged. I usually stick to the soil method for this particular plant.
The “Secret Sauce” (Pro Tips)
- Bottom Heat is Your Friend: Albizia chevalieri cuttings absolutely adore a bit of warmth from below. Placing your pots on a heated propagator mat really encourages root development. It’s like a cozy little heated blanket for your cuttings, speeding things along considerably.
- Don’t Rush the Chop: When harvesting your cuttings, be patient. Look for those semi-hardwood stems. They have the best balance of energy and maturity to root successfully. Trying to root extremely soft, brand-new growth is often a recipe for disappointment.
- Ventilate Occasionally: Even though you’re creating humidity, it’s good practice to lift the plastic bag or lid for a few minutes each day to allow for some air exchange. This helps prevent fungal issues.
Aftercare & Troubleshooting
Once you’ve potted up your cuttings, the waiting game begins. Keep them in a bright spot, but out of direct, harsh sunlight. Keep the soil consistently moist, but never soggy, until you see signs of new growth – that’s your cue! Gently tugging on a cutting, if it resists, means roots are forming.
The most common issue you might encounter is rot. This usually happens if the soil is too wet or there’s not enough air circulation. If you see the cutting turning black and mushy, sadly, it’s likely lost. Don’t get discouraged; just try again! Another sign of failure is if the leaves start to shrivel and fall off without any new growth appearing after a few weeks.
A Fond Farewell
Propagating Albizia chevalieri is a rewarding journey. It takes a little patience, a caring touch, and a willingness to learn. Don’t be afraid to experiment a bit, and celebrate every tiny success. Enjoy the process of nurturing these little wonders into beautiful plants. Happy gardening!
Resource:
https://identify.plantnet.org/k-world-flora/species/Albizia%20chevalieri%20Harms/data