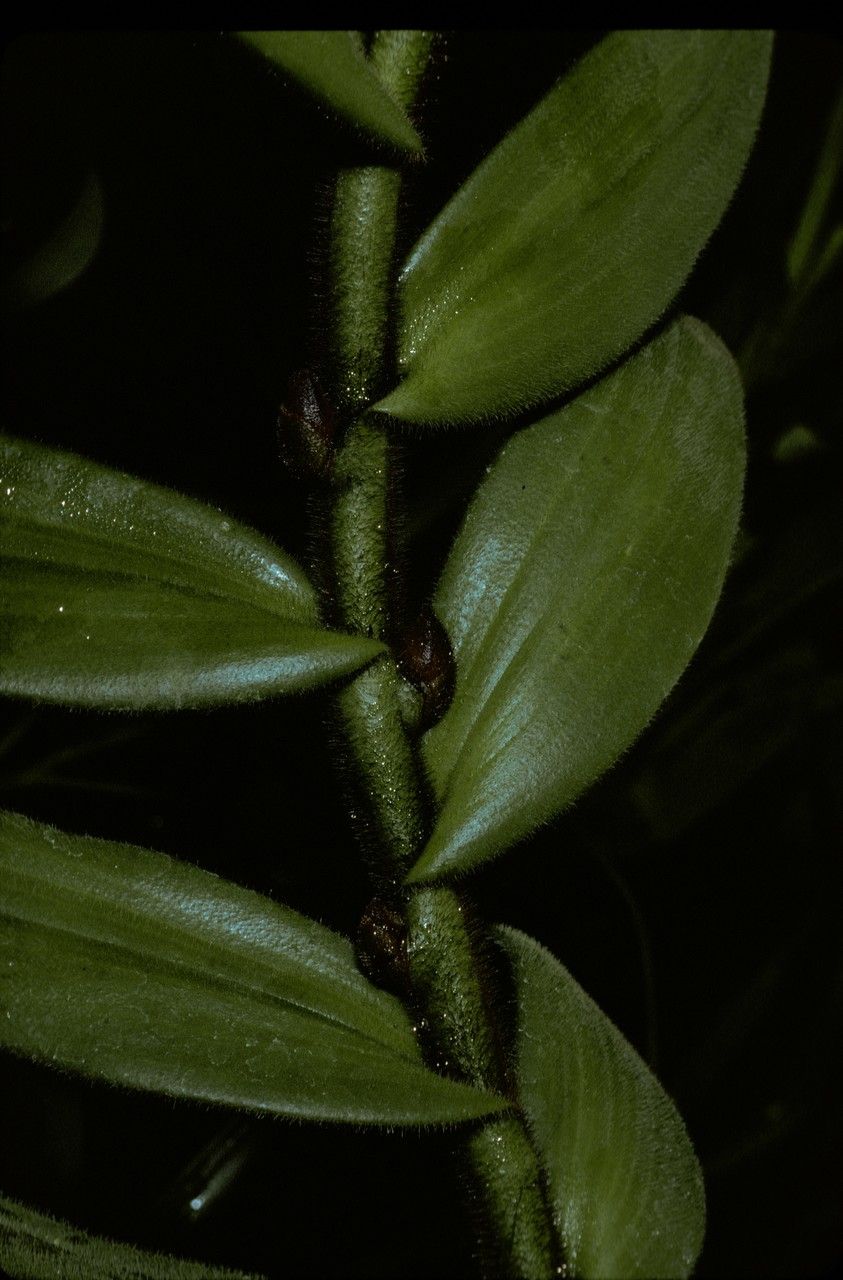
Hello fellow plant lovers! Today, we’re diving into the wonderful world of propagating Trichotosia ferox. If you’ve ever admired its delicate, almost feathery foliage and intriguing, pod-like seed heads, you’re in for a treat. Bringing new life into the world from one of your existing plants is one of the most deeply satisfying aspects of gardening, and Trichotosia ferox is a fantastic specimen to practice on. While it’s not the absolute easiest plant for a complete beginner, with a little care and attention, you can certainly achieve success.
The Best Time to Start
I’ve found that the sweet spot for propagating Trichotosia ferox is during its active growing season. This generally means late spring through early to mid-summer. The plant is full of vigor at this time, and the warmer temperatures really encourage root development. Trying to propagate when the plant is dormant or stressed just won’t yield the same exciting results.
Supplies You’ll Need
Here’s what you’ll want to have on hand before you get started:
- Sharp, clean pruning shears or a sharp knife: For making clean cuts.
- Rooting hormone (optional but recommended): Helps stimulate root growth. I prefer the powdered kind for cuttings.
- A well-draining potting mix: A good blend of peat moss, perlite, and a little bit of compost works wonders. You can also find specific succulent or cacti mixes that are a good starting point.
- Small pots or propagation trays: Make sure they have drainage holes!
- Plastic bags or a propagation dome: To maintain humidity around your cuttings.
- Spray bottle: For misting.
- Patience! This is the most important supply.
Propagation Methods
I’ve had the most luck with stem cuttings for Trichotosia ferox. It’s straightforward and usually very effective.
Stem Cuttings
- Select a healthy stem. Look for a stem that is mature but not woody. About a 3-6 inch piece is ideal. It should have at least a couple of sets of leaves.
- Make a clean cut. Using your sharp shears or knife, cut the stem just below a leaf node (where a leaf attaches to the stem). This is where vigorous root growth is most likely to occur.
- Remove lower leaves. Gently strip off the leaves from the bottom half of the cutting. This prevents them from rotting when planted.
- Apply rooting hormone (optional). Dip the cut end of the stem into your rooting hormone, tapping off any excess.
- Plant the cutting. Insert the cut end into your prepared potting mix. Make sure to firm the soil gently around the stem so it stands upright. If you’re propagating multiple cuttings, give them a little space.
- Create a humid environment. Water the soil lightly, then cover the pot with a plastic bag or place it under a propagation dome. You want to create a mini greenhouse effect. Prop the bag up so it doesn’t touch the leaves.
The “Secret Sauce” (Pro Tips)
Now for a couple of little tricks that have made all the difference for me:
- Give them a little boost. I always tell folks to consider bottom heat. Placing your pots on a seedling heat mat can really speed up root development. It mimics the warmth of the soil in nature, and your cuttings will thank you for it!
- Don’t let them get waterlogged. Even though they need humidity, consistently soggy soil is the enemy of root rot. I always err on the side of slightly too dry rather than too wet when I’m starting out. A gentle misting of the leaves every few days is usually enough once they’re covered.
Aftercare & Troubleshooting
Once you’ve planted your cuttings, place them in a bright spot out of direct sunlight. Too much sun will scorch those tender new cuttings. Check the soil moisture regularly, but avoid overwatering. You’re looking for the soil to feel slightly moist, not soaking wet.
You’ll know your cutting is rooting when you see new leaf growth, or if you gently tug on the cutting and feel resistance. This can take anywhere from a few weeks to a couple of months, so again, patience is key!
The most common problem you’ll encounter is rot. If a cutting turns mushy, black, or smells unpleasant, it’s likely succumbed to rot. This is usually due to too much moisture. Don’t be discouraged; just discard the rotted cutting and try again, adjusting your watering technique. Sometimes, wilting can signal that the cutting hasn’t rooted yet and is simply struggling to maintain moisture. Continue to keep humidity high for these.
A Encouraging Closing
Propagating Trichotosia ferox is a journey, not a race. Enjoy the process of nurturing these new plants. Watch for the subtle signs of life, and don’t be afraid to experiment a little. With a bit of practice and these tips, you’ll soon have a whole collection of these beauties to share or admire! Happy growing!
Resource:
https://identify.plantnet.org/k-world-flora/species/Trichotosia%20ferox%20Blume/data