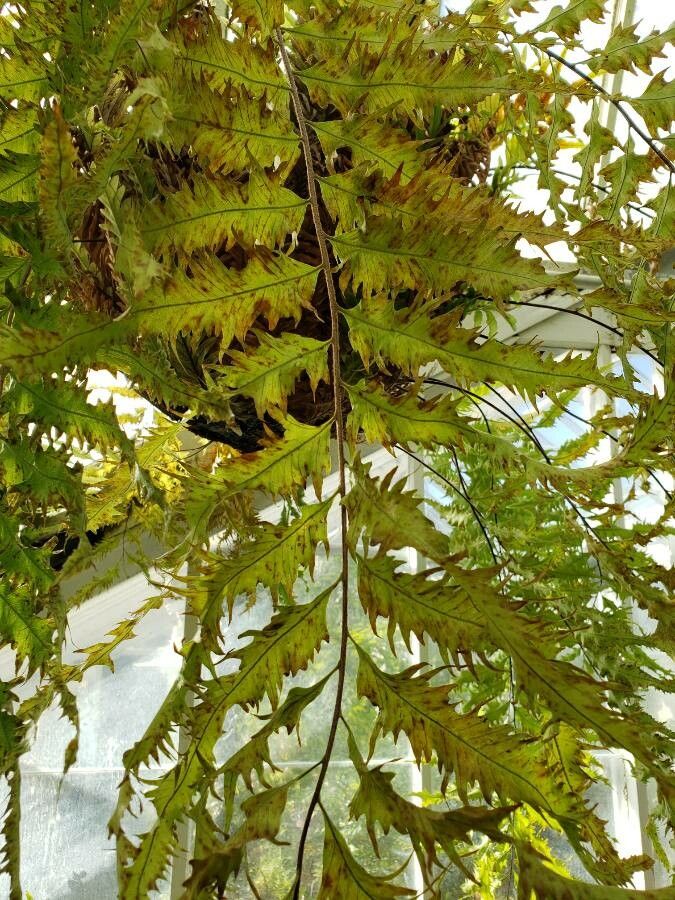
Hello, fellow plant enthusiasts! Today, we’re diving into something truly special: propagating the magnificent Drynaria rigidula. If you love a fern that brings architectural drama and a touch of the tropics to your home, you’re in for a treat. Propagating this beauty might seem a bit daunting at first, but trust me, it’s absolutely doable and incredibly rewarding. You’ll soon be sharing this stunning plant with friends!
The Best Time to Start
For Drynaria rigidula, the sweet spot for propagation is spring or early summer. This is when the plant is actively growing and has plenty of energy reserves to put into developing new roots. You’ll see new fronds unfurling, and that’s your cue that it’s ready to be multiplied. Avoid propagating during the heat of summer or when the plant is dormant in winter.
Supplies You’ll Need
Gathering your tools beforehand makes the whole process smoother. Here’s what I always have on hand:
- Sharp Pruning Shears or a Clean Knife: For making clean cuts. Sterilize them with rubbing alcohol before and after to prevent disease.
- Potting Mix: A well-draining mix is crucial. I like to use a blend of equal parts peat moss or coco coir, perlite, and a bit of orchid bark. This mimics their epiphytic nature.
- Small Pots or Trays: For your new cuttings. Make sure they have drainage holes.
- Rooting Hormone (Optional but Recommended): A powder or gel can give your cuttings a helpful boost.
- Plastic Bags or a Propagation Dome: To create a humid environment.
- Water: For watering and potentially water propagation.
- Labels: To keep track of your projects!
Propagation Methods
Drynaria rigidula is best propagated through division. This is the most reliable and least stressful method for both you and the plant.
Division: The Tried-and-True Method
- Prepare Your Plant: Gently remove your Drynaria rigidula from its pot. If it’s mounted, carefully detach it, keeping as much of the rhizome and aerial roots intact as possible.
- Examine the Rhizome: Look for the thick, creeping stem – that’s the rhizome. You want to identify sections that have healthy fronds and a good number of roots.
- Make the Cut: Using your sterilized pruning shears or knife, carefully cut the rhizome into sections. Aim for each section to have at least two to three healthy fronds and a good chunk of rhizome. Gently loosen any tangled roots as you go.
- Potting Up: Place each division into its own pot. Nestle the rhizome so it’s just at the surface of the soil, or slightly covered. Ensure the roots are spread out and in contact with the potting mix.
- Water Gently: Water the newly potted divisions thoroughly but gently. You don’t want to disturb the soil too much.
The “Secret Sauce” (Pro Tips)
Now for those little tricks that make a big difference!
- Don’t Be Afraid of the Rhizome: The rhizome is the powerhouse. When dividing, don’t worry if you have to separate some roots. Just ensure the main structure is intact. A healthy rhizome will quickly send out new ones.
- Humidity is Key: Drynaria rigidula loves humidity. After potting, I always pop my divisions into a clear plastic bag (loosely tied) or under a propagation dome. This traps moisture and creates a mini-greenhouse effect that encourages new root and frond growth.
- Patience with the “Nest”: You might notice that the older, sometimes dried-up structures at the base of the fronds (often called the “nests”) are still attached. Don’t rush to remove them! These can hold moisture and nutrients, assisting the new growth. Only remove them if they show signs of rot.
Aftercare & Troubleshooting
Once your divisions are potted and settled, treat them like a mature plant, but with a gentle hand.
- Watering: Keep the potting mix consistently moist but never soggy. Check the top inch of soil; if it feels dry, it’s time to water.
- Light: Place them in bright, indirect light. Avoid direct sunlight, which can scorch new growth.
- Humidity: Continue to maintain that high humidity for the first few weeks. Misting can help, but ensure good air circulation to prevent fungal issues.
Signs of Trouble:
- Rot: If you notice mushy, brown sections on the rhizome or yellowing leaves that drop easily, it’s likely rot. This is usually caused by overwatering or poor drainage. You might need to trim away affected parts and repot in drier soil.
- Wilting: While a little wilting can happen as the plant adjusts, persistent wilting can also indicate root problems or the need for more humidity.
Happy Propagating!
Watching a new plant emerge from what you’ve carefully divided is pure magic. Be patient with your Drynaria rigidula divisions. It can take several weeks, sometimes even a couple of months, for new roots and fronds to appear. Enjoy the process, celebrate each tiny new leaf, and soon you’ll have a whole collection of these fantastic ferns! Happy gardening!
Resource:
https://identify.plantnet.org/k-world-flora/species/Drynaria%20rigidula%20(Sw.)%20Bedd./data