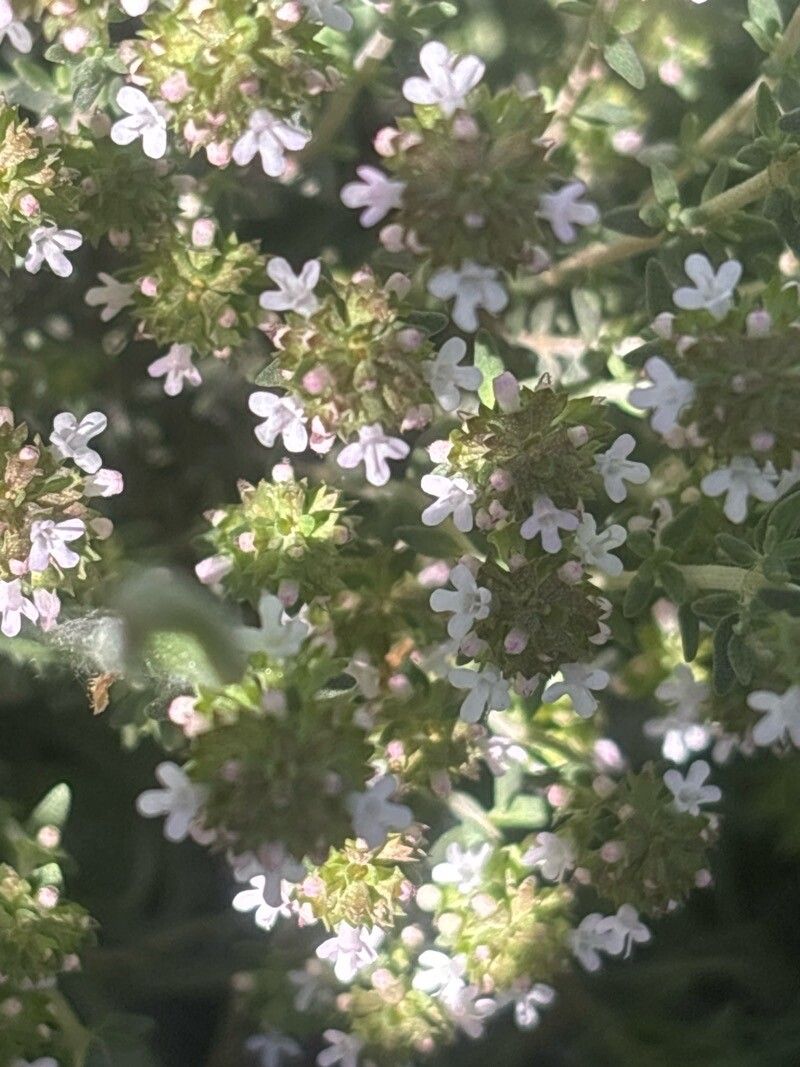
Oh, hello there, fellow garden lover! I’m so glad you stopped by. Today, we’re going to chat about a truly delightful herb: Thymus lacaitae. You know, the one with the wonderfully delicate scent and those pretty little pinkish-purple flowers that are just buzzing with pollinators. Growing it is one thing, but coaxing new life from it – that’s where the real magic happens. And don’t you worry, it’s not as intimidating as it might sound!
Why Propagate Thymus lacaitae? It’s a Garden Love Affair!
I’ve been growing herbs for two decades now, and there’s something incredibly satisfying about multiplying your favorite plants. With Thymus lacaitae, you get more of that gorgeous aroma to fill your kitchen, more little bunches to share with friends, and more of those charming blooms to enjoy year after year. This herb is pretty forgiving, and propagation is definitely achievable for even the newest gardener. It’s a wonderful way to build confidence and expand your green patch without spending a fortune.
The Best Time to Get Your Hands Dirty
For the highest chance of success with Thymus lacaitae, I always recommend starting in late spring or early summer. This is when the plant is actively growing and has plenty of energy. You’re looking for stems that are semi-hardy, meaning they’re not brand new and floppy, but also not old and woody. Think of it as the “just right” stage – snapping a stem cleanly without it being too brittle or too bendy.
Supplies You’ll Want to Gather
Having the right tools makes all the difference. Here’s what I keep on hand:
- Clean Pruning Shears or a Sharp Knife: For making precise cuts.
- Seed-Starting Mix or a Light Potting Mix: Something well-draining is key. I often mix equal parts peat moss, perlite, and a bit of compost.
- Small Pots or Trays: Clean ones are important to prevent disease. About 3-4 inch pots are perfect.
- Rooting Hormone (Optional, but Recommended): This gel or powder helps speed up root development.
- Plastic Bags or a Clear Dome: To create a humid environment.
- Watering Can with a Fine Rose: For gentle watering.
- Labels: You’ll thank yourself later for remembering which plant is which!
Propagation Methods to Spark New Life
I find that stem cuttings are the most reliable and easiest method for Thymus lacaitae.
Here’s how I do it:
- Take Your Cuttings: Using your clean shears, snip off 3-4 inch lengths of semi-hardy stems. Make your cut just below a leaf node (where the leaves attach to the stem).
- Prepare the Cuttings: Gently remove the lower leaves from the bottom inch or so of each cutting. This is really important so they don’t rot when you bury them. You can leave the top few sets of leaves on.
- Dip in Rooting Hormone (If Using): Lightly dip the cut end of each stem into your rooting hormone, tapping off any excess.
- Plant Your Cuttings: Fill your small pots with your prepared soil mix, leaving about half an inch of space at the top. Make a small hole in the center of the soil with your finger or a pencil.
- Insert and Firm: Gently insert the cut end of each thyme cutting into the hole. Firm the soil gently around the base of each cutting to ensure good contact with the soil. You can typically fit 3-4 cuttings per pot, spaced a couple of inches apart.
- Water Gently: Water your newly planted cuttings thoroughly but gently. You want the soil to be moist, not waterlogged.
- Create Humidity: Cover the pots with a clear plastic bag, ensuring it doesn’t touch the leaves, or use a propagator with a lid. This traps moisture and creates the perfect humid environment for rooting.
My “Secret Sauce” for Extra Success
Now, for a few little tricks that have saved countless cuttings for me:
- Bottom Heat is Your Friend: If you can, place your pots on a small heat mat designed for seedlings. A little warmth from below really encourages those roots to get going. You don’t need it to be hot, just a gentle warmth.
- Don’t Drown Your Darlings: While humidity is crucial, avoid letting water pool on the leaves or sit stagnant in the pot. I like to air out my cuttings daily for a few minutes, especially if I’m using a plastic bag, to prevent fungal issues. If the soil looks a bit dry, I’ll water gently.
- The “Snap” Test: After a few weeks (usually 3-4), you can gently tug on a cutting. If you feel resistance, that means roots have formed! If it pulls out easily, it needs more time.
Aftercare & Troubleshooting: The Waiting Game
Once you see signs of rooting – new leaf growth is a good indicator – it’s time to gradually acclimate your new baby thymes. Remove the plastic covering for an hour or two each day, slowly increasing the time until they’re fully uncovered. Keep the soil consistently moist but not soggy.
The most common issue you might encounter is rot. This usually happens if the cuttings are kept too wet or lack good air circulation. If you see wilting that doesn’t seem to be related to dryness, or stems turning black and mushy, it’s usually a sign of rot. At that point, unfortunately, it’s best to discard the affected cutting and try to improve your watering and ventilation for the remaining ones.
Happy Rooting, My Friends!
Propagating Thymus lacaitae is a rewarding journey. Be patient with yourself and your new plants. Some will succeed beautifully, and a few might not – that’s just part of gardening! Enjoy the process, breathe in that lovely scent, and soon you’ll have an abundance of this wonderful herb to share. Happy growing!
Resource:
https://identify.plantnet.org/k-world-flora/species/Thymus%20lacaitae%20Pau/data