Oh, hello there! Come on in, grab a mug. Let’s chat about propagating Tetracera billardierei. I’ve been growing and playing with this beauty for years, and let me tell you, there’s something truly special about coaxing a new life from a piece of an existing plant.
The Blooming Appeal of Tetracera Billardierei
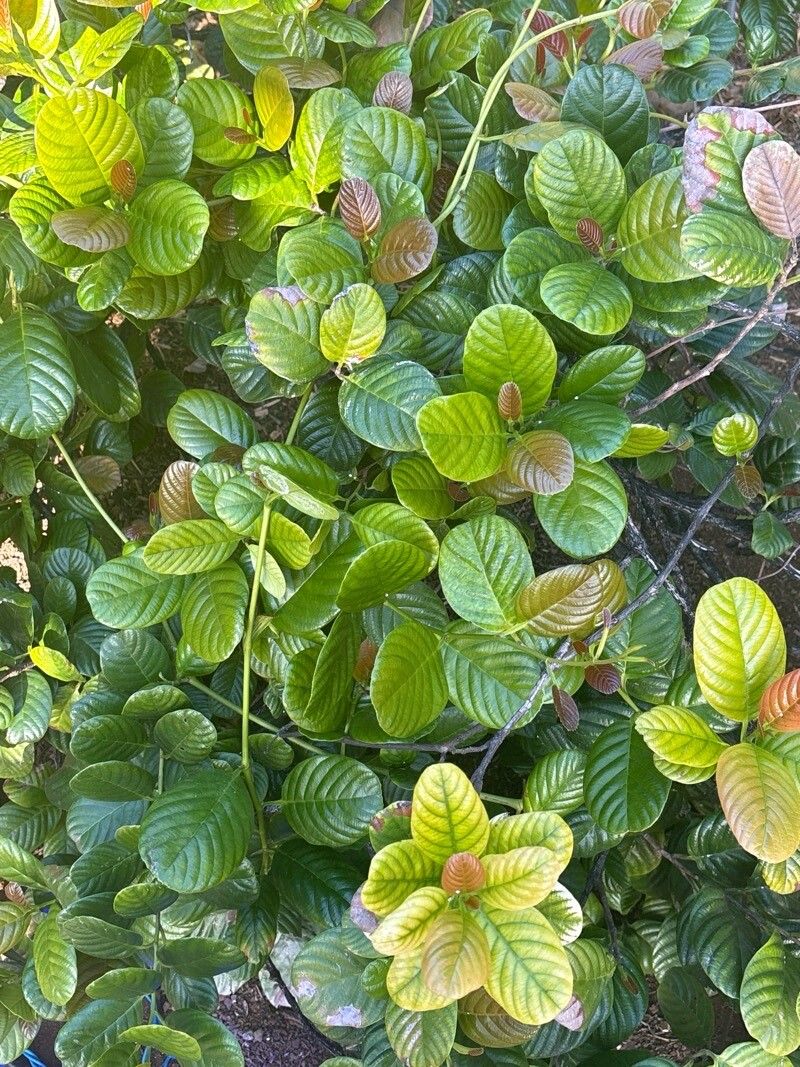
Tetracera billardierei, sometimes called “native hop” because of its vigor, is just a delight. Its glossy, heart-shaped leaves and delicate, fragrant white flowers make it a star. And the best part? It’s really not a difficult plant to get going from cuttings. If you’re new to propagation, this is a wonderfully rewarding one to start with. You’ll feel like a gardening magician!
When to Get Your Hands Dirty: The Best Time to Start
For Tetracera billardierei, the sweet spot is generally spring and early summer. This is when the plant is actively growing and has plenty of energy to put into developing new roots. You want to take cuttings from stems that are semi-hardwood. This means they’re not brand new, soft growth, but not completely woody either. They should be firm enough to snap cleanly, but still have some flexibility.
Your Propagation Toolkit
Gathering your supplies beforehand makes the whole process so much smoother. Here’s what I usually have on hand:
- Sharp pruning shears or a clean craft knife: For making precise cuts.
- Rooting hormone powder or gel: This really helps give your cuttings a boost.
- A well-draining potting mix: I love a blend of perlite, peat moss, and a bit of compost. You can also buy specific seed-starting or propagation mixes.
- Small pots or seed trays: Clean ones are a must!
- Clear plastic bags or a propagator lid: To create a humid environment.
- Watering can with a fine rose or a spray bottle: For gentle watering.
Bringing New Tetracera to Life: Propagation Methods
The most reliable way I’ve found to propagate Tetracera billardierei is through stem cuttings. It’s straightforward and gives great results.
- Select Your Cuttings: Look for healthy stems that are about 4-6 inches long. Make your cut just below a leaf node, which is the little bump where a leaf grows from the stem.
- Prepare the Cuttings: Gently remove the lower leaves from the cutting, leaving just a couple of leaves at the top. This prevents them from rotting in the soil and directs the plant’s energy towards root development.
- Apply Rooting Hormone: Dip the cut end of the stem into your rooting hormone, tapping off any excess. This step is really beneficial!
- Plant Your Cuttings: Make a hole in your prepared potting mix with a pencil or your finger, then gently insert the cutting, ensuring at least one leaf node is buried in the soil. Firm the soil around the stem.
- Create a Humid Environment: Water the potting mix gently. Then, cover the pot with a clear plastic bag or place it in a propagator. This traps humidity, which is crucial for the cuttings to root.
The “Secret Sauce”: My Insider Tips
After years of poking around in pots, I’ve learned a few things that make a difference.
- Don’t Drench, Mist: While cuttings need humidity, sitting in soggy soil is a fast track to rot. Water thoroughly at first, then mist the soil and the inside of the plastic bag regularly to maintain that lovely humid microclimate.
- Warmth is Wonderful: Cuttings root much faster when they have a bit of gentle warmth coming from below. If you have a heat mat designed for propagation, use it! If not, a warm windowsill that doesn’t get direct, scorching sun can work.
Aftercare and When Things Go Wrong
Once your cuttings have successfully rooted – you’ll usually see new growth appearing from the top nodes – it’s time for a little pampering.
- Gradual Acclimation: Slowly remove the plastic bag over a few days to let the new plant adjust to less humid air.
- Gentle Watering: Continue to keep the soil consistently moist, but not waterlogged. As they grow, you can transplant them into slightly larger pots.
The most common sign of trouble is rot. If your cutting turns black and mushy, it’s usually a sign of too much moisture or a lack of good air circulation. Don’t get discouraged, just try again! Sometimes, cuttings just don’t take, and that’s part of the gardening journey.
Patience and the Joy of Growth
Propagating Tetracera billardierei is a beautiful exercise in patience. Witnessing those tiny roots form and new leaves unfurl is incredibly rewarding. Don’t be afraid to experiment, and remember to enjoy every step of the process. Happy propagating!
Resource:
https://identify.plantnet.org/k-world-flora/species/Tetracera%20billardierei%20Martelli/data