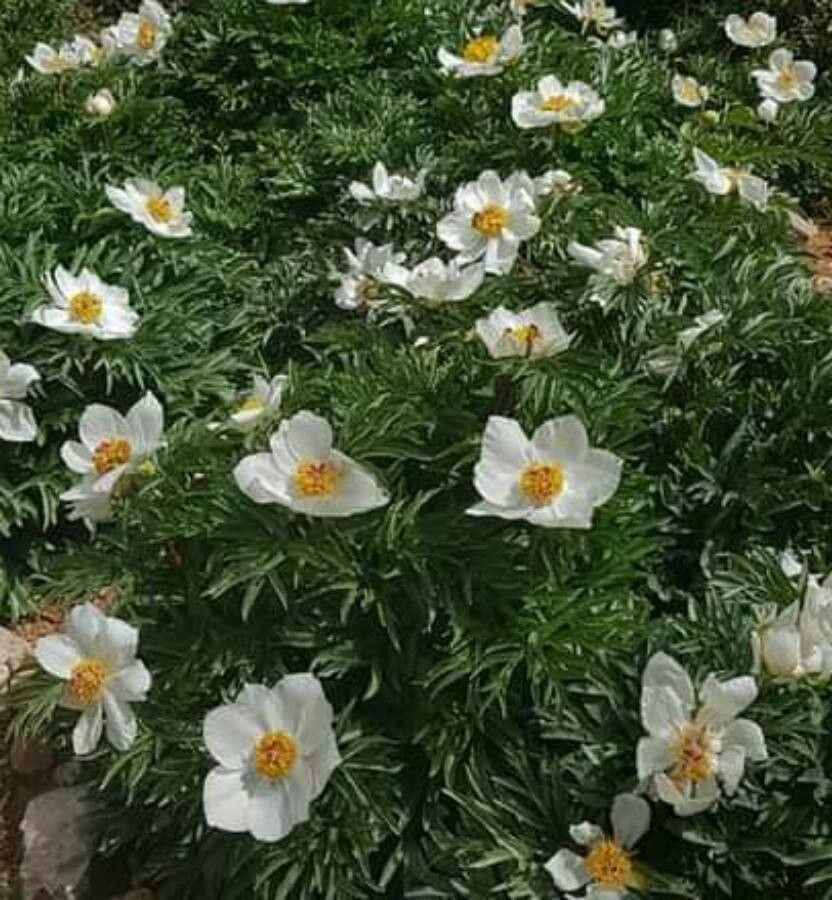
Hey there, fellow plant lovers! Today, we’re diving into the enchanting world of Paeonia clusii, often called the Island Peony. If you’ve ever been captivated by its delicate beauty – those lush, often ruffled flowers that bring a touch of elegance to any garden – you’re not alone. And what’s more rewarding than making more of something you love?
Propagating Paeonia clusii can be a wonderfully satisfying endeavor. Now, I won’t sugarcoat it – peonies, in general, can be a little finicky about being moved or propagated, and Paeonia clusii is no exception. It’s not the easiest plant for absolute beginners, but with a bit of patience and the right approach, it’s absolutely achievable. Think of it as a rewarding challenge!
The Best Time to Start
For most propagation methods with Paeonia clusii, the late summer or early autumn is your sweet spot. This is after the plant has finished its spring bloom and is starting to store energy for the next season. The roots are less active, and the plant is settling down, making it a less stressful time for it to undergo any significant changes.
Supplies You’ll Need
Here’s a handy list of what you’ll want to gather before you begin:
- Sharp, clean pruning shears or a sharp knife: Essential for making clean cuts.
- Rooting hormone (optional, but recommended for cuttings): A powder or gel that encourages root development.
- Well-draining potting mix: A blend of peat moss, perlite, and a little compost works wonders. Regular potting soil can be too dense.
- Small pots or seed trays: For your new cuttings or divisions.
- Labels and a permanent marker: To keep track of what you’ve planted.
- Watering can with a fine rose: For gentle watering.
- Gravel or pebbles (optional): For the bottom of pots to improve drainage.
Propagation Methods
Let’s get our hands dirty! The most successful ways to propagate Paeonia clusii are through division and, with a bit of care, stem cuttings.
Division
This is generally the most reliable method for peonies.
- Dig Carefully: In late summer or early autumn, gently dig up your peony plant. Try to get as much of the root ball as possible. Excessively disturbing the roots isn’t ideal, so be patient.
- Clean the Roots: Gently wash away the soil from the root system. You want to be able to clearly see the structure.
- Inspect for Eyes: Look for the “eyes” or dormant buds on the crown of the plant. These are crucial for new growth. Each division needs at least one or two healthy eyes and a good chunk of root.
- Divide: Using your clean knife or pruning shears, carefully divide the root ball. You might need to cut through thicker roots. Don’t be afraid to get a clean cut, but avoid tearing.
- Replant: Plant your divisions immediately. Ensure the eyes are facing upwards and no more than an inch or two below the soil surface. Over-burying them is a common mistake! Space them out in pots or back in the garden, giving them room to grow.
Stem Cuttings (More Advanced)
This method requires a bit more precision.
- Select Your Cuttings: In late spring or early summer, when the stems are still semi-hardwood (firm but not woody), take cuttings about 4-6 inches long. Make your cut just below a leaf node.
- Prepare the Cuttings: Remove the lower leaves, leaving only two or three at the top. If the leaves are very large, you can cut them in half to reduce water loss.
- Apply Rooting Hormone: Dip the cut end of the stem into rooting hormone. Tap off any excess.
- Pot Them Up: Insert the treated end into your well-draining potting mix. You can place several in a pot, ensuring they don’t touch each other.
- Provide a Humid Environment: Mist them lightly and cover the pot with a clear plastic bag or place it in a propagator. This creates a humid environment, which is vital for cuttings.
The “Secret Sauce” (Pro Tips)
Here are a few things I’ve learned over the years that can really make a difference:
- Don’t Over-Water Division: While division requires replanting, be cautious not to drench the freshly divided roots. Keep the soil lightly moist rather than waterlogged, especially until you see new growth. Too much moisture can lead to rot.
- Bottom Heat for Cuttings: If you’re trying stem cuttings, placing the pot on a gentle heat mat can significantly speed up root formation. This mimics the warmth of spring soil and encourages those roots to start thinking about appearing.
- Patience is the True Secret: Peonies are slow growers, and propagation is no different. Don’t be discouraged if you don’t see immediate results. Some roots can take weeks, or even months, to develop.
Aftercare & Troubleshooting
Once you see signs of new growth – be it a tiny leaf emerging or the start of new roots if you wiggle a cutting very gently (don’t do this too often!) – it’s time for careful aftercare.
For Divisions: Water them regularly but ensure the soil dries out slightly between waterings. Protect them from harsh sun if you’ve replanted them in a new, exposed spot.
For Cuttings: Gradually acclimatize them to less humid conditions by opening the plastic bag a little each day. Once they seem established, you can move them to a slightly larger pot.
Common Issues:
- Rot: This is the biggest enemy! It’s usually caused by overwatering and poor drainage. If you see mushy stems or roots, there’s not much you can do but discard the affected material. This is why a good, airy soil mix is so important.
- No Growth: This can be due to lack of roots, or the eyes being too deep or damaged. For divisions, sometimes it takes a full season before they really put on a show.
A Little Encouragement to Close
Propagating Paeonia clusii might feel like a bit of a project, but the reward of nurturing a new life from an existing treasure is immense. Be patient with your plants, and even more so with yourself. Gardening is a journey, and every successful propagation is a little victory to celebrate. Happy gardening!
Resource:
https://identify.plantnet.org/k-world-flora/species/Paeonia%20clusii%20Stern/data