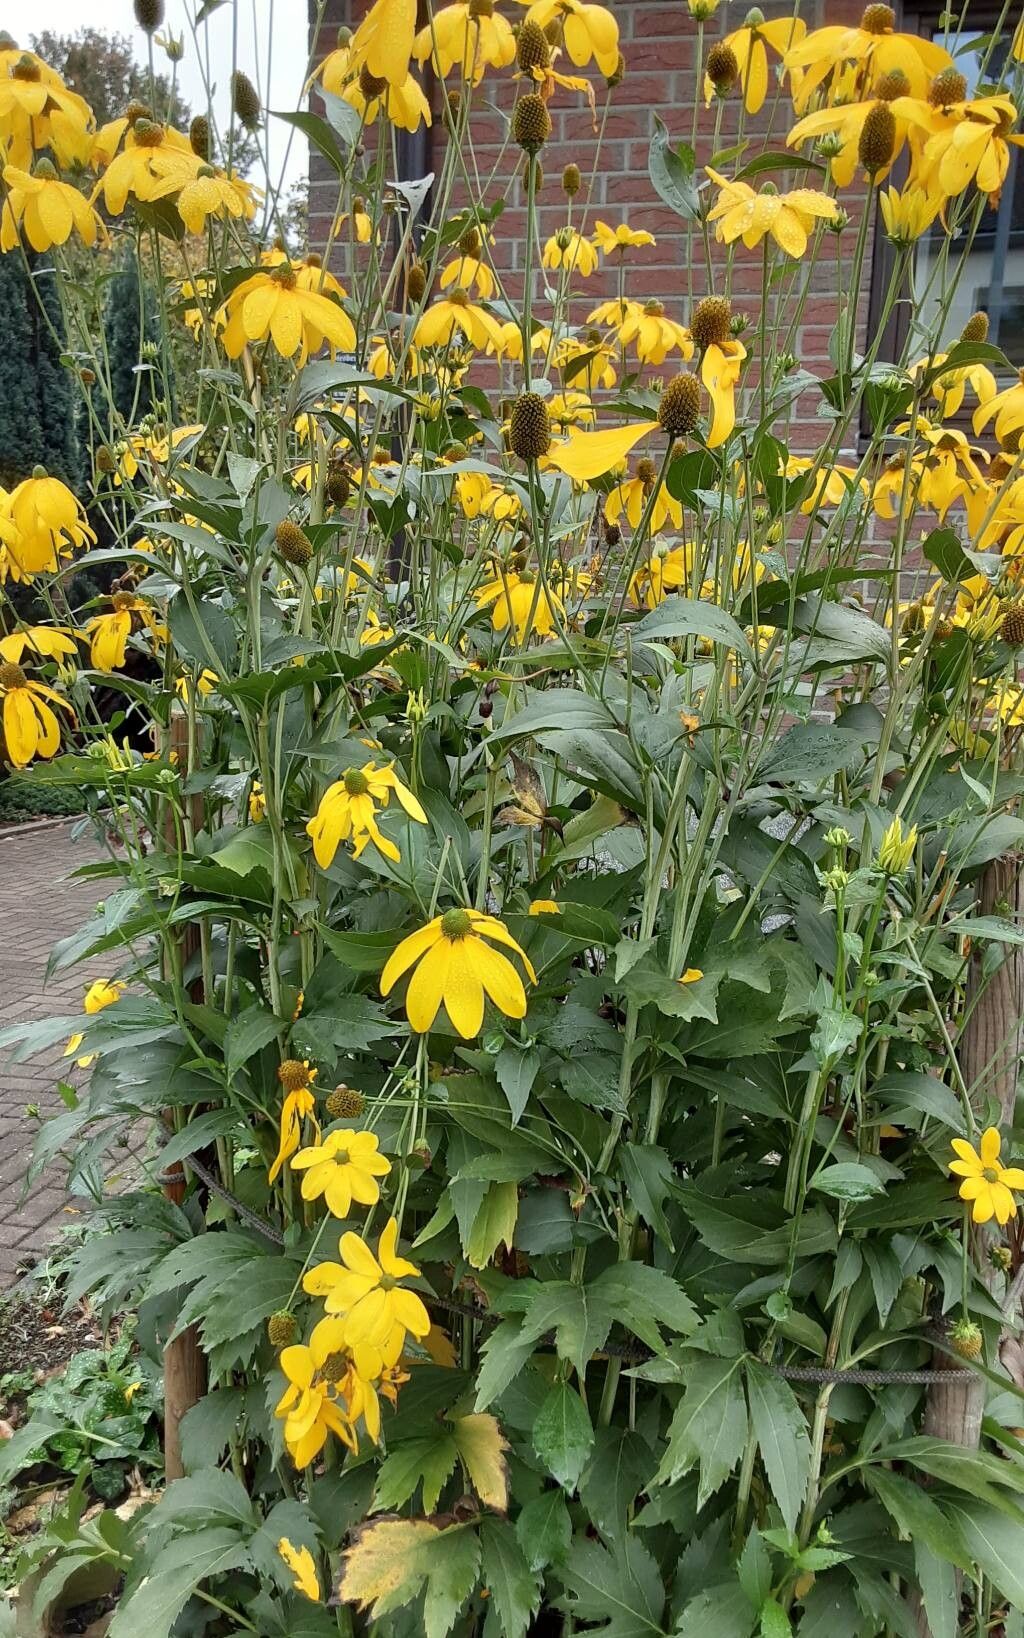
Ah, Rudbeckia nitida! Also known as Appalachian coneflower or shiny coneflower, this beauty is a real garden workhorse. I’ve had these cheerful, bright yellow blooms gracing my garden for years, and they always bring a smile to my face, especially in late summer and fall when so many other plants are starting to fade. It’s a native prairie plant, so it’s tough and loves full sun. Plus, the pollinators absolutely adore it!
One of the most satisfying things a gardener can do is to take a piece of a plant you love and help it grow into a whole new one. It’s like duplicating joy, and with Rudbeckia nitida, it’s wonderfully achievable. For beginners? Absolutely, this one’s a friendly plant to start with.
The Best Time to Start
When it comes to Rudbeckia nitida, I find spring is your golden ticket. Aim for when the plant is actively growing, usually after the last frost has passed. You can also get away with taking cuttings in early summer, but spring growth tends to be more vigorous and responsive. Observing your plant is key; look for fresh, new shoots emerging.
Supplies You’ll Need
You won’t need a whole fancy setup for this. Here’s what I usually gather:
- Sharp pruning shears or a clean knife: For making clean cuts.
- Rooting hormone (optional but helpful): A powder or gel to encourage root development.
- A well-draining potting mix: I like a mix of peat moss, perlite, and a bit of compost.
- Small pots or seed trays: With drainage holes!
- Plastic bags or a humidity dome: To keep those cuttings from drying out.
- Watering can or spray bottle: For gentle watering.
- Labels and a marker: So you don’t forget what you planted where!
Propagation Methods
Rudbeckia nitida is pretty forgiving, and division is hands-down the easiest method. But if you want to try cuttings, that works beautifully too.
Division (The Foolproof Way)
- Dig Up the Plant: In early spring, before new growth gets too big, carefully dig up your established Rudbeckia nitida plant. Try to get as much of the root ball as possible.
- Gently Separate: Shake off excess soil and gently pull or use a trowel to divide the crown. You want sections that have both roots and at least one or two healthy shoots.
- Replant Immediately: Once you have your divisions, replant them into their new homes, whether that’s back in the original garden spot or in new containers. Water them in well.
Stem Cuttings (For Quick Expansion)
- Take Your Cuttings: Using your sharp shears, make clean cuts just below a leaf node on healthy, non-flowering stems. You’re looking for pieces about 4-6 inches long. Pinch off the lower leaves, leaving just a couple at the top.
- Apply Rooting Hormone (If Using): Dip the cut end into your rooting hormone, tapping off any excess.
- Plant Your Cuttings: Fill your small pots with your prepared potting mix. Make a small hole with your finger or a pencil and insert the cut end of the stem, firming the soil around it.
- Create a Humid Environment: Water the soil gently. Then, cover the pots with a plastic bag (making sure the leaves don’t touch the plastic) or place them under a humidity dome. This is crucial to prevent them from drying out.
The “Secret Sauce” (Pro Tips)
Here are a couple of things I’ve learned over the years that really make a difference:
- Bottom Heat is Your Friend: For stem cuttings, if you can provide a little gentle warmth from underneath (like on a heat mat or near a sunny window where it gets a bit warmer), it significantly speeds up root development.
- Don’t Drown Them: When watering your cuttings, err on the side of caution. You want the soil to be consistently moist, not soggy. Soggy soil is an invitation for rot. A light misting from a spray bottle is often best for newly planted cuttings.
Aftercare & Troubleshooting
Once your Rudbeckia cuttings have developed a good root system (you can gently tug on them – if there’s resistance, they’ve rooted!), it’s time to give them a little more freedom. Gradually acclimate them to drier air by taking the plastic bag off for longer periods each day. Then, transplant them into slightly larger pots if needed. Keep them watered and in a bright spot (but avoid scorching sun initially).
Watch out for rot. If your cuttings look limp, mushy, or have a foul smell, it’s likely rot from too much moisture. Sadly, there’s usually no coming back from that, but don’t despair! Just replant the surviving ones or try again. Wilting without rot usually means they’re just too dry.
A Word of Encouragement
The garden is all about patience and observation. Don’t be discouraged if your first attempt isn’t a roaring success. Every gardener learns through trial and error. Take the time to enjoy the process, nurture your new Rudbeckia plants, and soon you’ll be surrounded by even more of those beautiful, sunny flowers. Happy propagating!
Resource:
https://identify.plantnet.org/k-world-flora/species/Rudbeckia%20nitida%20Nutt./data