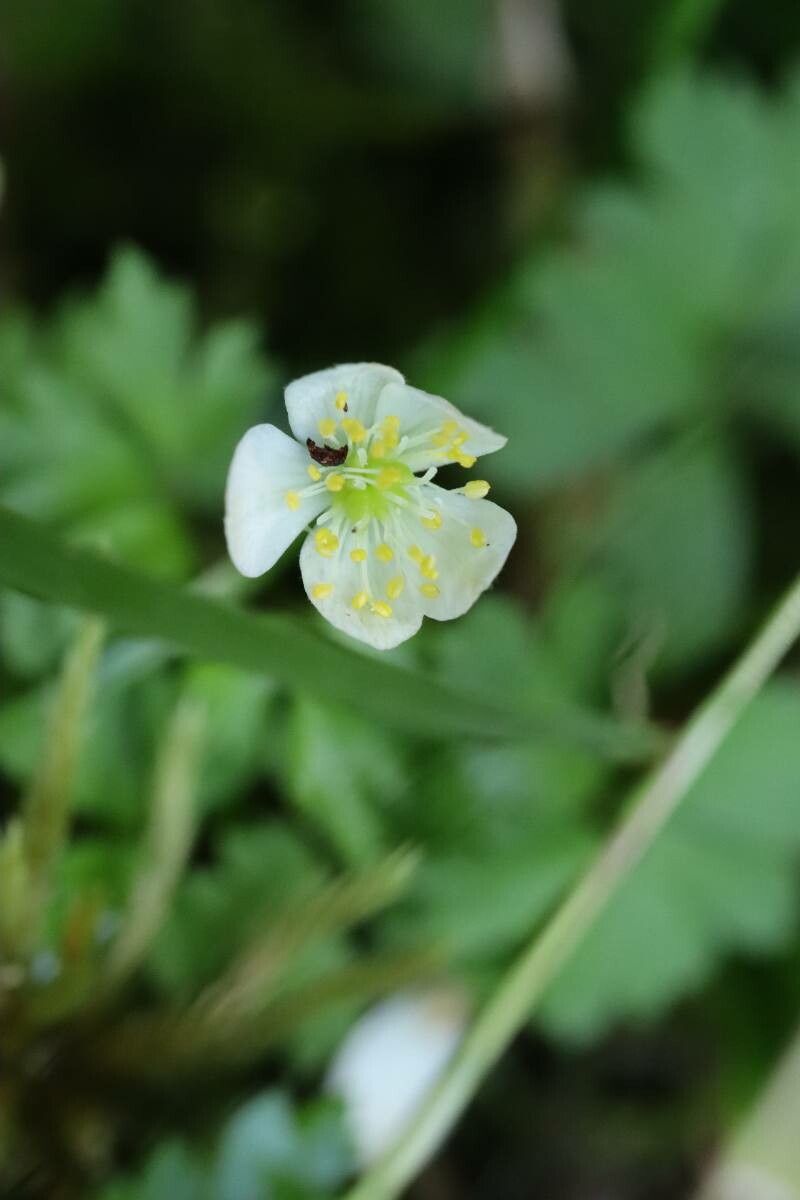
Well hello there, fellow plant lovers! I’m so glad you’ve stopped by my little corner of the internet. Today, we’re diving into the wonderful world of propagating Anemonoides stolonifera, often called creeping anemone or Japanese anemone. If you’ve ever admired those delicate, airy blooms gracing a garden, chances are you’ve seen this beauty. It’s a fantastic plant for adding that touch of whimsical charm, and honestly, multiplying it is a very satisfying endeavor. For beginners? I’d say it’s moderately easy. With a little patience and a few key tricks, you’ll be well on your way to a garden brimming with these charmers.
The Best Time to Start
Timing is everything, isn’t it? For Anemonoides stolonifera, the sweet spot for propagation is generally in the early spring, as new growth begins to emerge. This is when the plant has vigor and energy to put into forming new roots. Alternatively, you can have success with late summer divisions, giving the new plants a chance to establish before winter.
Supplies You’ll Need
Gathering your tools before you start makes the whole process so much smoother. Here’s what I usually have on hand:
- Sharp pruning shears or a clean, sharp knife: For making clean cuts.
- Well-draining potting mix: I like a blend of peat moss, perlite, and a bit of compost. You can find pre-made mixes for perennials, too.
- Small pots or seed trays: For your new baby plants. Make sure they have drainage holes!
- Rooting hormone (optional but helpful): A powder or gel to give cuttings a little boost.
- Watering can or spray bottle: For gentle watering.
- Labels: To keep track of what you’ve propagated and when!
Propagation Methods
Anemonoides stolonifera is a trooper and can be propagated in a few ways. Division is by far the most common and easiest for home gardeners.
Division: Your Best Bet
This is where you’ll find the most success, especially as your plant matures.
- Dig Gently: In early spring, carefully dig up your existing Anemonoides stolonifera clump. Try to disturb the roots as little as possible by digging a wide circle around the plant. Lift it gently from the soil.
- Inspect and Separate: Gently shake off excess soil. You’ll see the root system, often with creeping rhizomes (underground stems). Look for natural divisions where the plant seems to want to split.
- Divide with Care: Use your hands to gently pull apart the root ball. If it’s a bit stubborn, use your clean pruning shears or knife to make a clean cut through any thick rhizomes. Make sure each division has a good portion of roots and at least one healthy stem with some visible buds.
- Replant Promptly: Get your new divisions planted in their new homes or pots right away. Ensure they are planted at the same depth they were growing before. Water them in well.
Stem Cuttings: A Bit More Finesse
While division is my go-to, you can try stem cuttings, though it requires a bit more attention.
- Select Healthy Stems: In spring or early summer, choose healthy, non-flowering stems that are about 4-6 inches long.
- Make the Cut: Using your sharp tool, make a clean cut just below a leaf node (the point where leaves attach to the stem).
- Prepare the Cutting: Remove the lower leaves, leaving just a couple at the top. If you’re using it, dip the cut end into rooting hormone.
- Pot Them Up: Fill small pots with your well-draining mix. Make a hole with a pencil or your finger and insert the cutting, firming the soil gently around it. You want the leaf nodes you cut below to be buried.
- Create a Humid Environment: This is crucial for cuttings! Lightly water the soil, then cover the pot with a clear plastic bag or place it inside a propagation dome. This will keep humidity high.
- Provide Light and Warmth: Place the cuttings in bright, indirect light. Avoid direct sun, which can scorch them.
The “Secret Sauce” (Pro Tips)
Here are a couple of my little tricks that have made all the difference for me:
- Rhizome Power: When dividing, don’t be afraid to look at the rhizomes. You can actually cut sections of healthy rhizomes, about 2-3 inches long, each with at least one bud or growth point, and plant them shallowly. They’ll often sprout new shoots!
- Patience with Cuttings: For stem cuttings, don’t impatiently pull them out to check for roots too soon. It can take several weeks, and disturbing them too often can set them back. Aim for 4-6 weeks before you gently tug. If there’s resistance, you likely have roots!
Aftercare & Troubleshooting
Once your new divisions or rooted cuttings are showing signs of growth, it’s time for them to mature.
- Watering: Keep the soil consistently moist but not soggy. Overwatering is the quickest way to invite rot, especially for young plants.
- Light: Gradually introduce them to more light as they grow stronger.
- Transplanting: Once they have a good root system and are showing robust new growth, you can transplant them into larger pots or their final garden spot.
- Troubleshooting: The most common issue you’ll face is rot. This is usually a sign of too much moisture and poor drainage. If you see mushy stems or leaves turning yellow and wilting without explanation, check your watering habits and soil mix. Discard any diseased parts.
A Little Something Extra
There you have it! Propagating Anemonoides stolonifera is a rewarding journey. It’s about observation, a dash of patience, and the joy of creating new life from an existing treasure. Don’t get discouraged if your first attempt isn’t perfect; gardening is a continuous learning process. Enjoy the magic of watching those tiny roots grow! Happy propagating!
Resource: