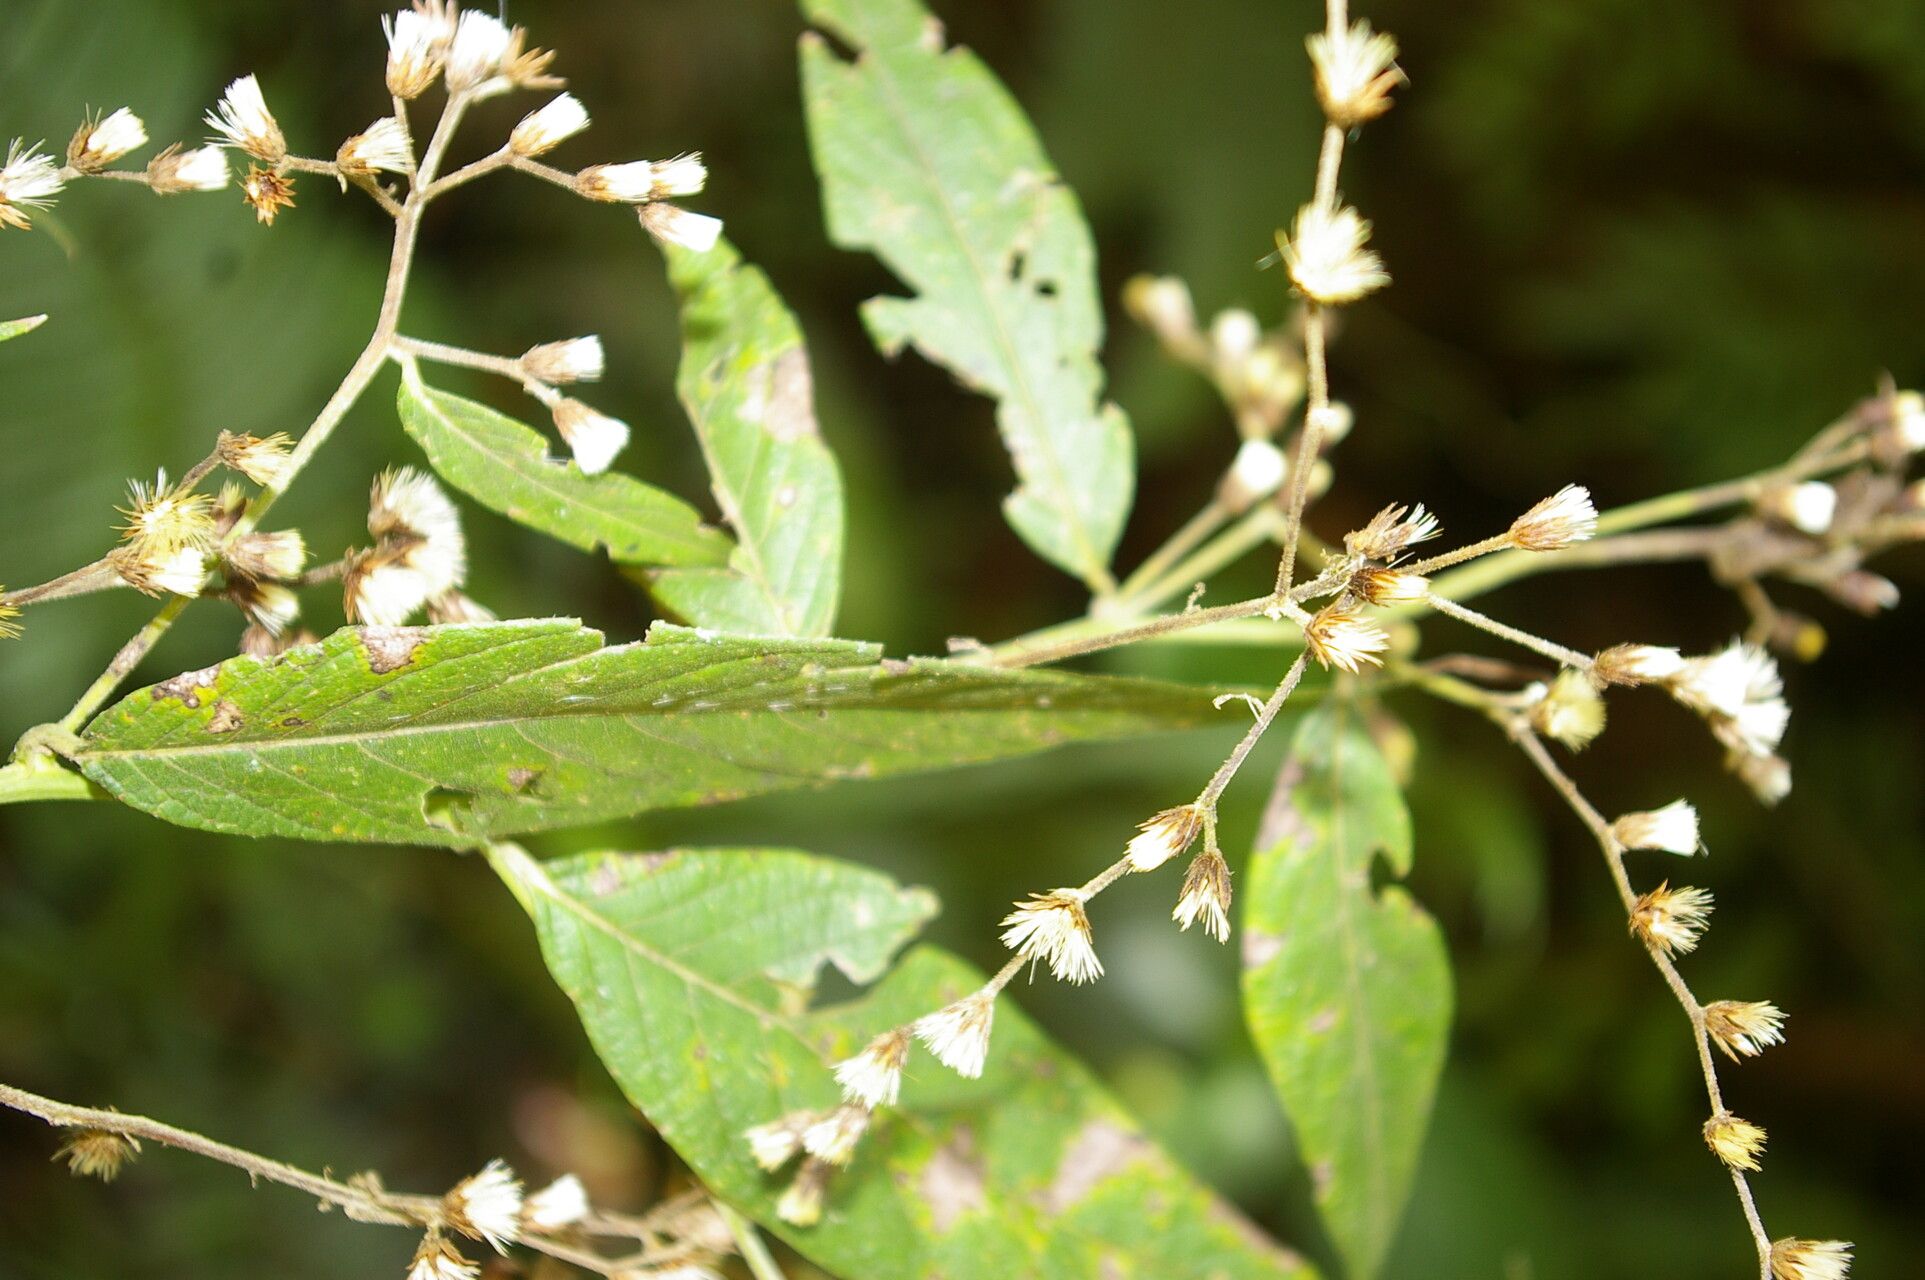
Hello fellow plant lovers! Today, we’re diving into the wonderfully rewarding world of propagating Lepidaploa canescens, often simply called Powderpuff or even Woolly Powderpuff due to its soft, puffball-like flowers. This plant is a stunner, isn’t it? Those fuzzy blooms, often in vibrant shades of pink or purple, can really bring a tropical flair and a buzz of pollinator activity to your garden. And the best part? Once you have one, you can easily make more! It’s a fantastic way to fill out your beds, share with friends, or simply expand your own green collection without breaking the bank. For those of you just starting out on your propagation journey, I’d say Lepidaploa canescens is moderately easy. It rewards a little attention but isn’t overly fussy.
The Best Time to Start
When it comes to getting the most bang for your buck with propagation, timing is everything. For Lepidaploa canescens, the late spring or early summer, as the plant is actively growing, is your golden window. You want to take cuttings when the plant is full of vigor. Avoid taking cuttings from old, woody stems or during a period of stress, like extreme heat or drought. Fresh, healthy growth is key!
Supplies You’ll Need
Gathering your supplies before you begin makes the whole process smooth sailing. Here’s what I usually have on hand:
- Sharp Pruning Shears or a Sharp Knife: Clean cuts are crucial for preventing disease and encouraging healing.
- Rooting Hormone (Optional but Recommended): This can give your cuttings a helpful boost. Look for one specifically for stem cuttings.
- Potting Mix: A well-draining mix is essential. I like to use a blend of equal parts peat moss (or coco coir) and perlite or coarse sand. This prevents waterlogged soil, which is the enemy of tender cuttings.
- Small Pots or Trays: Clean pots with drainage holes are a must.
- Plastic Bag or Clear Dome: To create a humid mini-greenhouse environment.
- Water: For misting or lightly watering.
- Labels and a Pen: To keep track of what you’ve planted.
Propagation Methods
There are a couple of ways we can coax new life from our Lepidaploa canescens. I’ll walk you through the most successful ones.
Stem Cuttings
This is usually my go-to method for this plant!
- Select Your Cuttings: In late spring or early summer, choose healthy, semi-hardwood stems. These are stems that are firm but still somewhat flexible, not totally woody or floppy green. Look for stems that are about 4-6 inches long and have at least two sets of leaves.
- Make the Cut: Using your clean shears, make a cut just below a leaf node. A leaf node is where a leaf attaches to the stem. This is where the magic happens, where roots are most likely to form.
- Prepare the Cutting: Remove the lower leaves from the cutting, leaving only the top two sets. This prevents them from rotting when buried. You can even cut larger leaves in half to reduce water loss. If your cuttings seem a bit droopy, you can dip the cut end into a glass of water for a few minutes while you work on the others.
- Apply Rooting Hormone (if using): Dip the cut end of the stem into your rooting hormone powder. Tap off any excess.
- Plant Your Cuttings: Fill your clean pots or trays with your prepared, moist potting mix. Make a small hole in the center with your finger or a pencil. Insert the cut end of the stem into the hole, ensuring the leaf nodes you removed are below the soil line. Gently firm the soil around the cutting.
- Create a Humid Environment: Water the soil lightly. Then, cover the pots with a plastic bag, forming a tent, or place a clear dome over them. Make sure the bag or dome doesn’t touch the leaves too much. This keeps humidity high, which is vital for cuttings that haven’t developed roots yet.
- Placement: Place the pots in a bright location with indirect light. Avoid direct sun, which can scorch the tender cuttings.
Water Propagation
This method is a bit simpler and lets you watch the roots grow!
- Select and Cut: Follow steps 1 and 2 from stem cuttings above.
- Remove Lower Leaves: Just like with soil propagation, remove the lower leaves so they won’t be submerged in water.
- Place in Water: Put the cuttings into a clean jar or glass filled with fresh, room-temperature water. Ensure that the leaf nodes where you’d normally make the cut are submerged, but the remaining leaves are above the water.
- Change Water Regularly: Change the water every few days to keep it fresh and prevent bacterial growth.
- Light: Place the jar in a bright spot with indirect light.
- Planting On: Once you see healthy roots forming, about an inch or so long, it’s time to transplant them into potting mix. Be gentle with these baby roots!
The “Secret Sauce” (Pro Tips)
Over the years, I’ve learned a few little tricks that can really make a difference:
- Don’t Let Leaves Touch the Water (in water propagation): This is a big one! Any leaves submerged in water are a direct invitation for rot. Always make sure your leaves are happily above the water line.
- Bottom Heat is Your Friend: If you have the space and inclination, placing your propagation tray on a gentle heat mat can significantly speed up root development. This mimics the warmth of spring soil and gives those roots a real boost.
- Mist Regularly, Don’t Drench: While humidity is key, you don’t want the soil to be soggy. A light misting of the leaves and soil surface every day or two is usually enough to maintain that humid environment without inviting fungus.
Aftercare & Troubleshooting
Once you start seeing new leaf growth or feel resistance when you gently tug on a cutting (a sign of roots!), you’re on your way.
- Acclimatize: Gradually introduce your new plants to normal conditions. If they were under a plastic dome, start by removing it for a few hours each day, slowly increasing the time until they are fully accustomed to the open air.
- Watering: Water your new plant when the top inch of soil feels dry. Don’t overwater!
- Signs of Failure: If your cuttings turn black and mushy, that’s a sure sign of rot, usually due to too much moisture or insufficient drainage. If they wilt and appear dry despite moist soil, they might be struggling to absorb water, often because rooting hormone wasn’t strong enough or they are in too much light. Sometimes, despite our best efforts, a cutting just doesn’t take. Don’t get discouraged – nature has its own timeline!
A Encouraging Closing
Propagating plants is a beautiful dance with nature. It’s a process that teaches us patience and observation. Don’t be afraid to experiment, and most importantly, enjoy the journey. Seeing a tiny cutting transform into a thriving plant is one of the most fulfilling experiences a gardener can have. Happy propagating!
Resource:
https://identify.plantnet.org/k-world-flora/species/Lepidaploa%20canescens%20(Kunth)%20H.Rob./data