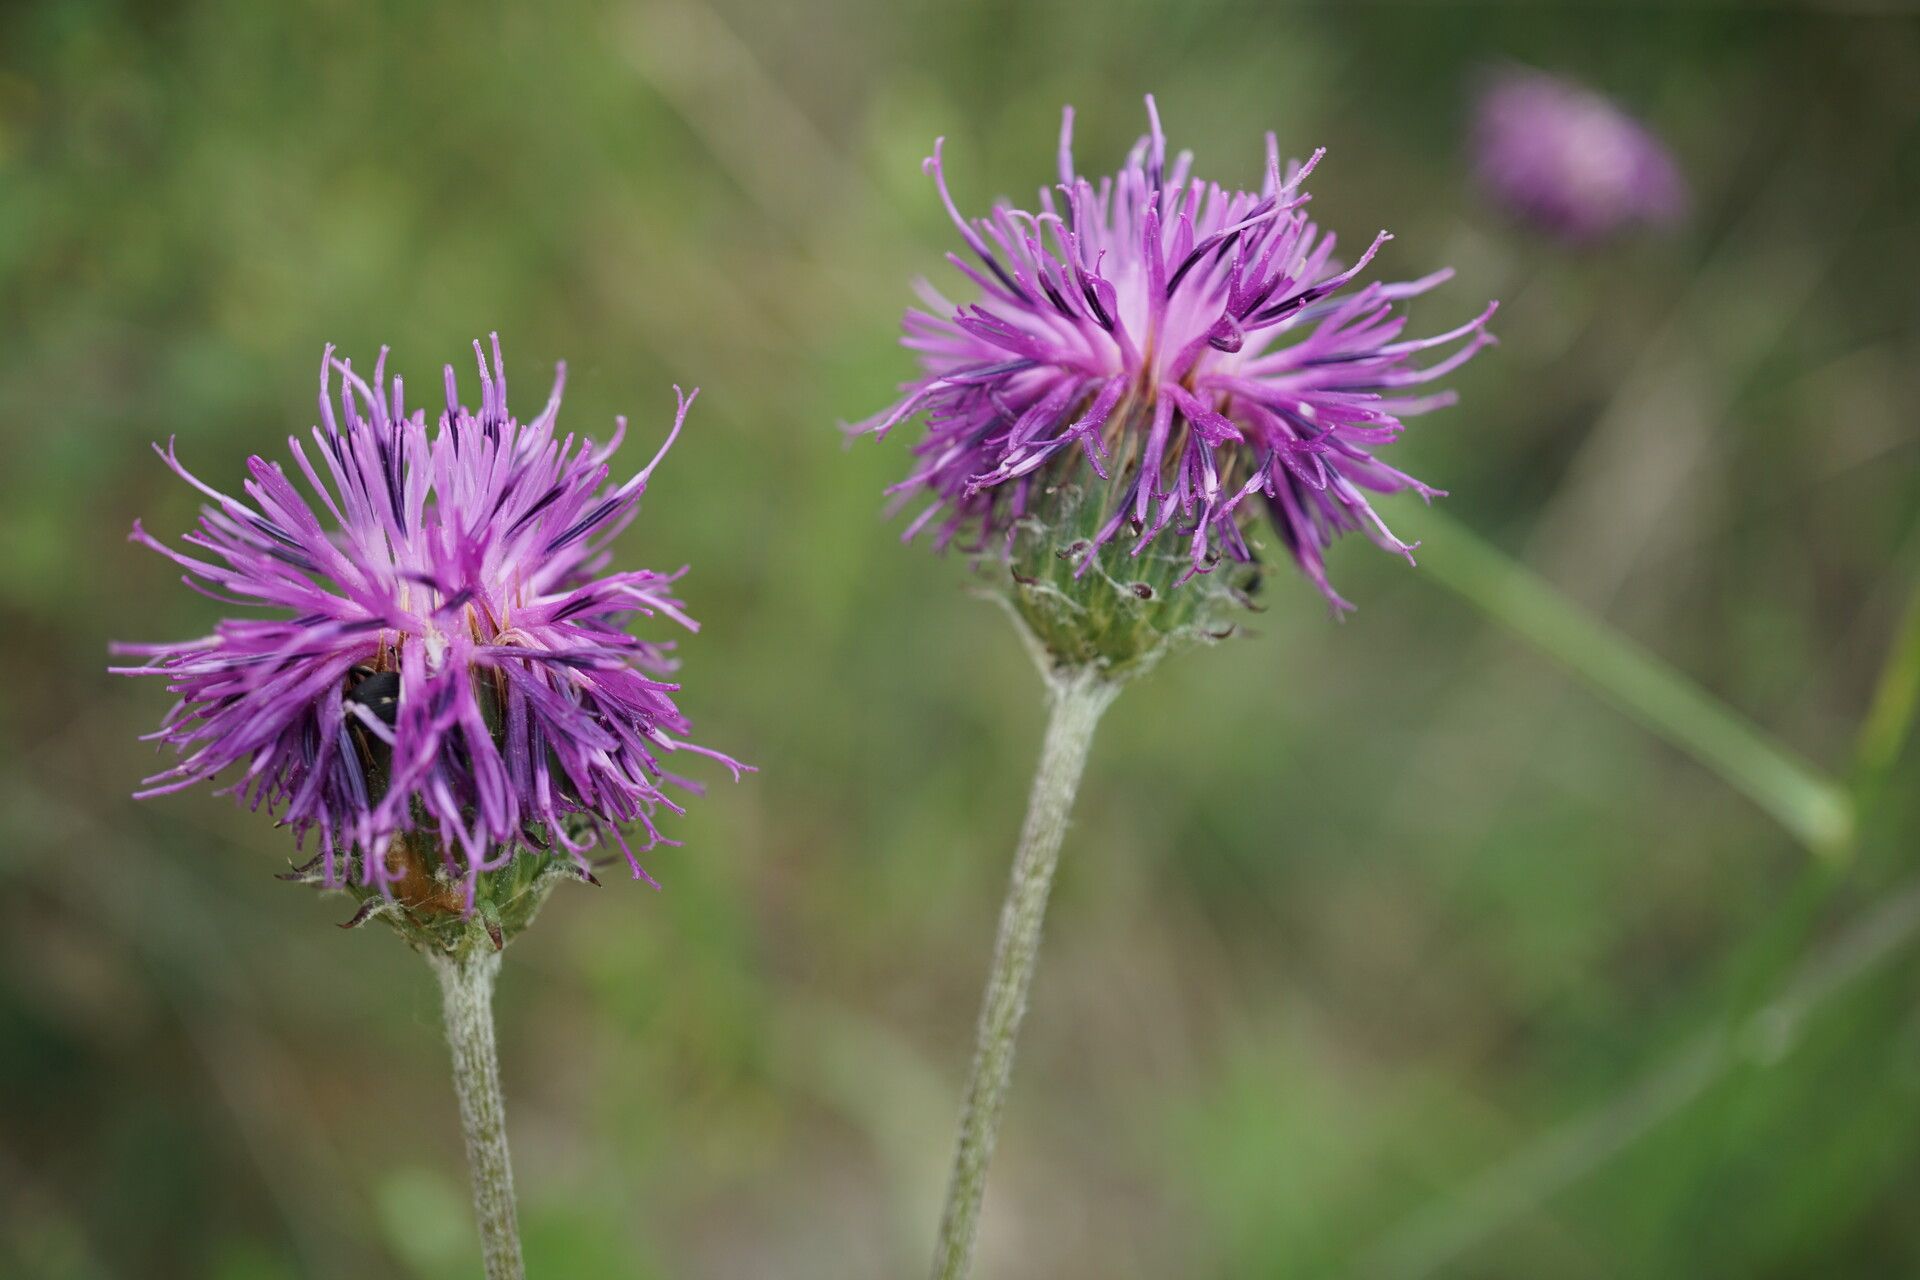
Hello there, fellow garden lovers! I’m thrilled to share a bit of my passion with you today. We’re going to talk about a plant that has brought me so much joy over the years: Jurinea consanguinea. If you haven’t met it yet, imagine a clump of delicate, silvery foliage topped with the most charming, thistle-like blooms in shades of purple and rosy pink. It’s truly a gem for adding a touch of understated elegance and a delightful texture to any border. And guess what? Propagating these beauties is a wonderfully rewarding endeavor. Now, I’ll be honest, Jurinea consanguinea isn’t the absolute easiest plant to propagate for a complete beginner, but with a little patience and a few key tips, you’ll be well on your way. It’s a process that teaches you so much about plant resilience.
The Best Time to Start
For the highest success rate with Jurinea consanguinea, I’ve found that late spring to early summer is your sweet spot. This is when the plant is actively growing and has a good amount of energy reserves. You want to work with healthy material that’s not stressed by extreme heat or cold. Look for new, soft growth that hasn’t yet become woody.
Supplies You’ll Need
Gathering your supplies beforehand makes the whole process much smoother. Here’s what I usually have on hand:
- Sharp pruning shears or a clean knife: For making precise cuts.
- Rooting hormone (optional but recommended): A little boost never hurts!
- Well-draining potting mix: A good base is crucial. I often use a mix of equal parts perlite, coarse sand, and peat moss or coco coir.
- Small pots or seed trays: With drainage holes, of course!
- Watering can with a fine rose: For gentle watering.
- Plastic bags or a propagation dome: To create a humid environment.
- Labels and a permanent marker: To keep track of your projects.
Propagation Methods
Jurinea consanguinea is quite adaptable, and I’ve had the best luck with stem cuttings and division.
Stem Cuttings
This is my go-to method for increasing my stock.
- Take Cuttings: In late spring or early summer, select healthy, non-flowering stems that are about 3-5 inches long. Using your clean shears or knife, make a clean cut just below a leaf node. Remove the lower leaves, leaving only the top few.
- Apply Rooting Hormone: If you’re using rooting hormone, dip the cut end of the stem into the powder or gel. Tap off any excess.
- Planting: Fill your small pots with the well-draining potting mix. Make a small hole in the center of the soil with your finger or a pencil. Gently insert the cut end of the stem into the hole, ensuring the leaf nodes you removed are covered by soil. Firm the soil around the cutting.
- Create Humidity: Water the soil gently. Then, cover the pot with a clear plastic bag or place it under a propagation dome. This traps moisture and creates the ideal humid environment for rooting. You can prop the bag up with a few sticks so it doesn’t touch the leaves.
- Placement: Place the pots in a bright, indirect light location. Avoid direct sun, which can scorch the delicate cuttings.
Division
This method is fantastic for established plants.
- Prepare the Plant: In early spring, before new growth really takes off, or in early autumn after flowering has finished, I carefully dig up the entire plant.
- Divide: Gently try to separate the root ball into smaller sections. Each section should have healthy roots and some new shoots. If the clump is very dense, you might need to use a clean trowel or even your hands to tease it apart.
- Replant: Immediately replant the divisions into your prepared, well-draining soil. Water them thoroughly.
The “Secret Sauce” (Pro Tips)
Here are a couple of things I’ve learned over the years that make a real difference:
- Bottom Heat is Your Friend: For stem cuttings, placing your pots on a heat mat can significantly speed up root formation. It mimics the warmth of spring soil and encourages those roots to get going.
- Don’t Drown Your Cuttings: While humidity is essential, overwatering is the quickest way to kill your cuttings. The soil should be consistently moist, but not soggy. If you see condensation building up excessively inside your plastic bag, lift it for a few hours to allow some air circulation.
Aftercare & Troubleshooting
Once your cuttings have started to root—you’ll often see new leaf growth—it’s time to transition them.
- Acclimatize: Gradually remove the plastic bag or dome over a week or two, allowing the new plants to adjust to your room’s humidity.
- Watering: Continue to water them regularly, letting the soil dry out slightly between waterings.
- Repotting: When the new plants have a good root system that fills their pots, you can transplant them into slightly larger containers or their permanent garden spot.
The most common sign of failure is rot. If your cuttings suddenly turn mushy and black, it’s usually a sign of too much moisture and not enough air circulation. Don’t be discouraged if not every cutting takes; it’s a numbers game, and part of the learning process.
So, there you have it! Propagating Jurinea consanguinea is a journey, and one that’s incredibly rewarding when you see those new little plants thrive. Be patient with yourself and the process. Gardening is all about observation and a little bit of love. Happy propagating!
Resource:
https://identify.plantnet.org/k-world-flora/species/Jurinea%20consanguinea%20DC./data