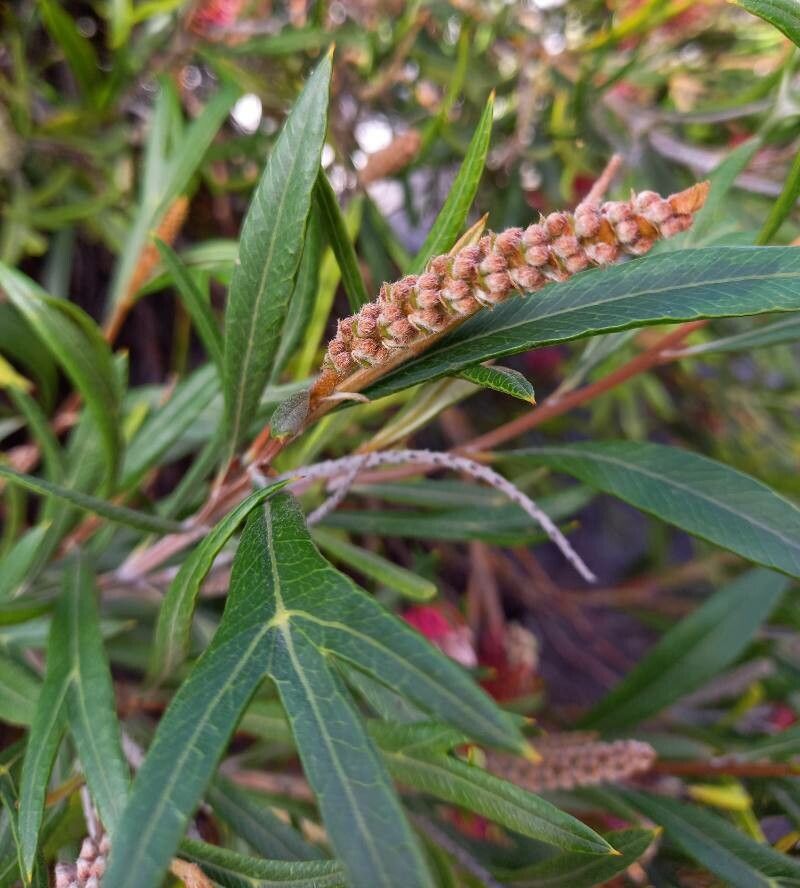
Oh, Grevillea longifolia! What a star for any garden. Its elegant, arching branches and that stunning display of spidery, often brightly colored flowers really do draw the eye. Plus, it’s a magnet for our precious native birds and insects. For me, growing new Grevilleas from cuttings is one of those deeply satisfying gardener’s joys. It’s like unlocking a little bit of nature’s magic, right in my own hands. While some Grevillea species can be a bit fussy, longifolia is surprisingly forgiving, making it a great one to try, even if you’re just dipping your toes into propagation. You’ll be so proud when you see those tiny roots taking hold!
The Best Time to Start
For Grevillea longifolia, spring is generally your golden ticket. As the weather warms up and the plant is entering a period of active growth, cuttings tend to root much more readily. Aim to take your cuttings during this time, after the main flowering flush has passed but before the heat of summer really sets in. You want to be working with healthy, vigorous stems that aren’t stressed.
Supplies You’ll Need
Here’s what you’ll want to have on hand:
- Sharp Pruning Shears or a Craft Knife: Cleanliness is key here!
- Rooting Hormone: A powder or gel formulation designed for semi-hardwood cuttings. I like the ones with a bit of fungicide in them.
- Potting Mix: A well-draining mix is crucial. I often blend perlite and coarse sand with a good quality seed-raising mix (about 50/50 perlite/sand to potting mix).
- Pots or Seedling Trays: With drainage holes, of course. Small pots are just fine.
- Plastic Bag or Propagation Dome: To create a humid environment.
- Spray Bottle: For misting.
- Watering Can: For gentle watering.
- Labels: To mark your cuttings!
Propagation Methods: Stem Cuttings
This is my go-to method for Grevillea longifolia. It’s reliable and you can get quite a few new plants from a mature shrub.
- Select Your Cuttings: Look for healthy, current-season growth. You want semi-hardwood stems – they should snap cleanly when bent, not just wilt. Aim for cuttings about 10-15 cm long. Remove any flowers or flower buds.
- Prepare the Cuttings: Strip off the leaves from the bottom half of the cutting. You want a clean stem to insert into the soil. Leave just a few leaves at the top to help with photosynthesis. If the remaining leaves are very large, you can cut them in half to reduce water loss.
- Apply Rooting Hormone: Dip the cut end of the stem into your rooting hormone, up to about halfway up the portion that will be in the soil. Tap off any excess.
- Pot Them Up: Fill your pots with your prepared, well-draining potting mix. Make a small hole in the center of the soil with a pencil or your finger.
- Insert the Cuttings: Gently place the cutting into the hole, ensuring the base is firm and making good contact with the soil. Firm the soil around the stem.
- Water Gently: Water the potting mix thoroughly but gently. You don’t want to disturb the cuttings.
- Create Humidity: Place the potted cuttings into a plastic bag or under a propagation dome. Seal it loosely. You want to trap humidity, but allow for a little bit of air circulation to prevent rot.
The “Secret Sauce” (Pro Tips)
Here are a couple of things I’ve learned over the years that really seem to make a difference:
- Bottom Heat is Your Friend: If you have the means, placing your pots on a gentle heated propagation mat can dramatically speed up root formation. It mimics the warmth of spring soil and gives those roots a real kickstart. Don’t make it too hot, though – just a little warmth.
- Don’t Let Leaves Touch Water (in a humid environment): When you’re misting or if condensation collects inside your plastic bag, be mindful of the leaves touching the soil or waterlogged surfaces. This is an open invitation for fungal diseases. Keep the foliage as dry as possible while ensuring the roots have moisture in the soil.
- Sterilize Everything: I can’t stress this enough! Use a dilute bleach solution or rubbing alcohol to sterilize your pruning shears, knives, and pots before you begin. This prevents the inadvertent spread of diseases that can quickly wipe out your efforts.
Aftercare & Troubleshooting
Once your cuttings are planted, keep them in a bright spot, but out of direct, hot sun. The soil should be kept consistently moist but not soggy. Imagine the feel of a wrung-out sponge – that’s what you’re aiming for.
You’ll know your cuttings are taking root when you see new growth appearing on the top. You can also give them a very gentle tug – if you feel resistance, it means roots have formed. This can take anywhere from 4 to 12 weeks, so patience is key.
The most common problem? Rotting. If your cuttings suddenly go limp and mushy, or if you see blackening at the soil line, it’s usually a sign of too much moisture and poor air circulation. Don’t be afraid to unpot a cutting to check – if it’s rotten, it’s a lost cause, but it can help you learn for next time. If you see mold on the soil surface, you might need to air things out a bit more.
A Rewarding Journey
Propagating Grevillea longifolia is such a fulfilling project. It takes a little care and observation, but seeing those tiny roots emerge and knowing you’ve created a whole new plant from a simple cutting is incredibly rewarding. Don’t be discouraged if not every single one takes – that’s part of the learning process! Just enjoy the journey and the connection it brings to your garden. Happy propagating!
Resource:
https://identify.plantnet.org/k-world-flora/species/Grevillea%20longifolia%20R.Br./data