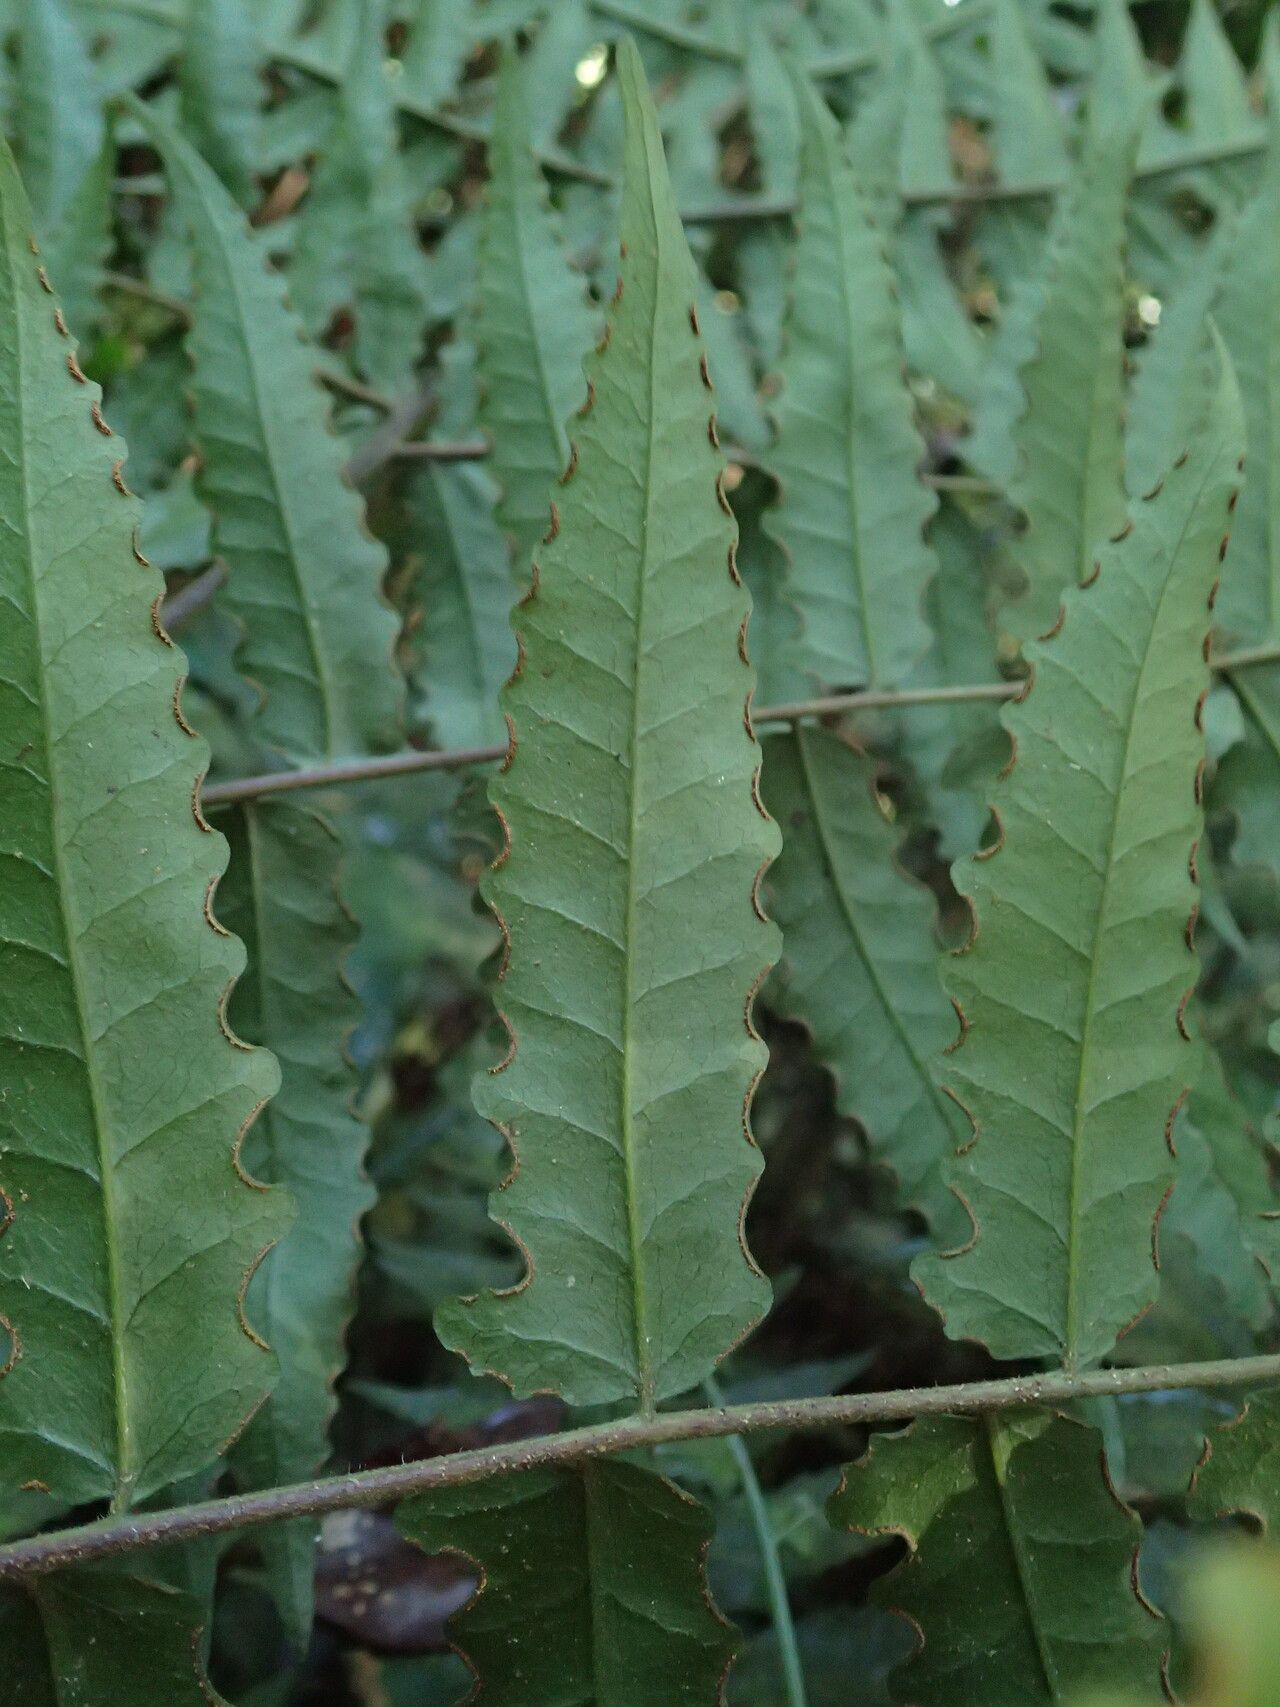
Hello, fellow plant enthusiasts! If you’ve ever marveled at the lush, almost prehistoric beauty of Blotiella currorii, you know it’s a plant that truly makes a statement. Its bold fronds and vibrant green hue can transform any space. And the joy of getting that magnificent specimen to multiply? Well, that’s a gardening win that keeps on giving!
Now, about its fussiness. Blotiella currorii can be a little particular, so I wouldn’t necessarily brand it a beginner’s absolute first foray into propagation. But with a few key insights, even relative newcomers can coax new life from this magnificent fern. It’s a rewarding challenge, trust me!
The Best Time to Start
My personal sweet spot for propagating Blotiella currorii is late spring to early summer. This is when the plant is in full swing, pumping out new growth with vigor. You’ll see those young, tender fronds that are perfect for taking cuttings. It’s all about working with the plant’s natural energy.
Supplies You’ll Need
To give your Blotiella currorii the best chance of success, gather these essentials:
- Sharp, clean pruning shears or a knife: For making those crucial cuts. Sterilize them with rubbing alcohol before and after use.
- A well-draining potting mix: I like a blend of equal parts peat moss, perlite, and composted bark. This ensures good aeration and prevents soggy roots.
- Small pots or seed trays: With drainage holes, of course!
- Rooting hormone (optional but recommended): A powder or gel can significantly speed up root development.
- Plastic bags or a propagation dome: To create a humid environment.
- Spray bottle: For misting.
- A warm, bright location (but no direct sun!): Think gently filtered light.
- Bottom heat source (optional but helpful): A heat mat can work wonders.
Propagation Methods
While Blotiella currorii isn’t typically divided like some other ferns, stem cuttings are my go-to method. Water propagation is possible, but I find I get stronger, more resilient plants from soil.
Here’s how I do it:
- Select Your Cuttings: Look for healthy, actively growing stems, preferably those with at least two or three fronds. Gently bend a stem; if it snaps cleanly, it’s likely ready. You’re looking for pieces that are not too woody but not so soft that they wilt immediately.
- Make the Cut: Using your sterilized shears or knife, make a clean cut just below a leaf node (the point where a leaf attaches to the stem). Aim for cuttings that are about 4-6 inches long.
- Prepare the Cutting: Gently remove the lower fronds from the cutting. You want to expose a few nodes so roots have places to form. You can leave the top fronds intact, as they’ll help with photosynthesis.
- Apply Rooting Hormone (if using): Dip the cut end of the stem into your rooting hormone, tapping off any excess.
- Plant Your Cuttings: Fill your small pots with your prepared potting mix. Make a small hole in the center with your finger or a pencil. Insert the cut end of the stem, ensuring the nodes are buried. Gently firm the soil around the stem.
- Create a Humid Environment: Water the soil thoroughly until it drains from the bottom. Then, cover the pot with a plastic bag or place it under a propagation dome. Make sure the leaves do not touch the plastic. You can use small stakes to prop up the bag if needed.
- Provide the Right Conditions: Place the pots in a warm spot with bright, indirect light. If you’re using a heat mat, place the pots on top of it.
The “Secret Sauce” (Pro Tips)
After years of coaxing plants to grow, I’ve picked up a few tricks that make a difference:
- Don’t Overwater initially: While humidity is key, you don’t want the cuttings sitting in waterlogged soil. Water well at the start, then only mist the soil surface or the inside of the plastic bag when it looks dry. The goal is consistently moist, not soggy.
- Bottom Heat is Your Friend: Blotiella currorii absolutely loves a little warmth from below. This encourages root development much faster, especially if your ambient room temperature isn’t consistently warm. It’s like giving it a mini spa treatment!
- Be Patient with Frond Drop: It’s not uncommon for a cutting to drop its lower fronds. This is the plant conserving energy to focus on root production. Don’t be disheartened by this! As long as the stem itself looks firm and healthy, there’s still a good chance.
Aftercare & Troubleshooting
Once you start seeing signs of new growth—tiny new fronds unfurling or a gentle tug revealing resistance (a sign of roots!)—it’s time to ease them into the real world.
- Start Acclimating: Gradually remove the plastic bag or open the dome for longer periods each day over a week or two. This helps the new plant adjust to lower humidity.
- Transplanting: When the roots are well-established and filling the pot, you can transplant your new Blotiella currorii into a slightly larger pot with your usual potting mix.
- Watch for Rot: The quickest way to lose a cutting is through rot. If your cutting turns mushy, black, or smells foul, it’s likely succumbing to fungal issues. This usually means the conditions were too wet and not airy enough. Sometimes, you can salvage a piece by cutting away the rot and trying again, but often, it’s best to start fresh.
A Little Patience Goes a Long Way
Propagating plants, especially those with a bit of personality like Blotiella currorii, is a journey. There will be moments of triumph and maybe a few learning experiences. Just remember to be patient. Observe your cuttings, adjust their environment as needed, and most importantly, enjoy the process of bringing new life into your home. Happy propagating!
Resource:
https://identify.plantnet.org/k-world-flora/species/Blotiella%20currorii%20(Hook.)%20R.M.Tryon/data