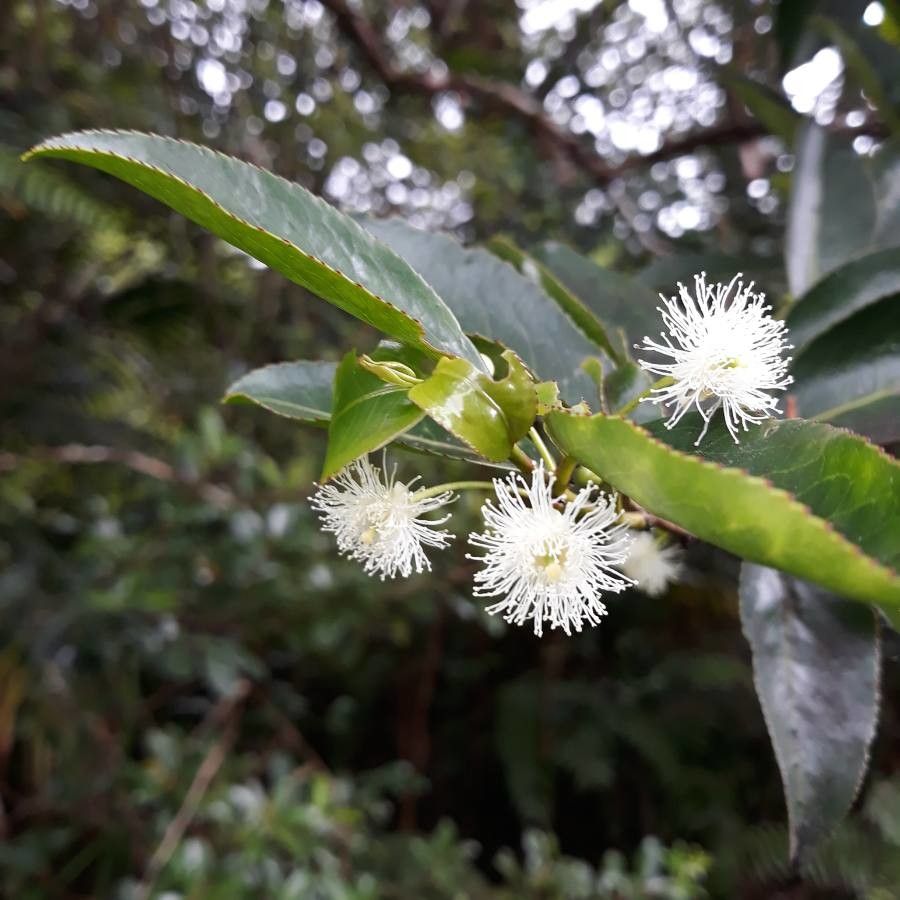
Oh, hello there! Come on in, grab a cuppa. Today, we’re diving into something really special: Aphloia theiformis. Now, this little beauty, often called the “wild apple” or even simply “aphloia,” is a fascinating plant. Its glossy leaves and delicate white flowers offer a lovely touch to any garden, and the potential for its edible fruits makes it even more intriguing. Propagating it yourself is incredibly rewarding. For beginners, I’d say it’s a moderately challenging endeavor, but with a bit of care and the right approach, you’ll absolutely be successful.
The Best Time to Start
We want our little aphloia babies to have the best shot at life, right? The absolute sweet spot for propagating Aphloia theiformis is during its active growing season, which generally falls in late spring to early summer. This is when the plant has plenty of energy to put into root development. You’re looking for stems that are semi-hardwood – not brand new, floppy growth, but not old, woody growth either. They should snap cleanly when bent, not just bend limply.
Supplies You’ll Need
Before we get our hands dirty, let’s gather our essentials. Think of this as your propagation toolkit:
- Sharp Pruning Shears or a Knife: Clean cuts are crucial to prevent disease.
- Rooting Hormone: This isn’t always strictly necessary for all plants, but for Aphloia, it gives your cuttings a significant boost. Look for a powder or gel.
- Well-Draining Potting Medium: A mix of equal parts peat moss, perlite, and coarse sand works wonders. You can also find specialized seed starting or propagation mixes.
- Small Pots or Trays: Clean ones, please! About 4-6 inches deep is good.
- Plastic Bags or a Propagator: We need to create a humid environment. A clear plastic bag that fits loosely over the pot or a small greenhouse propagator works perfectly.
- Watering Can with a Fine Rose: Gentle watering is key.
- Labels and a Marker: Trust me, you’ll thank yourself later for labeling everything!
Propagation Methods
Let’s get down to business! The most reliable way to multiply your Aphloia is through stem cuttings.
Stem Cuttings:
- Select Your Parent Plant: Choose a healthy, vigorous Aphloia bush.
- Take Your Cuttings: Using your clean pruning shears, take cuttings that are about 4-6 inches long from the semi-hardwood growth. Make the cut just below a leaf node (that’s where new roots often emerge).
- Prepare the Cuttings: Remove the lower leaves. You want to leave just a few sets of leaves at the top. This reduces water loss. If any leaves are very large, you can even cut them in half horizontally – this still allows for photosynthesis but reduces transpiration.
- Apply Rooting Hormone: Dip the cut end of each stem into your rooting hormone. Tap off any excess.
- Plant Your Cuttings: Make small holes in your potting medium with a pencil or your finger. Gently insert the cuttings, making sure the rooting hormone remains on the cut end and the stem is firm in the soil. Space them a couple of inches apart.
- Water Gently: Water thoroughly but carefully, so you don’t dislodge the cuttings.
- Create Humidity: This is vital! Cover the pot with a clear plastic bag, ensuring the bag doesn’t touch the leaves too much. You can use stakes to prop it up if needed. Alternatively, place the pot in a propagator.
- Provide Light and Warmth: Place the pots in a bright spot out of direct sunlight. A little bottom warmth can also really speed things up, so a heat mat is a fantastic addition if you have one.
The “Secret Sauce” (Pro Tips)
Now, for a couple of little tricks that have served me well over the years:
- Don’t Let the Leaves Touch the Water (if water propagating): While stem cuttings in soil are our focus here, I’ve found that even with water propagation (which I sometimes try for quicker root observation, though it can be trickier to transplant later), keeping leaves out of the water is key. Rot can set in quickly if leaves are submerged. For soil propagation, this translates to making sure you don’t have leaves resting on the damp soil surface, which can invite disease.
- Bottom Heat is Your Friend: I mentioned it in the steps, but I can’t stress it enough. Providing gentle bottom heat (around 70-75°F or 21-24°C) from a heat mat is like giving your cuttings a warm hug. It significantly speeds up root formation and dramatically increases your success rate. It’s a game-changer!
Aftercare & Troubleshooting
Once your cuttings have been happily sitting in their humid environment for a few weeks, you’ll want to watch for signs of life. You’ll know they’ve rooted when you see new leaf growth or feel a slight resistance when you gently tug on a cutting. It can take anywhere from 4-8 weeks, sometimes longer, so patience is your best virtue here.
Once they’ve rooted, gradually acclimate them to normal room humidity by opening the plastic bag a little more each day over a week or two. Water them just as you would a mature plant, allowing the top inch of soil to dry out between waterings.
What if things go wrong? The most common culprit is rot. If your cuttings look mushy, discolored, or wilt dramatically without recovering, it’s likely rot. This is usually caused by too much moisture, poor drainage, or insufficient air circulation. If you spot it early, you might be able to save a healthy cutting by repotting it in fresh, dry medium. Always ensure your pots have good drainage holes! Another sign of failure is simply no action – no new growth, no roots. This could be due to the cuttings being too old, too young, too dry, or not having enough warmth or light. Don’t be discouraged; just try again!
A Hearty Encouragement
See? It’s a bit of a process, but so incredibly satisfying. Propagating Aphloia theiformis is a journey, and each little plant you nurture into existence is a victory. Be patient with yourself and with these new beginnings. Enjoy the quiet moments observing the tiny changes, the unfolding leaves, and the eventual establishment of your new, precious plants. Happy gardening!
Resource:
https://identify.plantnet.org/k-world-flora/species/Aphloia%20theiformis%20(Vahl)%20Benn./data