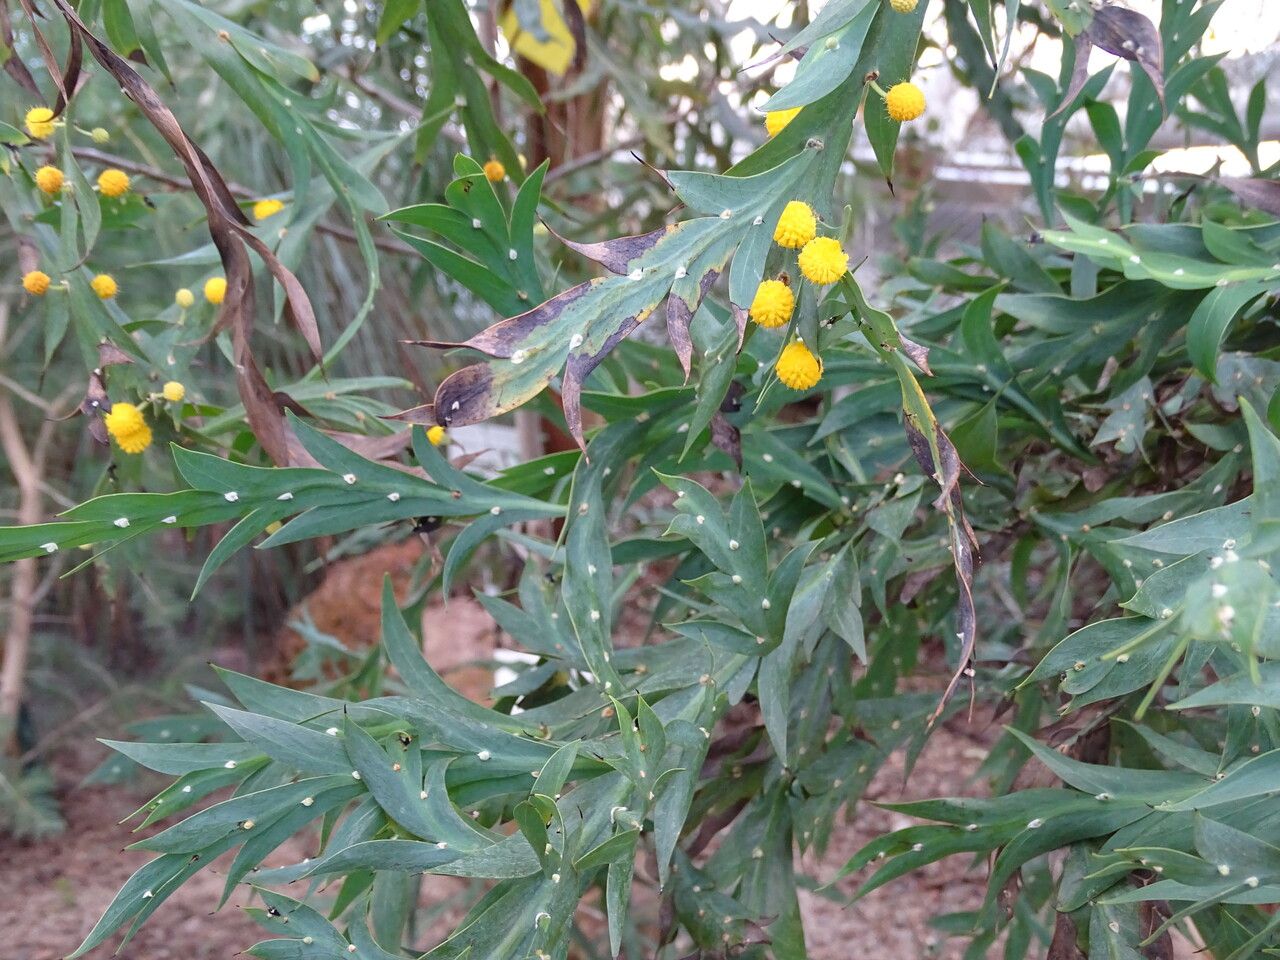
Oh, the Regal Wattle, Acacia glaucoptera! What a striking specimen. With its unique, flattened stems that look like elegant wings and those iconic yellow puffball flowers, it’s a plant that truly stands out in any garden. Growing your own from scratch is just about one of the most satisfying things you can do as a gardener. It’s a little bit of patience, a whole lot of hope, and then, bam! A brand new plant.
Now, is it a walk in the park for a total newbie? Honestly, Acacia glaucoptera can be a smidge tricky, but don’t let that deter you! I always say, a little bit of learning and a willingness to try is all you really need. And trust me, the reward is immense.
The Best Time to Start
For many Australian natives, including our regal friend here, spring is your best bet. Think about when the plant is really bursting with new growth, usually after the chill of winter has passed but before the intense heat of summer sets in. This is when the cuttings have the energy and vigor to put on roots. Aim for when the plant is actively growing, feel that new softness developing at the tips of the stems.
Supplies You’ll Need
Here’s your little toolkit for this adventure:
- Sharp pruning shears or a clean craft knife: A clean cut is crucial.
- Rooting hormone powder (optional but recommended): This gives your cuttings a helpful boost. Look for one specifically for woody cuttings if you can.
- A well-draining potting mix: I like to use a blend of coarse sand, perlite, and a good quality compost, roughly in equal parts. You can also buy specific native potting mixes.
- Small pots or seed trays with drainage holes: Recycled yogurt cups work too, just make sure you poke some holes!
- Plastic bags or a propagator lid: To keep the humidity up.
- A spray bottle with water: For gentle misting.
- A watering can or mister: For aftercare.
- A trowel or small scoop: For filling pots.
Propagation Methods
While Acacia glaucoptera can be a bit picky, we’ll focus on the most successful method: stem cuttings. This is where the magic happens!
- Selecting Your Cuttings: Head out to your healthy Acacia glaucoptera. Look for semi-hardwood cuttings. These are stems that are firm but still have some flexibility. They shouldn’t be bright green and floppy (too soft), nor should they be old and woody (too hard). Snip off pieces about 10-15 cm long, making your cut just below a leaf node. Remove any flowers or flower buds – they just drain energy.
- Preparing the Cutting: At the bottom of your cutting, carefully remove the small leaves closest to the cut end. You want to expose a clean surface for the rooting hormone.
- Applying Rooting Hormone: Dip the cut end of the stem into the rooting hormone powder. Tap off any excess.
- Planting the Cutting: Fill your pots with your prepared, moist potting mix. Make a small hole in the center with your finger or a pencil. Gently insert the cutting into the hole, ensuring the nodes where you removed the leaves are buried. Press the soil firmly around the stem to ensure good contact.
- Creating the Humid Environment: Water the soil thoroughly but gently. Then, place the pot inside a plastic bag, creating a mini-greenhouse effect. You can also use a propagator lid. Make sure the leaves don’t touch the plastic sides of the bag, as this can encourage rot.
The “Secret Sauce” (Pro Tips)
Here are a couple of my tried-and-true techniques that often make all the difference:
- Bottom Heat is Your Friend: If you can, place your pots on a gentle heat mat designed for propagation. This warmth at the base of the cutting encourages root development much faster than ambient room temperature alone. It’s like giving the roots a cozy little nudge to get growing.
- Don’t Overwater, but Don’t Let it Dry Out: This is a delicate balance! The soil should be consistently moist but never soggy. Check the soil daily by lightly touching it. If it feels dry, give it a light mist or a gentle watering. If it feels waterlogged, you might need to adjust your watering schedule or ensure your potting mix is draining well enough.
- Freshness is Key: Try to get your cuttings into their pots and humid environment as soon as possible after you’ve taken them. The longer they sit out, the more they’ll start to dehydrate, making it harder for them to establish roots.
Aftercare & Troubleshooting
Once your cuttings are potted up, place them in a bright spot that receives indirect sunlight. Avoid direct sun, which can scorch the young cuttings and overheat your mini-greenhouse.
After a few weeks, you should start to see signs of new growth – tiny leaves appearing at the top. The real test, though, is when you gently tug on the cutting. If you feel resistance, congratulations! You’ve got roots.
Now, carefully remove the plastic bag or propagator lid to let them acclimatize to drier air. Continue watering as needed. You can transplant them into slightly larger pots once they are well-established and have a bit more growth.
What might go wrong? The most common culprit is rot. If your cuttings turn black and mushy, it’s a sign of too much moisture and not enough air circulation. This is why that well-draining mix and managing moisture are so critical. Sometimes, despite your best efforts, cuttings just don’t take. Don’t get discouraged! It happens to all of us sometimes. Just try again!
A Encouraging Closing
Propagating Acacia glaucoptera is a journey. There will be moments of excitement and perhaps a little bit of nail-biting. But with each attempt, you’ll learn more and grow more confident. Be patient with your little green babies, enjoy the process of nurturing them, and celebrate every tiny success. Happy propagating!
Resource:
https://identify.plantnet.org/k-world-flora/species/Acacia%20glaucoptera%20Benth./data