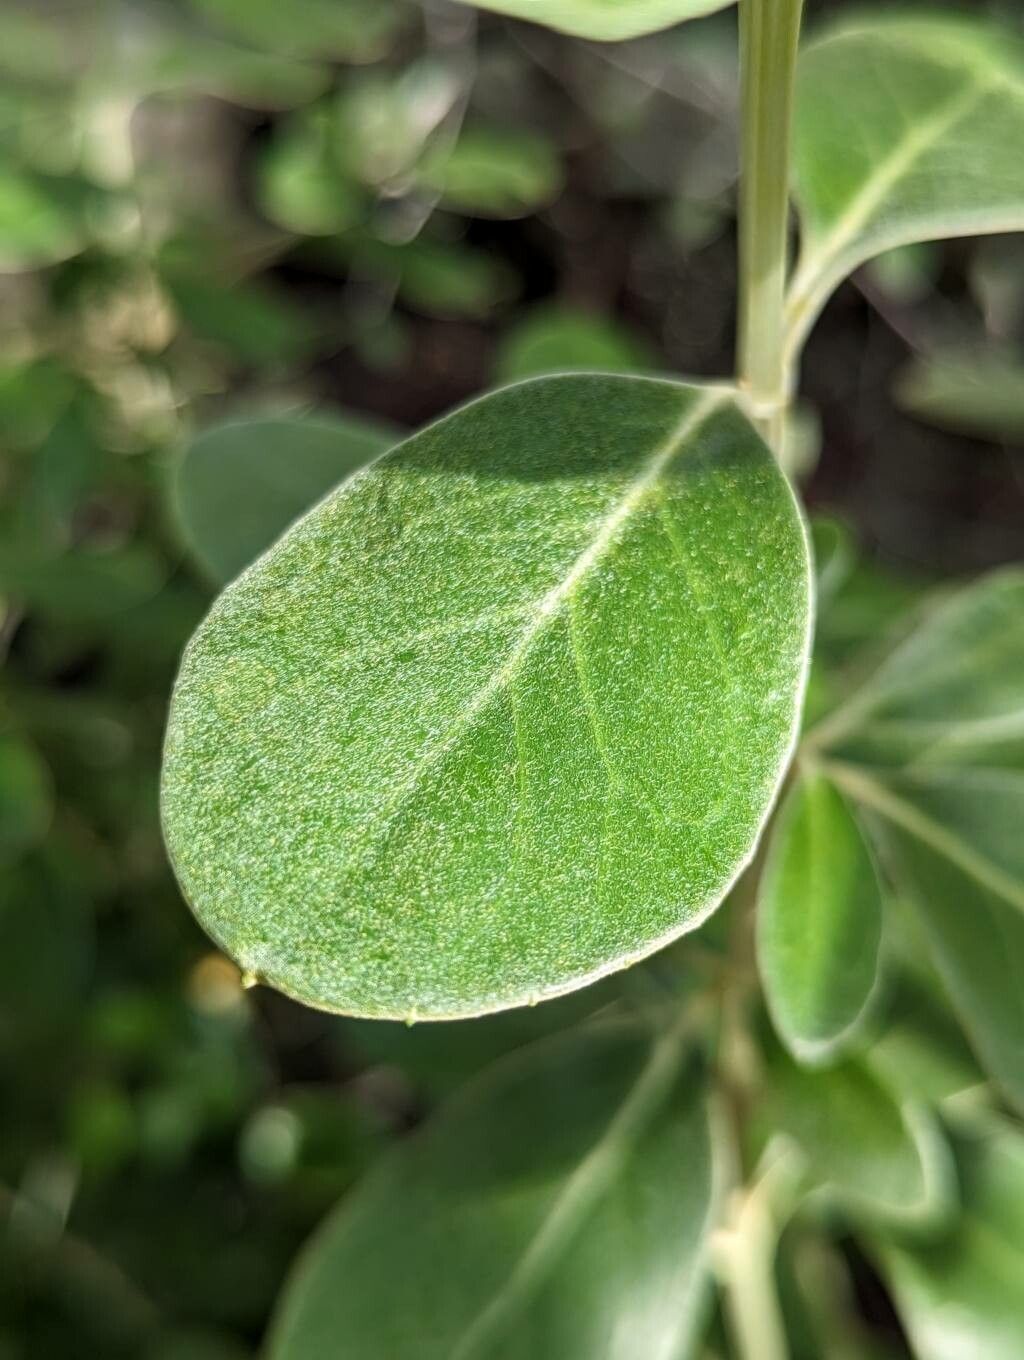
Oh, hello there! It’s so lovely to have you in my little corner of the garden world. Today, we’re diving into something truly special: propagating Olearia traversiorum, often called Chatham Island Daisy Bush. If you’ve ever admired its glossy, deep green leaves and the delicate white flowers that remind me of tiny stars, you’ll know why it’s such a joy to have around. And the best part? You can easily grow more of these beauties yourself!
Now, some plants can be a bit finicky, aren’t they? But I’ve found Olearia traversiorum to be quite amenable to propagation, even for those just starting out. It’s a wonderfully rewarding process, watching a tiny cutting transform into a healthy new plant. It truly feels like a magic trick, but it’s just good gardening!
The Best Time to Start
For propagating Olearia traversiorum, I find the late spring or early summer to be your absolute best bet. You want to work with semi-hardwood cuttings. Think of it this way: the plant has finished its main spring flush of growth, and the stems are starting to firm up but aren’t completely woody and rigid yet. This stage offers a fantastic balance of flexibility for rooting and enough stored energy for success. Waiting until then means your cuttings have a good chance of thriving.
Supplies You’ll Need
Gathering your tools beforehand makes the whole process so much smoother. Here’s what I always have on hand:
- Sharp, clean pruning shears or a sharp knife: Essential for making clean cuts.
- Rooting hormone powder or gel: This gives your cuttings a real boost.
- A good quality potting mix: I like a blend of peat moss, perlite, and a little bit of sand – something that drains well but also holds some moisture.
- Small pots or seed trays: Clean ones, of course!
- A watering can with a fine rose attachment: To water gently without disturbing your cuttings.
- Plastic bags or a propagator: To create a humid environment.
- Optional: Heat mat: This can speed up rooting, especially if your home is a bit cooler.
Propagation Methods
When it comes to Olearia traversiorum, I’ve had the most success with stem cuttings. It’s straightforward and yields great results.
- Taking the Cuttings: On a lovely, bright morning (but not scorching hot), select healthy, non-flowering shoots from your established plant. You’re looking for stems that are about 4-6 inches long. Using your clean shears or knife, make a clean cut just below a leaf node (where a leaf joins the stem). This is crucial because that’s where the magic of root development often happens.
- Preparing the Cuttings: Gently remove the leaves from the lower half of the cutting. You want to leave just a few leaves at the very top to help the cuttings photosynthesize. If the remaining leaves are quite large, you can even cut them in half horizontally to reduce water loss through transpiration.
- Applying Rooting Hormone: Dip the cut end of each cutting into your rooting hormone. Tap off any excess. This might seem like a small step, but it really encourages root formation.
- Planting the Cuttings: Fill your clean pots or trays with your prepared, moistened potting mix. Make a small hole in the center with a pencil or your finger. Insert the prepared cutting into the hole, ensuring the rooting hormone-coated end is in contact with the soil. Gently firm the soil around the cutting to support it.
- Creating Humidity: Water the soil gently. Then, cover the pots or trays with a clear plastic bag or place them in a propagator. This creates a mini greenhouse effect, keeping the humidity high, which is vital for cuttings that don’t have roots yet. If you’re using bags, you might secure them with a rubber band around the pot rim.
The “Secret Sauce” (Pro Tips)
Here are a couple of tricks I’ve learned over the years that can make a real difference:
- “Air Layering” for Stubborn Stems: If you have a larger branch that’s too woody to cut easily, try air layering. Make a shallow cut on a lower branch, dust the cut with rooting hormone, and then wrap it with moist sphagnum moss and plastic wrap. Roots will eventually form within the moss, and you can then carefully cut the branch off below the new roots.
- Bottom Heat is Your Friend: For faster, more consistent rooting, placing your cuttings on a heated propagator mat can be a game-changer, especially if your ambient room temperature is on the cooler side. It mimics the warmth of spring soil and really encourages those roots to get going.
Aftercare & Troubleshooting
Once your cuttings are planted, place them in a bright spot out of direct sunlight. Keep the soil consistently moist but not waterlogged. You’ll want to air out your cuttings daily by lifting the plastic bag or opening the propagator for a few minutes to prevent fungal diseases.
You’ll know your cuttings have rooted when you see new leaf growth or feel a slight resistance when you gently tug on a cutting. This usually takes anywhere from 4-8 weeks, sometimes a bit longer. Once they’ve established a good root system, you can gradually acclimatize them to normal humidity by slowly opening the propagator or removing the plastic bags over a few days. Then, you can pot them up into slightly larger containers.
Now, what if things don’t go as planned? The most common issue is rot. This usually happens from overwatering or poor drainage. If you see a cutting turning black or mushy, it’s likely succumbed to rot. Don’t be discouraged! Just remove the affected cutting and check the moisture levels of the others. Sometimes, a cutting might just not take – that’s part of the learning curve. Patience is key here.
A Encouraging Closing
Propagating Olearia traversiorum is a journey, not a race. Enjoy the process of nurturing these little potential plants. Even if not every cutting makes it, the ones that do will bring you immense satisfaction. So, get your hands dirty, be patient, and get ready to grow a whole new collection of these charming daisy bushes! Happy gardening!
Resource: