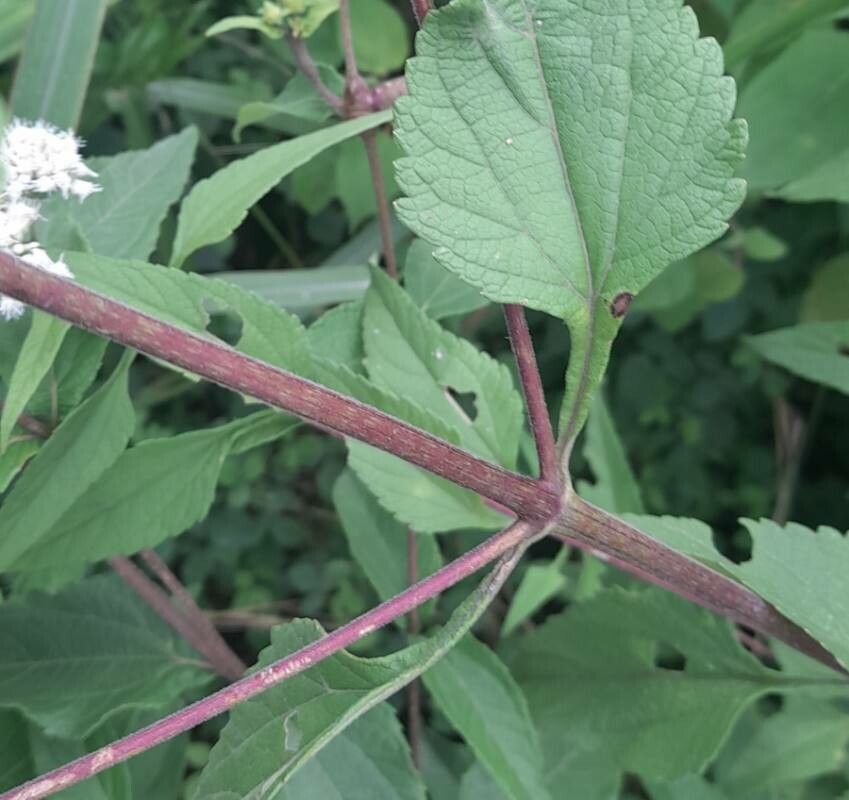
Ah, Austroeupatorium inulifolium! Isn’t she a beauty? I’ve always admired that lush, tropical look and the way those lovely little blooms just pop. It’s like bringing a piece of the rainforest into your garden. And the best part? You can easily bring more of that magic to your own space! Propagating this plant is incredibly satisfying. For folks just dipping their toes into the gardening world, I’d say Austroeupatorium is wonderfully approachable. You’ll likely have great success with it.
The Best Time to Start
Hands down, the prime time to get your cuttings going is in the late spring or early summer. This is when the plant is actively growing and has plenty of energy. You’re looking for stems that are mature but not woody – think of the current season’s growth that feels firm yet still a bit flexible. Soft, new growth is too delicate, and old, woody stems can be stubborn to root.
Supplies You’ll Need
Here’s what I’ve found works best for me:
- Sharp Pruning Shears or a Knife: Cleanliness is key here!
- Rooting Hormone (Optional but recommended): A powder or gel works wonders to give your cuttings a head start.
- Well-Draining Potting Mix: I like a blend of equal parts peat moss and perlite, or you can buy a good quality seed starting mix.
- Small Pots or Trays: Clean pots with drainage holes are essential.
- Clear Plastic Bag or Dome: To create a humid microclimate for your cuttings.
- Water: For watering and, if you choose, water propagation.
- Patience! It’s your most important tool.
Propagation Methods
Let’s get our hands dirty! I usually go for stem cuttings, but water propagation is also simple and rewarding.
Stem Cuttings:
- Take Your Cuttings: In late spring or early summer, select a healthy stem. Using your clean shears, cut a piece about 4-6 inches long. Make the cut just below a leaf node (where a leaf attaches to the stem).
- Prepare the Cuttings: Gently remove the lower leaves, leaving just a couple at the very top. This directs the plant’s energy into rooting, not leaf production.
- Apply Rooting Hormone (Optional): Dip the cut end of the stem into your rooting hormone, tapping off any excess.
- Plant Your Cuttings: Fill your pots with the well-draining mix. Make a small hole in the center with your finger or a pencil. Gently insert the cutting into the hole, ensuring the nodes where you removed leaves are buried. Firm the soil gently around the base.
- Water Lightly: Water the soil thoroughly until it’s moist but not soggy.
- Create Humidity: Place a clear plastic bag over the pot, or use a humidity dome. Prop it up with a stick or two so it doesn’t touch the leaves.
- Find a Spot: Place the pots in a bright spot with indirect light. Avoid direct sun, which can scorch the delicate cuttings.
Water Propagation:
- Prepare the Cuttings: Follow steps 1 and 2 above for taking and preparing your cuttings.
- Place in Water: Fill a clean jar or glass with water. Crucially, make sure no leaves are submerged. Submerged leaves will rot.
- Find a Spot: Place the jar in a bright location with indirect light.
- Change Water Regularly: Every few days, refresh the water to keep it clean and oxygenated.
The “Secret Sauce” (Pro Tips)
Here are a few little tricks I’ve learned over the years that really boost success:
- Don’t Drown Those Leaves! I can’t stress this enough. Whether in soil or water, any leaves touching the medium or water are a fast track to rot. Keep them clear!
- Bottom Heat is a Game Changer: Especially for stem cuttings, placing your pots on a gentle heat mat can significantly speed up root development. It mimics the warmth of spring soil. Just a little warmth makes a big difference.
- Timing is Everything: While late spring/early summer is ideal, if you’re really eager, you can try early fall cuttings. Just be sure to bring them indoors before the first frost and monitor them closely.
Aftercare & Troubleshooting
Once you see new leaf growth or feel a gentle tug when you lightly pull on a cutting (be gentle!), it’s a good sign roots are forming. For stem cuttings, it usually takes 3-6 weeks.
- Gradually Acclimate: If you used a plastic bag, slowly start to open it up over a few days to let the new plant adjust to the regular humidity.
- Potting Up: Once you have a decent root system, you can transplant your new Austroeupatorium into slightly larger pots with your regular potting soil. Water them in well.
- Watch for Rot: The most common issue is rot, which usually happens from overwatering or poor drainage. If your cutting looks mushy, dark, or completely lifeless, it’s likely rotted. Discard it and try again, focusing on drier conditions and better drainage. Yellowing leaves on a cutting usually indicate it’s trying to root but might be a bit stressed – keep the humidity up and ensure indirect light.
Happy Propagating!
See? It’s not rocket science, is it? Propagating Austroeupatorium inulifolium is a simple pleasure that rewards you with more of those beautiful plants you love. Be patient with your little cuttings. Nature works on its own timeline, and enjoying that journey is just as fulfilling as the final, thriving plant. Happy gardening!
Resource: