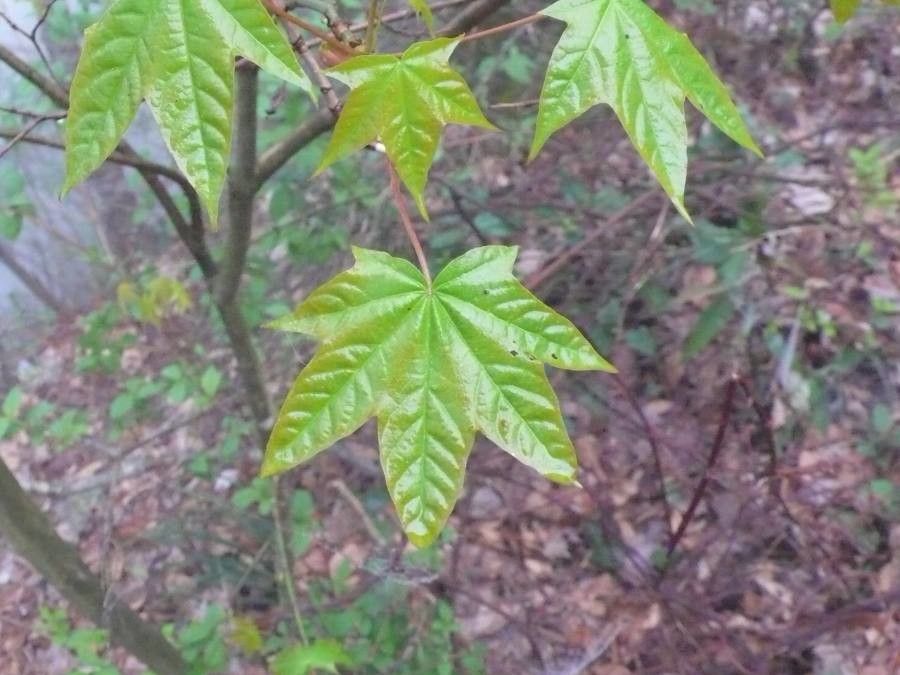
Hello fellow plant lovers! It’s so good to have you join me today. We’re going to dive into the wonderful world of propagating Acer longipes, often called the Chinese maple. If you’ve ever admired the delicate, deeply lobed leaves and graceful form of these beauties, you’re in for a treat. Growing your own from cuttings is incredibly satisfying, giving you new trees for your garden or to share with friends. Now, I’ll be honest, Acer longipes isn’t the easiest plant for a complete beginner to propagate, but with a little patience and the right approach, success is absolutely within reach. Think of it as a delightful challenge!
The Best Time to Start
For Acer longipes, timing is everything. The sweet spot for taking cuttings is late spring to early summer, just as the new shoots have started to firm up a bit but are still considered “softwood.” This is when the plant has plenty of energy reserves and is actively growing, meaning those cuttings have the best chance of taking root. Avoid taking cuttings when the wood is too soft and floppy, or when it’s become too hard and woody.
Supplies You’ll Need
Gathering your tools beforehand makes the whole process so much smoother. Here’s what I always have on hand:
- Sharp Pruning Shears or a Craft Knife: Clean, sharp tools are crucial for making clean cuts without damaging the plant.
- Rooting Hormone: This isn’t strictly necessary for all maples, but it can significantly boost success rates, especially with trickier ones like this. Look for a powder or gel specifically for woody cuttings.
- Potting Mix: A well-draining, airy mix is key. I often use a blend of equal parts peat moss or coco coir, perlite, and a little bit of fine bark. Avoid heavy garden soil.
- Small Pots or Trays: 4-inch pots are a good size, or even better, use a propagation tray with individual cell inserts. Make sure they have drainage holes!
- Clear Plastic Bags or a Propagation Dome: This creates a humid microclimate to keep your cuttings from drying out before they root.
- A Watering Can or Spray Bottle: For misting and gentle watering.
- Optional: Bottom Heat Mat: This can make a big difference, especially if your propagation area is on the cooler side.
Propagation Methods
We’ll focus on the most reliable method for Acer longipes: stem cuttings. This involves taking a piece of the current season’s growth and encouraging it to form roots.
- Select Your Cuttings: Head out to your Acer longipes. Look for healthy, vigorous shoots that are about the thickness of a pencil. You want to select pieces that have started to harden off – they’ll be firm but still somewhat flexible. Each cutting should be about 6-8 inches long.
- Make the Cut: Using your clean, sharp shears or knife, make a cut just below a leaf node. A leaf node is where a leaf attaches to the stem. This is where root-forming cells are concentrated.
- Prepare the Cutting: Gently strip off the leaves from the bottom half of the cutting. If you have any larger leaves at the top, you can trim them in half to reduce water loss without sacrificing too much surface area for photosynthesis. This step is really important!
- Apply Rooting Hormone: Dip the cut end of the stem into your rooting hormone. Tap off any excess.
- Planting: Fill your pots or tray with your prepared, moist potting mix. Make a small hole in the center of each pot using a pencil or your finger. Carefully insert the prepared cutting into the hole, ensuring the bottom node (where you removed leaves) is buried in the soil. Gently firm the soil around the stem.
- Create Humidity: Water the soil gently to settle it around the cuttings. Then, cover the pots with a clear plastic bag, securing it around the rim with a rubber band, or place them under a propagation dome. You want the leaves to be above the soil surface, not touching it.
The “Secret Sauce” (Pro Tips)
Here are a few little tricks I’ve learned over the years that can really give your cuttings a boost:
- Bottom Heat is Your Friend: If you can, place your pots on a bottom heat mat set to around 70-75°F (21-24°C). This warmth encourages root development from below, while the top remains cooler. It’s like a warm bath for your nascent roots!
- Don’t Overwater: While humidity is essential, soggy soil is the enemy. The mix should be moist, not waterlogged. If you see standing water, carefully tip out the excess. Soggy conditions invite rot, which will quickly be the end of your hard work.
- Air Circulation Matters: Even though you’re creating a humid environment, it’s good to vent the bags or dome for a few minutes each day. This allows for air exchange and helps prevent fungal issues.
Aftercare & Troubleshooting
Now the waiting game begins! Keep your cuttings in a bright, indirect light location. Avoid direct sun, which can scorch the leaves and overheat the cuttings.
You’ll want to check the moisture levels regularly. The soil should remain consistently damp but not saturated. Every few days, gently mist the leaves if they look a bit dry.
The most common sign of failure is a wilting or blackened stem, often accompanied by mushy tissue. This is usually a sign of rot due to overwatering or poor air circulation. If you see this, sadly, that cutting is likely lost, so remove it to prevent it from affecting others.
Roots typically start to form within 3-6 weeks, sometimes longer. You can check for roots by gently tugging on the cutting. If there’s resistance, you’ve got roots! You’re looking for a healthy network of fine, white roots. Once rooted, you can gradually acclimatize your new plants to normal conditions by opening the bags or dome for longer periods each day over a week or two. Then, you can transplant them into slightly larger pots if needed.
A Little Patience Goes a Long Way
Propagating plants, especially woody ones, is a journey that truly rewards patience. Don’t get discouraged if you have a few failures along the way – it happens to everyone, even seasoned gardeners! Each attempt is a learning experience. Enjoy the process of nurturing these little cuttings, and soon you’ll have your very own beautiful Acer longipes to admire and perhaps even share. Happy growing!
Resource:
https://identify.plantnet.org/k-world-flora/species/Acer%20longipes%20Franch.%20ex%20Rehder/data