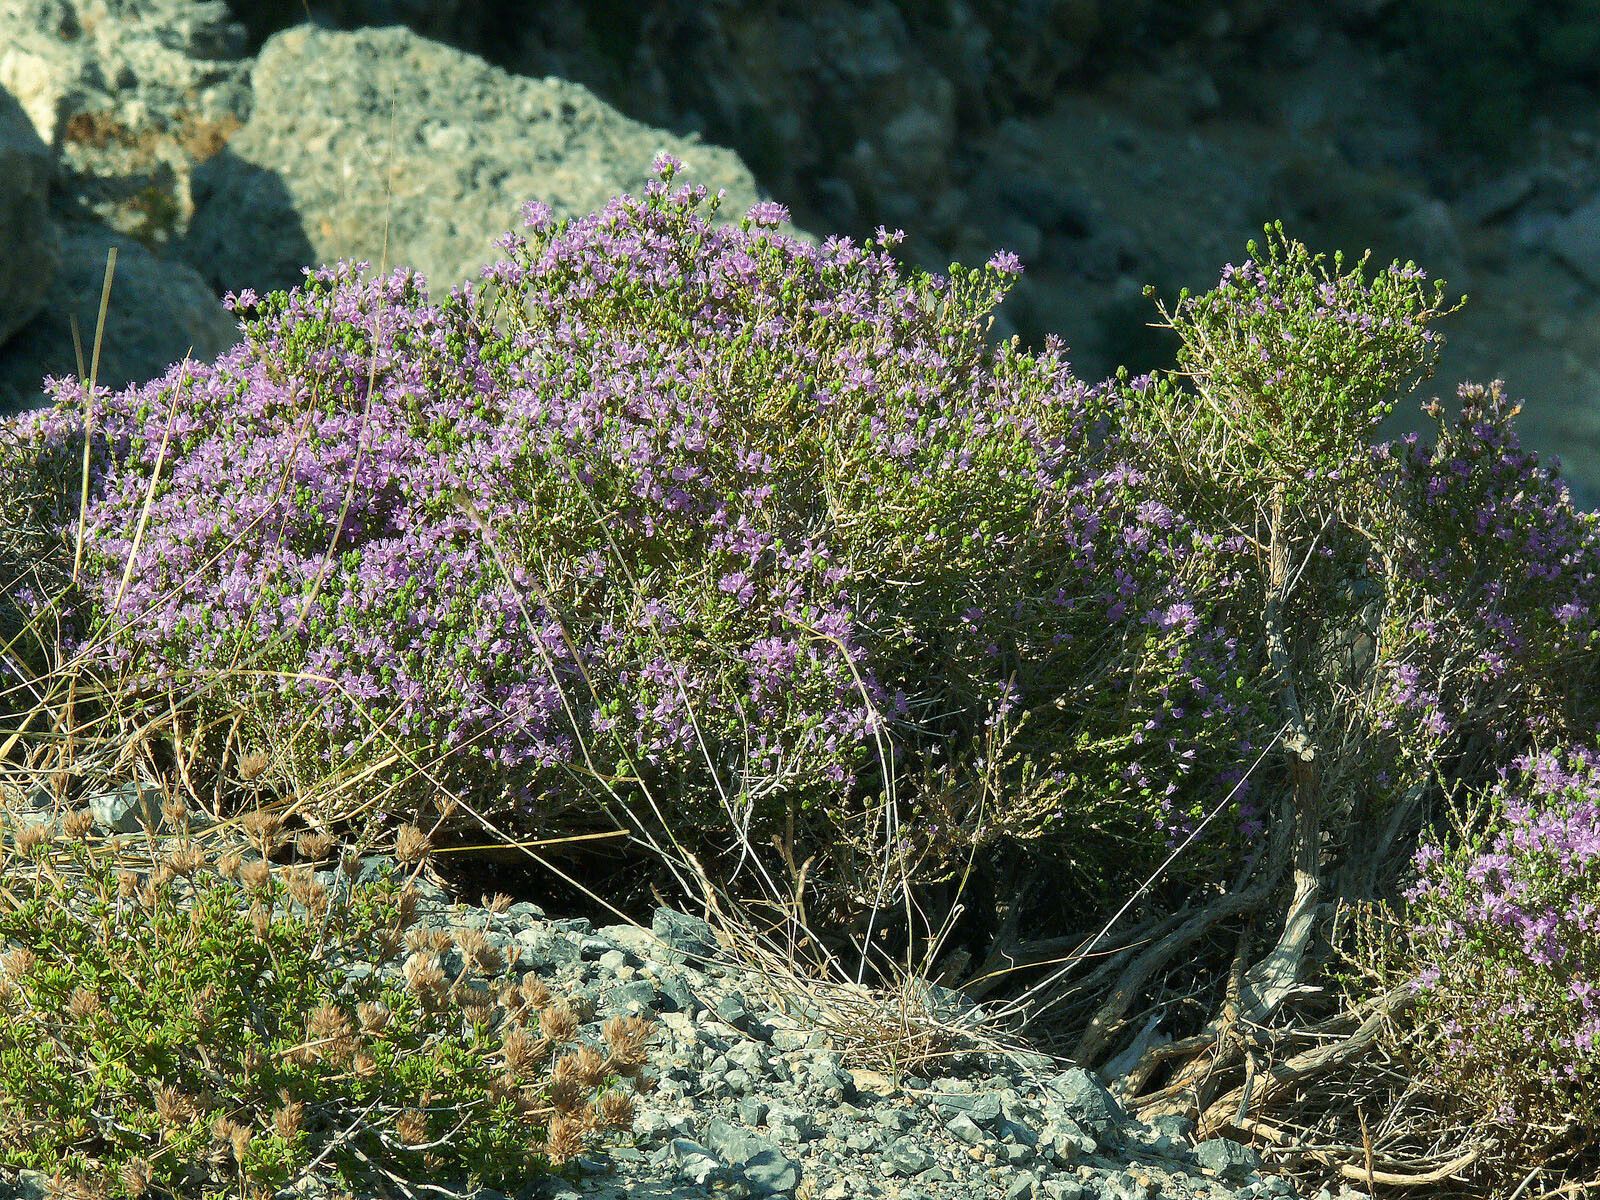
Hey there, fellow plant lovers! Today, we’re diving into the wonderful world of propagating Thymbra capitata, also known as Greek Oregano or Carvacrol Oregano. If you haven’t met this Mediterranean beauty yet, get ready! It’s a fragrant, low-growing shrub with tiny, aromatic leaves and charming little flower spikes that pollinators just adore. Plus, it’s fantastic for culinary uses or just for bringing that lovely scent to your garden pathways.
I’ve always found propagating it incredibly rewarding, and thankfully, it’s not a super finicky plant. In fact, I’d say it’s quite approachable for beginners. There’s something special about taking a small piece of a beloved plant and nurturing it into a whole new one, don’t you think?
The Best Time to Start
For the highest success rate with Thymbra capitata, I find late spring to early summer is your sweet spot. This is when the plant is actively growing, and young, pliable stems are readily available. You want to avoid taking cuttings from very old, woody stems. Think of it like making cuttings from a well-loved teen – full of life and energy!
Supplies You’ll Need
Here’s what you’ll want to have on hand:
- Sharp pruning shears or a clean knife: For making clean cuts.
- Rooting hormone (optional but recommended): A powder or gel that encourages root development.
- Potting mix: A well-draining blend is key. I like a mix of equal parts peat moss or coco coir and perlite or vermiculite.
- Small pots or propagation trays: Make sure they have drainage holes.
- Plastic bags or a propagation dome: To create a humid environment.
- Gravel or small stones (for water propagation): To keep stems upright.
- Water (for water propagation): Clean, room-temperature water.
Propagation Methods
Let’s get our hands dirty with a couple of reliable methods for Thymbra capitata:
Stem Cuttings (My Go-To!)
This is generally the most successful way to go for me.
- Take your cuttings: Select a young, healthy stem that’s about 4-6 inches long. Using your clean shears, make a cut just below a leaf node (where a leaf attaches to the stem). This is where roots are most likely to form.
- Prepare the cutting: Gently remove the leaves from the bottom half of the stem. If the remaining leaves are very large, you can even trim them in half to reduce water loss.
- Apply rooting hormone (optional): Dip the cut end into your rooting hormone powder or gel. Tap off any excess.
- Plant your cuttings: Fill your small pots with your prepared potting mix. Make a small hole with your finger or a pencil, and carefully insert the cutting. Firm the soil gently around the stem.
- Water gently: Water the soil thoroughly but avoid making it waterlogged.
- Create humidity: Cover the pots with a plastic bag, ensuring it doesn’t touch the leaves, or place them under a propagation dome. You can secure the bag with a rubber band or tape.
Water Propagation
This method is satisfying to watch!
- Gather cuttings: Similar to stem cuttings, take 4-6 inch cuttings from healthy, actively growing stems, preparing them by removing lower leaves.
- Place in water: Fill a clean jar or glass with room-temperature water. For extra support, you can add a few pebbles or small stones to the bottom of the jar to help the cuttings stand upright.
- Position the cuttings: Place the cuttings in the water, making sure no leaves are submerged. Leaves in the water will just rot and hinder root development.
- Change the water regularly: Refresh the water every few days to keep it clean and oxygenated.
The “Secret Sauce” (Pro Tips)
Here are a couple of things that have really made a difference for me:
- Bottom Heat is Your Friend: If you can, place your pots on a gentle heating mat designed for propagation. This warmth encourages root formation from below, giving your cuttings a real boost. It mimics the warmth of spring soil beautifully.
- Don’t Be Afraid of Darkness (Initially): Once your cuttings are planted, it’s okay to keep them in a slightly dimmer spot for the first week or so. This can help them focus on root development rather than being stressed by direct sunlight while they’re still trying to establish themselves. After a week, gradually move them to brighter, indirect light.
Aftercare & Troubleshooting
Once you start seeing new growth or feel resistance when you gently tug on a cutting (a sign of roots!), it’s time to transition them.
- Transplanting: Gradually acclimate your rooted cuttings to normal room humidity by opening the plastic bag or dome for increasing periods over a few days. Once they have a good root system, you can transplant them into their own small pots with a standard potting mix.
- Watering: Water them when the top inch of soil feels dry. Be careful not to overwater – this is the most common culprit for death.
- Signs of Trouble: The biggest enemy here is rot. If your cuttings turn mushy or black, or if you see mold on the soil surface, it’s likely due to too much moisture and not enough air circulation. Don’t be disheartened if a few don’t make it; it’s part of the learning process!
A Encouraging Closing
Propagating Thymbra capitata is such a rewarding journey. Be patient with your little plant babies, and celebrate every tiny sign of progress. You’re giving life, and that’s always a beautiful thing. Happy propagating!
Resource:
https://identify.plantnet.org/k-world-flora/species/Thymbra%20capitata%20(L.)%20Cav./data