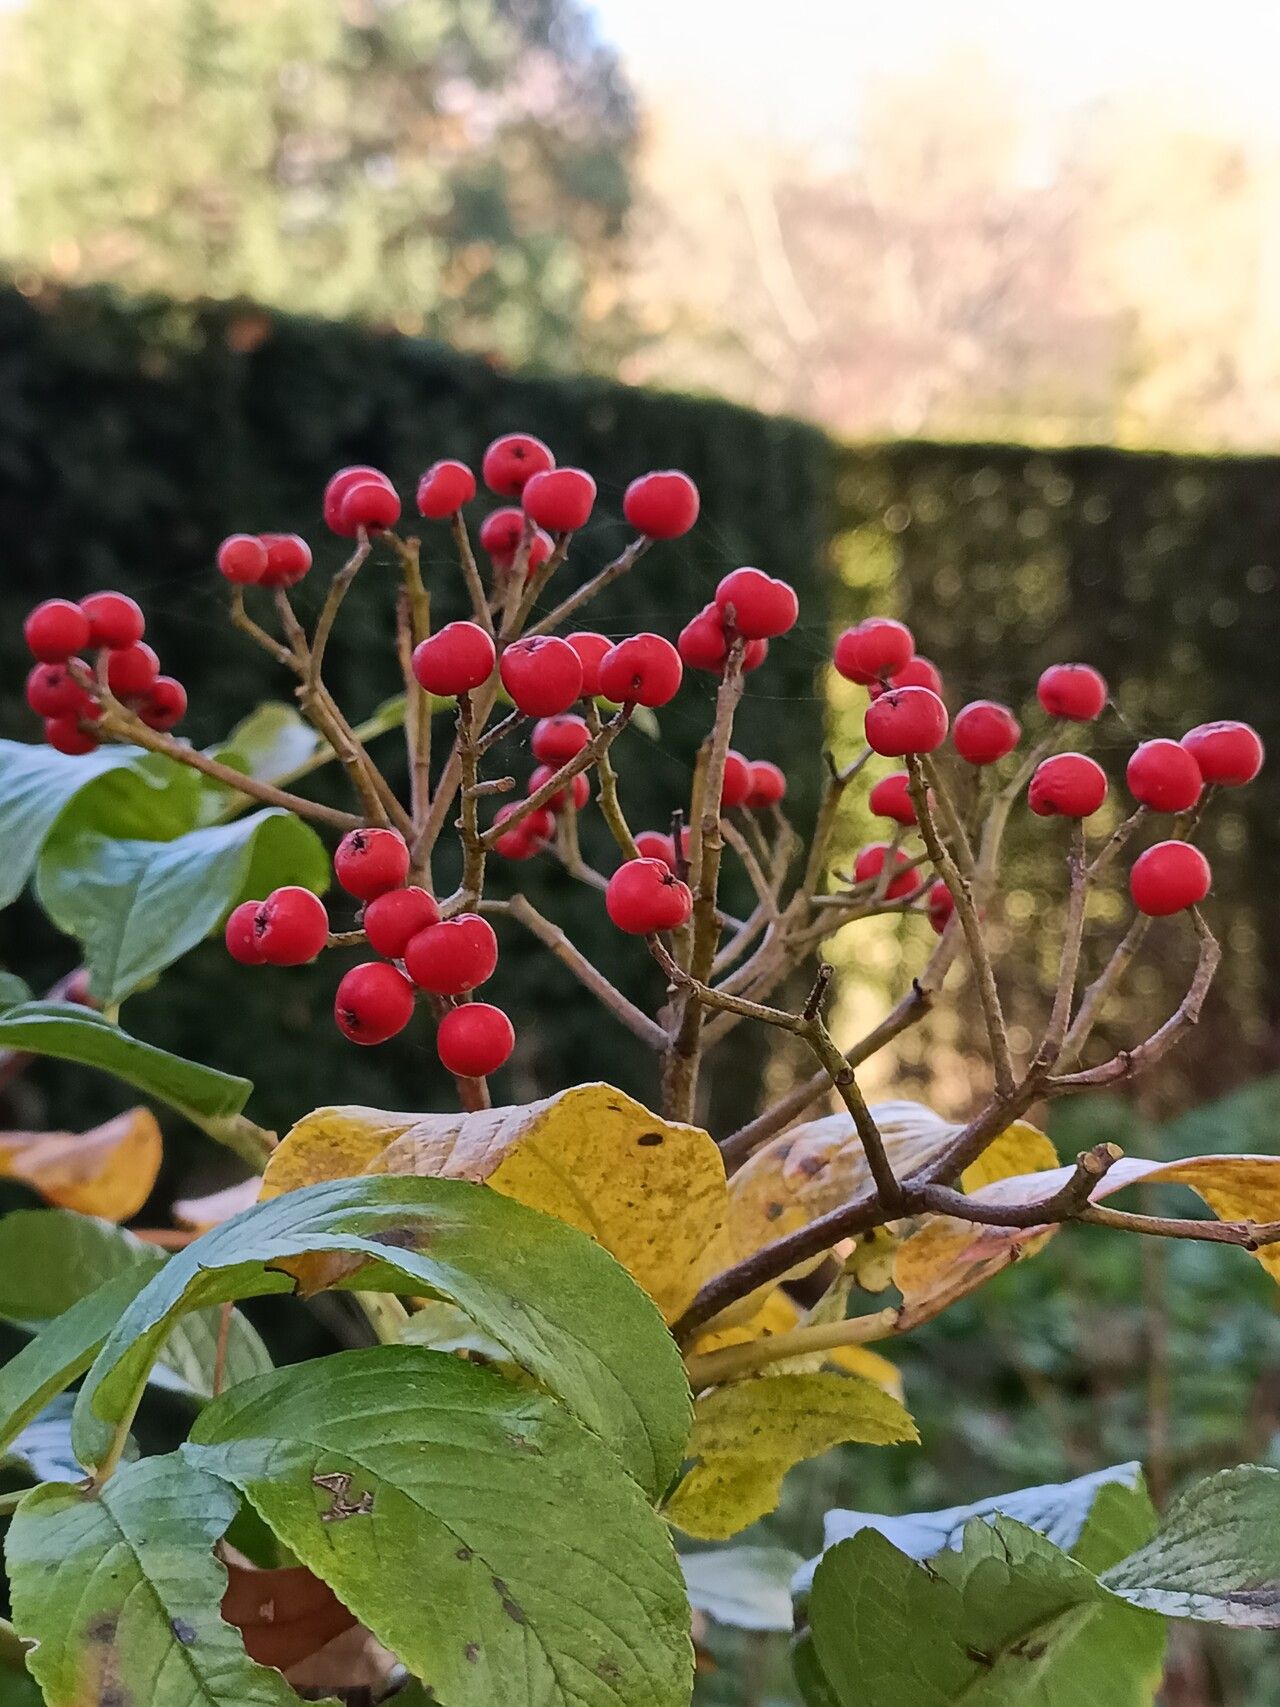
Oh, Sorbus wilsoniana! What a delightful choice for the garden. If you haven’t encountered this beauty before, imagine elegant, feathery foliage, a summer show of delicate white flowers, and then, come autumn, the most stunning display of coral-red berries. They hang on like little jewels, attracting all sorts of feathered friends. Growing new Sorbus wilsoniana plants from your existing one is truly a rewarding endeavor. It’s like sharing a little piece of your garden’s magic with yourself, or friends. For beginners, I’d say it’s moderately challenging, but with a little patience and these tips, you’ll be well on your way.
The Best Time to Start
The sweet spot for propagating Sorbus wilsoniana is usually late spring to early summer. This is when the plant is actively growing, and the new shoots have started to harden just a bit. You’re looking for what we call semi-ripe cuttings. They should bend a little but not snap cleanly when you try to break them. Starting too early, when the wood is too soft, can lead to rot. Waiting too long, until the wood is fully ripe and woody, can make it harder for them to root.
Supplies You’ll Need
Don’t worry, you won’t need a whole laboratory! Here’s a simple list to get you started:
- Sharp Pruning Shears or a Knife: Cleanliness is key here to prevent disease.
- Rooting Hormone (Optional but Recommended): A powder or gel can really give your cuttings a boost.
- Potting Mix: A light, well-draining mix is crucial. I like to use a 50/50 blend of perlite and coco coir, or a good quality seedling starting mix. Avoid heavy garden soil.
- Small Pots or Seed Trays: Clean pots are a must! 3-4 inch pots work well.
- Plastic Bags or a Propagator: To create a humid environment.
- Watering Can or Mister: For gentle watering.
- Labels: So you don’t forget what you’ve planted!
Propagation Methods
Now, for the hands-on part! We’ll focus on stem cuttings, which is the most reliable method for Sorbus wilsoniana.
- Take Your Cuttings: On a bright, but not scorching, day in late spring or early summer, select healthy, vigorous stems from your Sorbus wilsoniana. Look for shoots that have grown this year. Using your clean pruners, cut a section of stem that is about 4-6 inches long. Make your cut just below a leaf node (where a leaf attaches to the stem).
- Prepare the Cuttings: Gently strip off the leaves from the bottom half of the cutting. Leave just a few leaves at the very top. If the top leaves are very large, you might even want to cut them in half to reduce water loss.
- Apply Rooting Hormone (If Using): Dip the cut end of the stem into your rooting hormone, tapping off any excess.
- Plant Your Cuttings: Fill your small pots with your prepared potting mix. Make a hole with a pencil or your finger in the center of the soil. Carefully insert the cutting into the hole, ensuring the leaf nodes you removed are below the soil surface. Gently firm the soil around the cutting.
- Water Gently: Water the cuttings thoroughly but gently. You want the soil to be moist but not waterlogged.
- Create Humidity: Place a clear plastic bag over the pot, securing it with a rubber band. Alternatively, you can place the pots inside a propagator. This creates a mini-greenhouse effect, keeping the humidity high, which is essential for cuttings. Place the pots in a bright spot out of direct sunlight.
The “Secret Sauce” (Pro Tips)
Here are a few little tricks I’ve picked up over the years:
- Bottom Heat is Your Friend: If you have a seedling heat mat, placing your pots on it can significantly speed up root formation. Cuttings love a little warmth from below.
- Don’t Let Leaves Touch Water: If your cuttings are in water (though I generally prefer soil for Sorbus), make sure the leaves are well above the water line. Any submerged leaves will quickly rot, taking your cutting down with them. Even in soil, ensure no leaves are buried or touching the surface directly all the time.
- Air Circulation Matters: While you want humidity, you don’t want stagnant, damp air. If you’re using a plastic bag, lift it for a few minutes each day to allow for fresh air exchange. This helps prevent fungal diseases.
Aftercare & Troubleshooting
Once your cuttings have roots – and this can take anywhere from 6 weeks to a few months – you’ll notice new growth appearing at the top. You can also give a very gentle tug on a cutting; if there’s resistance, roots have formed.
- Gradual Acclimatization: As soon as you see new leaves, begin gradually reducing the humidity. Start by poking holes in the plastic bag or opening the propagator for longer periods each day over a week.
- Potting Up: Once the new plants are established and you’re confident they have a good root system (enough to hold the soil together when gently turned out of the pot), you can pot them up into slightly larger individual pots with a good quality potting mix.
- Watch for Rot: The most common sign of failure is rot. If your cutting turns black and mushy, it’s likely rotted. This usually happens because the soil is too wet, the air is too stagnant, or the cutting was too soft to begin with.
- Wilting: If a cutting wilts and stays wilted, it might not have rooted, or it could be suffering from lack of water or too much sun. Check the soil moisture.
A Encouraging Closing
Remember, gardening is a journey. Not every cutting will take, and that’s perfectly okay! Each attempt is a learning experience. Be patient, enjoy the process of nurturing these tiny beginnings, and soon you’ll have more beautiful Sorbus wilsoniana to grace your garden or share with loved ones. Happy growing!
Resource:
https://identify.plantnet.org/k-world-flora/species/Sorbus%20wilsoniana%20C.K.Schneid./data