Hey there, fellow plant lovers! Welcome back to my little corner of the internet where we chat all things green and growing. Today, I want to introduce you to a plant that’s been a quiet champion in my garden for years: Pseudognaphalium adnatum.
Why You’ll Love Pseudognaphalium adnatum
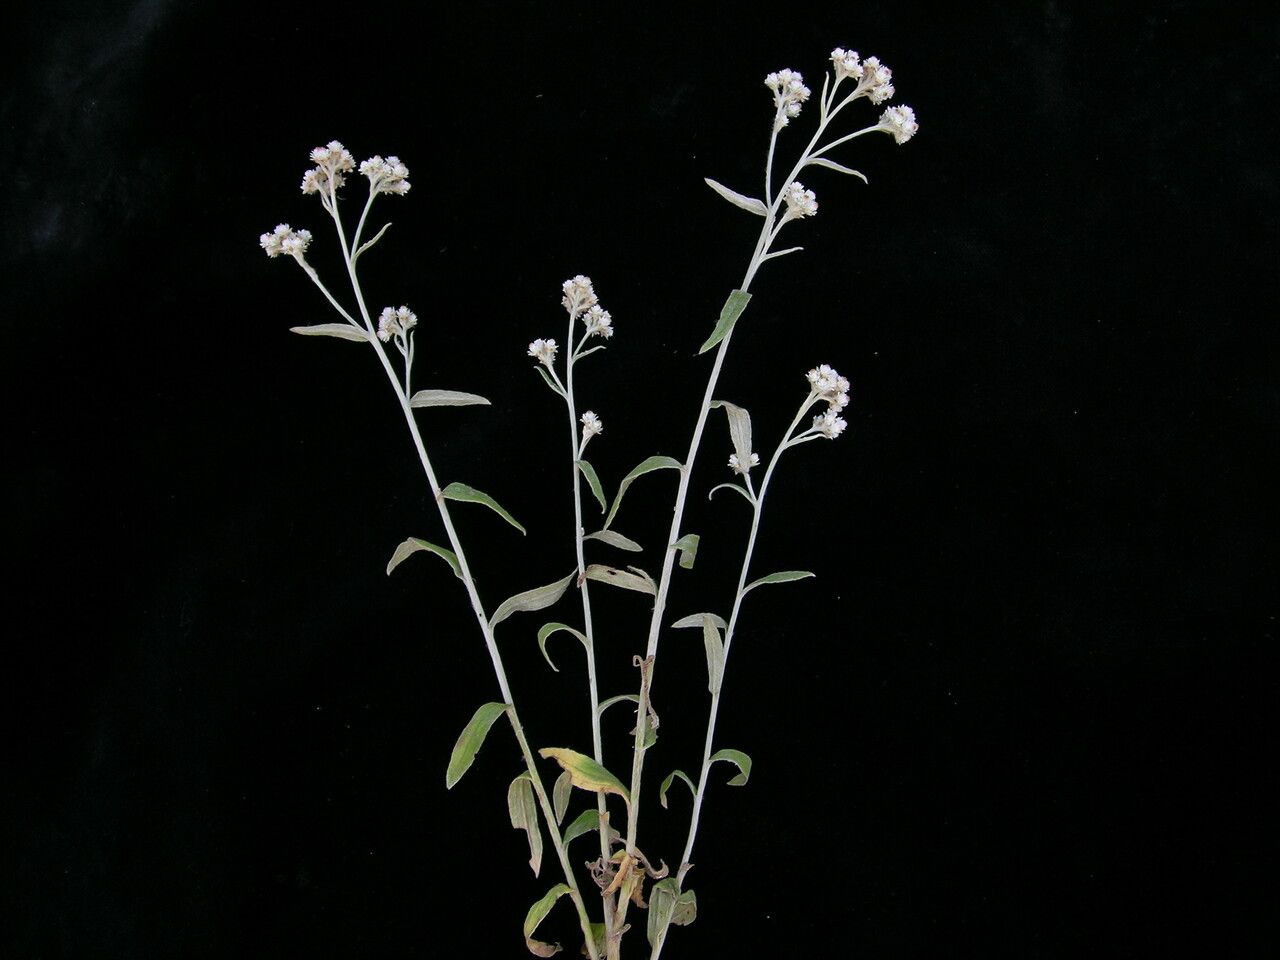
This little gem, often called “Annual Everlasting” or “Cat’s Ear,” is wonderfully understated. It produces clusters of small, daisy-like flowers in shades of creamy white to pale yellow, often with a lovely, slightly fuzzy texture. They’re fantastic for drying, making charming additions to floral arrangements, or just bringing a touch of soft color to the landscape. Propagating them is surprisingly rewarding, and I’d say it’s a fantastic choice for beginners looking to dip their toes into the world of plant propagation. It’s forgiving, and the satisfaction of watching a tiny cutting transform into a new plant is just priceless.
The Best Time to Start
For the highest success rate with Pseudognaphalium adnatum, I always aim for late spring to early summer. This is when the plant is in its active growth phase. You’ll want to take cuttings from healthy, non-flowering stems. Look for stems that are firm but still a bit flexible – not woody and not too soft and floppy.
Supplies You’ll Need
Gathering your supplies beforehand makes the whole process much smoother. Here’s what I usually have on hand:
- Sharp pruning shears or a clean knife: For making clean cuts.
- A well-draining potting mix: I like a blend of peat moss, perlite, and a little bit of compost.
- Small pots or seed trays: Clean ones, please!
- Rooting hormone (optional but recommended): This gives your cuttings a little boost.
- A spray bottle: For gentle misting.
- Plastic bags or dome covers: To create a humid environment.
- Labels and a marker: To keep track of your babies.
Propagation Methods: Let’s Get Our Hands Dirty!
The most reliable way to propagate Pseudognaphalium adnatum is through stem cuttings. It’s straightforward and usually yields great results.
- Take Your Cuttings: Gently select a healthy stem from your parent plant. Using your clean shears or knife, make a clean cut just below a leaf node (where the leaf attaches to the stem). You’re aiming for cuttings that are about 4-6 inches long. Remove the lower leaves from the cutting, leaving just a few at the very top.
- Prepare the Cuttings: If you’re using rooting hormone, lightly dip the cut end of the stem into the powder. Tap off any excess.
- Potting Up: Fill your pots or trays with your prepared potting mix. Moisten the soil so it’s damp but not waterlogged.
- Planting the Cuttings: Make a small hole in the soil with your finger or a pencil. Gently insert the cut end of the stem into the hole, ensuring at least one leaf node is below the soil surface. Firm the soil gently around the base of the cutting.
- Create a Humid Environment: Water them in gently with your spray bottle. Then, cover the pots with clear plastic bags or dome covers. You can prop the bags up with stakes so they don’t touch the leaves. This humidity is crucial for preventing the cuttings from drying out before they can root.
The “Secret Sauce” (Pro Tips)
Now, for a few little tricks I’ve picked up over the years that can really help your cuttings thrive:
- Don’t let leaves touch the water (if you were to try water propagation): While I recommend potting mix for Pseudognaphalium adnatum, if you ever experiment with water, remember that leaves submerged in water tend to rot. Keep them high and dry!
- Bottom heat is your friend: If you have a heat mat, placing your pots on it can significantly speed up root development. It mimics the warmth of the spring soil and gives those little root cells a real kickstart.
- Patience is key – really: Don’t be tempted to pull them up too soon to check for roots! Trust the process. It can take anywhere from 3-6 weeks for cuttings to establish a good root system.
Aftercare & Troubleshooting
Once you start to see signs of new growth at the top of the cutting – a little leaf unfurling or a tiny sprout – it’s a good sign that roots are forming!
- Gradual Acclimation: Once roots are established, you’ll want to gradually acclimate your new plants to drier air. Start by opening the plastic cover for an hour or two each day, slowly increasing the time until they’re used to ambient humidity.
- Watering: Water them when the top inch of soil feels dry. Avoid overwatering, as this is the fastest way to invite trouble.
- Signs of Failure: The most common issue is rot. If your cutting turns black and mushy, it’s likely rotted from too much moisture or poor air circulation. If this happens, sadly, it’s time to discard it and try again. Another sign of stress is wilting that doesn’t recover. Ensure your humidity is good and that they aren’t drying out too quickly.
Keep Growing!
Propagating Pseudognaphalium adnatum is such a lovely way to multiply your garden joy. Remember to take your time, pay attention to the little details, and don’t be discouraged if your first few attempts aren’t perfect. Every gardener has had their share of failures – it’s all part of the learning curve! Enjoy the process, and soon you’ll have plenty of these charming little plants to share or enjoy yourself. Happy propagating!
Resource: