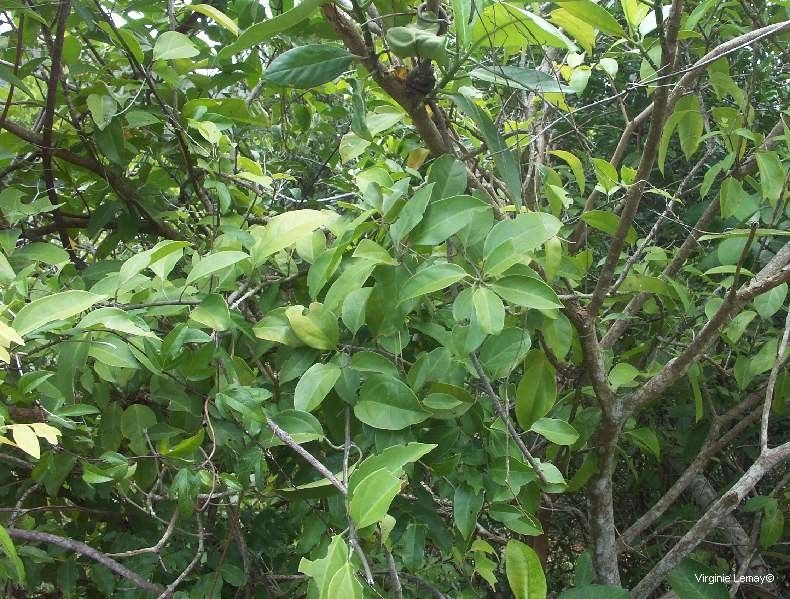
Hello fellow plant lovers! Today, we’re going to delve into the wonderful world of propagating Oxera glandulosa. If you’re not familiar with this beauty, imagine delicate, bell-shaped flowers in soft hues of pink or white, often with a subtle, sweet fragrance. It’s the kind of plant that just whispers elegance in any garden or indoor space. The real joy, though, comes from watching a tiny cutting transform into a thriving new plant, all thanks to your own hands. I’ll be honest, for absolute beginners, Oxera glandulosa might present a slight learning curve. But don’t let that deter you! With a little patience and these tried-and-true methods, you’ll be well on your way to success.
The Best Time to Start
My personal favorite time to tackle propagation for Oxera glandulosa is in the late spring or early summer. This is when the plant is actively growing, and its energy is high. You’re looking for new growth that’s still somewhat soft and pliable, not the old, woody stems that have matured over the past year. This “softwood” or “semi-hardwood” stage is crucial for quick and successful rooting.
Supplies You’ll Need
Before we get our hands dirty, let’s gather our tools:
- Sharp, clean pruning shears or a razor blade: For making those clean cuts without crushing delicate tissues.
- Rooting hormone powder or gel: This is optional but highly recommended, especially for Oxera glandulosa. It gives your cuttings a significant head start.
- A well-draining potting mix: I like to use a blend of peat moss, perlite, and a touch of vermiculite. A good commercial seedling mix will also work beautifully.
- Small pots or propagation trays: Clean ones, of course!
- A clear plastic bag or humidity dome: This creates that crucial humid environment.
- A spray bottle: For gentle misting.
- Water: Distilled or rainwater is best if your tap water is particularly hard.
Propagation Methods
Let’s get started with the most reliable methods for Oxera glandulosa.
Stem Cuttings
This is my go-to method. It’s straightforward and usually yields excellent results.
- Take Your Cuttings: Using your sharp shears, select a healthy stem and cut a piece about 4-6 inches long. Make the cut just below a leaf node (the point where a leaf attaches to the stem).
- Prepare the Cuttings: Gently remove the lower leaves, leaving just the top few leaves intact. If the remaining leaves are very large, you can cut them in half horizontally to reduce water loss.
- Apply Rooting Hormone: Dip the cut end of the stem into your rooting hormone powder or gel. Tap off any excess.
- Plant the Cuttings: Make a small hole in your prepared potting mix with a pencil or your finger. Insert the cutting, ensuring the leaf nodes are buried under the soil. Gently firm the soil around the base of the cutting.
- Create Humidity: Water the soil lightly. Place the pot or tray into a clear plastic bag or cover it with a humidity dome. Ensure the leaves aren’t touching the plastic, or they might rot.
- Find a Spot: Place the container in a bright spot, but out of direct, harsh sunlight. Keep the soil consistently moist but not waterlogged.
Water Propagation
This method is wonderfully visual and satisfying as you watch the roots develop.
- Take Your Cuttings: Similar to stem cuttings, select healthy stems about 4-6 inches long and cut just below a leaf node.
- Prepare the Cuttings: Remove all but the top two or three leaves.
- Place in Water: Put the cuttings in a clean glass or jar filled with fresh water. Make sure the leaf nodes are submerged but the leaves themselves are above the water line. This is incredibly important to prevent rot.
- Change the Water: Change the water every few days to keep it fresh and oxygenated.
- Find a Spot: Keep the jar in a bright location, away from direct sun.
The “Secret Sauce”
Here are a couple of little tricks I’ve learned over the years that can really boost your success with Oxera glandulosa:
- Bottom Heat is Your Friend: If you’re using stem cuttings in soil, placing your pots on a gentle heat mat can make a world of difference. This encourages root development from below, mimicking the growing conditions the plant loves. You don’t want it too hot, just a gentle warmth will do.
- Don’t Be Afraid of a Gentle Pinch: Once your cuttings have rooted and started to show new growth (meaning they’ve developed their own robust root system and are ready to be repotted), pinch back the very tips. This encourages the plant to branch out and become bushier, rather than growing long and leggy. You can even use the pinched-off tips to start more cuttings!
Aftercare & Troubleshooting
Once you see new leaves emerging from your cuttings, or your water-propagated cuttings have developed a nice set of roots (about an inch or so long), it’s time for the next step!
- Transitioning to Soil: Carefully transplant your rooted cuttings into small pots filled with your well-draining potting mix. Water them in gently.
- Gradual Acclimation: If your cuttings were in water, or under a very humid dome, gradually acclimate them to normal room humidity over a week or two. Remove the plastic bag or dome for increasing periods each day.
- Watering: Keep the soil consistently moist but not soggy. Allow the top inch of soil to dry out slightly between waterings.
- Troubleshooting Rot: The most common issue you might face is rot. If your cuttings turn black and mushy at the base, it’s a strong sign of too much moisture and/or poor air circulation. Ensure your potting mix is free-draining and avoid overwatering. If you catch it early, you might be able to salvage a healthy part of the stem, but sadly, often the whole cutting is lost. Cleanliness is key to preventing fungal issues.
A Little Patience Goes a Long Way
Propagating plants is a journey, and it’s about the process as much as the outcome. Don’t get discouraged if your first few attempts don’t result in a forest of new Oxera glandulosa plants. Each attempt teaches you something new. Be patient, observe your cuttings, and celebrate every tiny success – that first new leaf is a victory! Happy propagating!
Resource:
https://identify.plantnet.org/k-world-flora/species/Oxera%20glandulosa%20Vieill./data