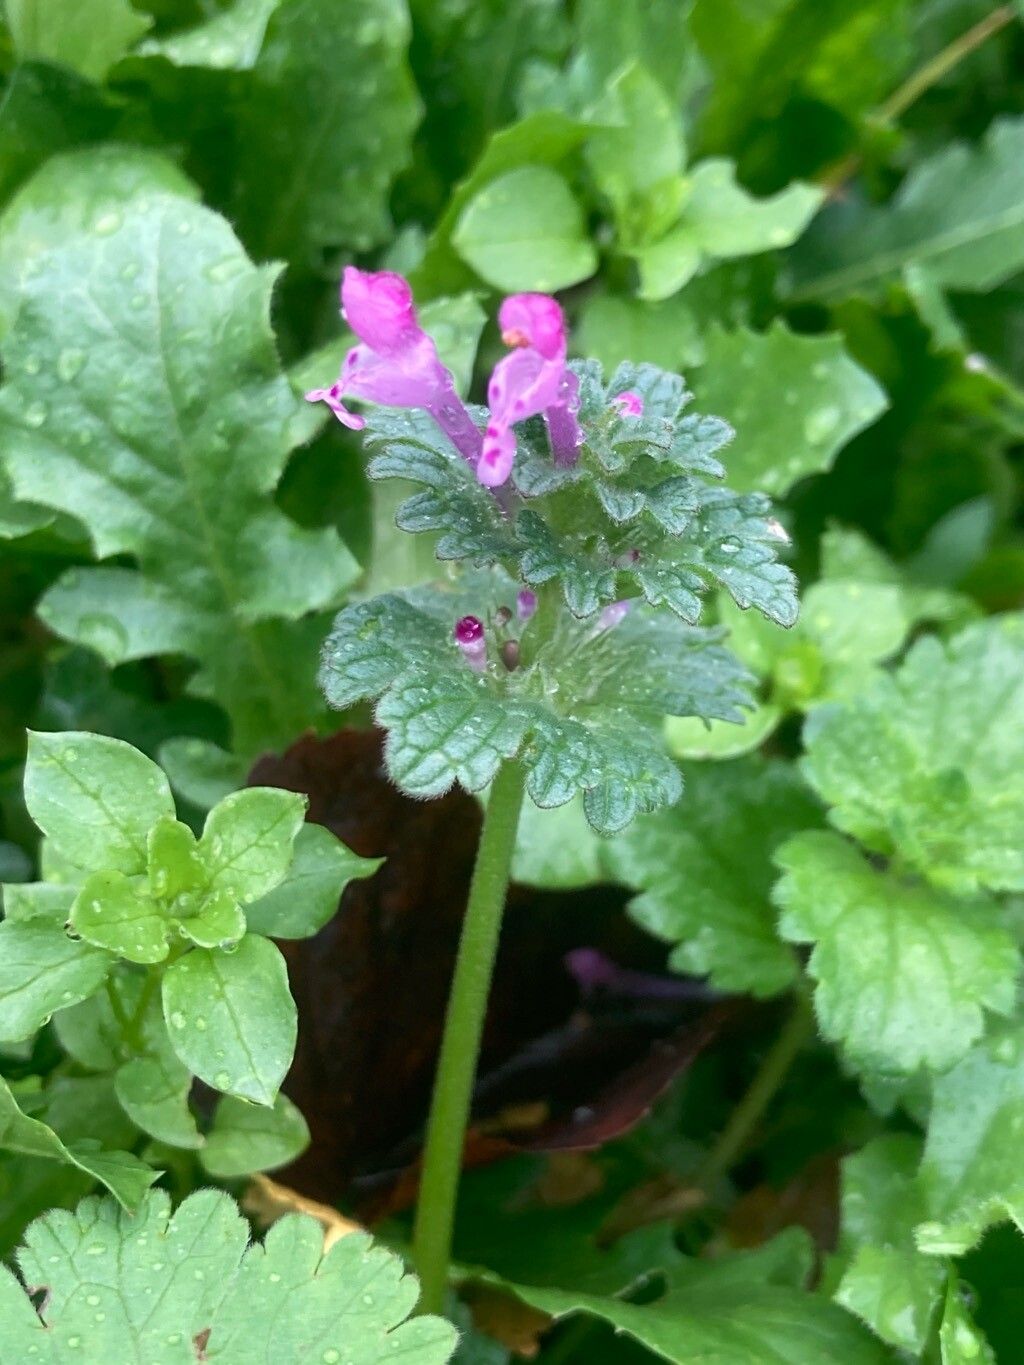
Oh, hello there! Come on in, pull up a chair. I’ve got a fresh pot of coffee brewing, and I’m so excited to chat with you about one of my favorite little garden treasures: Lamium amplexicaule, or as many of us fondly call it, Henbit.
Why You’ll Love Propagating Lamium
There’s something incredibly satisfying about creating new life from an existing plant. And Henbit? It’s a gem for exactly this reason. It’s that hardy, cheerful groundcover that pops up with its lovely little purple blooms, brightening up shady spots and even cracks in the pavement. For beginners, this plant is a dream. It’s famously easy to propagate, meaning you’ll likely have success with your very first try, which is such a confidence booster, isn’t it? Spreading this delightful plant around your garden or sharing it with friends is wonderfully rewarding.
The Best Time to Start
My favorite time to get started with propagating Henbit is in late spring or early summer. This is when the plant is actively growing and has plenty of lush, new stems available. You can also have good luck with cuttings in the early fall before the real chill sets in, as the plant is still full of vigor. The key is to work with healthy, vigorous stems.
Supplies You’ll Need
Gathering your tools makes the process so much smoother. Here’s what I usually have on hand:
- Sharp pruning shears or scissors: Cleanliness is key!
- Rooting hormone (optional but helpful): A little boost can speed things up.
- A small pot or container: Make sure it has drainage holes.
- Seed-starting mix or a light potting mix: Something well-draining is crucial.
- A clear plastic bag or a propagator lid: To create a humid environment.
- Watering can or spray bottle: For gentle watering.
Propagation Methods: My Go-To Approaches
Henbit is a trooper, and thankfully, it’s pretty forgiving with propagation. We’ll focus on the simplest and most effective methods.
1. Stem Cuttings: The Champ
This is my absolute favorite and most reliable method for Henbit.
- Select your stems: Look for healthy, non-flowering stems that are about 3-4 inches long. They should be a bit flexible, not woody.
- Make the cut: Using your sharp, clean shears, make a clean cut just below a leaf node (where a leaf meets the stem). This is where the magic happens!
- Prepare the cutting: Gently remove the lower leaves, leaving just a couple of leaves at the top. If the leaves are very large, you can even snip them in half to reduce water loss.
- Dip in rooting hormone (optional): If you’re using rooting hormone, dip the cut end into it, tapping off any excess.
- Plant your cuttings: Fill your small pot with your well-draining soil mix. Make a small hole with your finger or a pencil and gently insert the cutting, firming the soil around it. Make sure at least one leaf node is buried beneath the soil.
- Water gently: Give your cuttings a light watering, just enough to moisten the soil.
2. Water Propagation: Watch Them Grow!
This method is fascinating because you can actually see the roots forming!
- Take cuttings: Follow steps 1-3 from the stem cutting method.
- Place in water: Fill a small jar or glass with fresh water. Place your cuttings in the water, making sure no leaves are submerged. This is important: the leaves touching the water will rot and can kill your cutting.
- Location, location: Place the jar in a bright spot, but out of direct, scorching sunlight.
- Change the water: Refresh the water every few days to keep it clean and oxygenated.
The “Secret Sauce” (Pro Tips!)
Here are a couple of little tricks I’ve learned over the years that really seem to help:
- Bottom Heat is Your Friend: If you’re using stem cuttings indoors, popping them on a heat mat can significantly speed up root development. Henbit absolutely loves a bit of warmth from below. Just don’t let them overheat!
- Mist Regularly (but not too much!): For stem cuttings in pots, I like to mist the foliage once or twice a day, especially if your home is dry. This keeps them from wilting while they’re trying to root. However, avoid making the soil soggy, as this is the fastest route to rot.
Aftercare & Troubleshooting
Once you see roots forming, the real fun begins!
For stem cuttings: You’ll know they’re ready to be transplanted when you feel a gentle resistance when you tug on them lightly, or when you see new growth emerging. Carefully transplant each rooted cutting into its own small pot filled with potting mix. Water them in and keep them in a bright location, gradually acclimatizing them to normal room humidity over a week or two.
For water propagation: Once the roots are about an inch long, it’s time to pot them up. Follow the transplanting steps for stem cuttings above.
Now, about those hiccups: The biggest enemy of cuttings is rot. If you notice your stems turning mushy or black, or if there’s a foul smell, it’s likely rot. This usually means too much moisture and not enough air circulation. Pull out any affected cuttings immediately, clean your pot, and start again, being extra careful with watering.
Keep Going, Gardener!
Propagating Henbit is a wonderful way to connect with your garden and share its beauty. Don’t get discouraged if your first few attempts aren’t perfect. Gardening is a journey of learning, and with each plant you try, you gain more experience. Be patient, enjoy the process of watching new life emerge, and soon you’ll have Henbit to spare! Happy gardening!
Resource:
https://identify.plantnet.org/k-world-flora/species/Lamium%20amplexicaule%20L./data