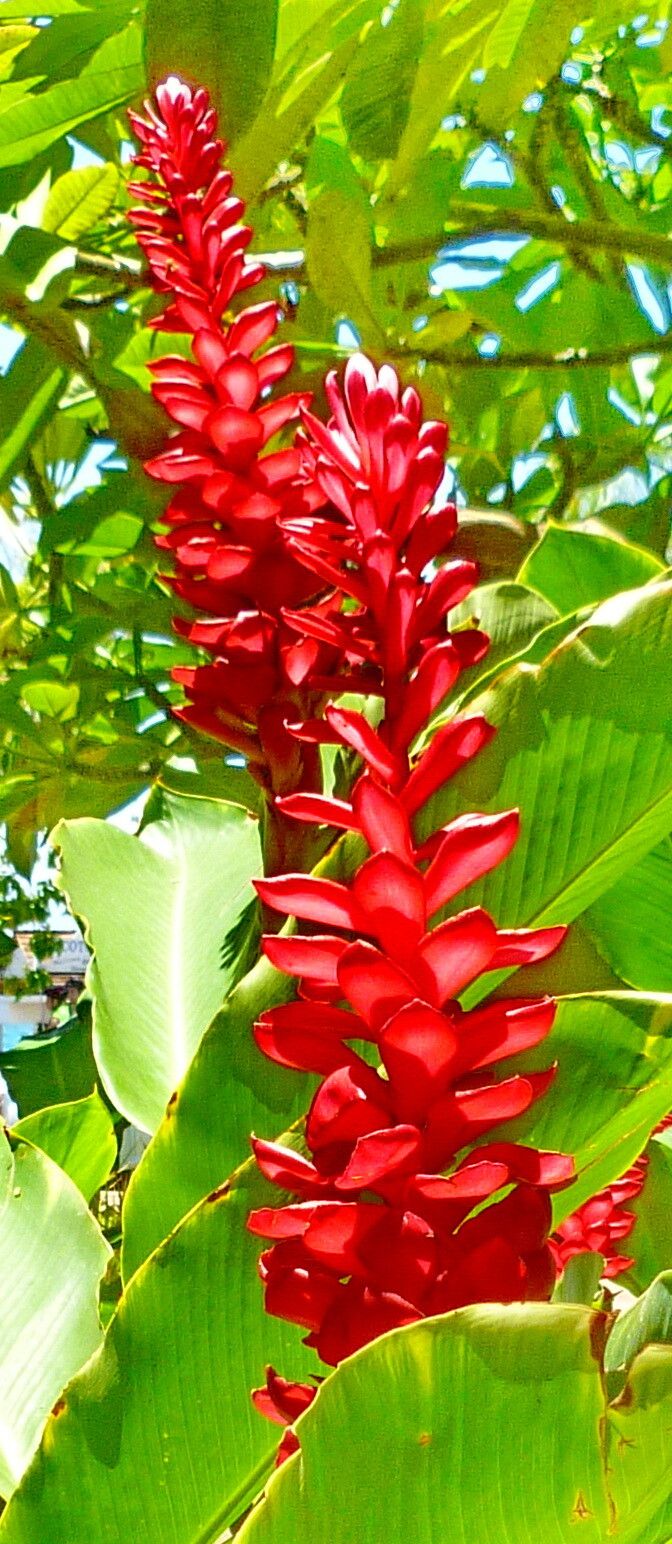
Oh, Alpinia purpurata! Those vibrant, show-stopping bracts are just pure joy in the garden, aren’t they? If you’ve ever admired those fiery red or delicate pink “blooms” (which, of course, are actually specialized leaves protecting the true flowers), you’ve probably wished you had more of them to sprinkle around. And guess what? Propagating these beauties is absolutely worth the effort! Now, I wouldn’t say they’re as simple as a succulent cutting for a total beginner, but with a little patience and these tips, you’ll be well on your way to a jungle of your own!
The Best Time to Start
My favorite time to get propagating Alpinia purpurata is in the spring or early summer. This is when the plant is really hitting its stride, pushing out new growth with vigor. You want to grab cuttings or divide rhizomes from healthy, active plants. Trying to propagate when the plant is dormant or stressed is just setting yourself up for disappointment. Think of it as giving your new baby plant the best possible start during its prime growing season.
Supplies You’ll Need
Gathering your supplies beforehand makes the whole process so much smoother. Here’s what I usually have on hand:
- Sharp Pruning Shears or a Knife: Clean cuts are crucial for preventing disease. Make sure they’re sterile!
- Well-Draining Potting Mix: A mix designed for tropical plants or a combination of peat moss, perlite, and a bit of compost works wonderfully.
- Rooting Hormone (Optional but Recommended): This really gives cuttings a helpful boost and increases success rates.
- Small Pots or Seed Trays: For your cuttings. Make sure they have drainage holes!
- Plastic Bags or a Propagator: To create a humid environment for your cuttings.
- Watering Can or Spray Bottle: For gentle watering.
- Labels and a Marker: Because trust me, you will forget what you planted where.
- A Piece of Healthy Alpinia Purpurata!
Propagation Methods
Alpinia purpurata is primarily propagated either by dividing its rhizomes or by taking stem cuttings. Division is often the easiest route for home gardeners.
Method 1: Rhizome Division
This is like giving your mature plant a haircut and getting new plants in return.
- Gently Excavate: Carefully dig up your Alpinia plant. You don’t need to yank it out of the ground; loosen the soil around the edges and ease it out of its pot or the garden bed.
- Inspect the Rhizomes: You’ll see thick, fleshy underground stems called rhizomes. Look for sections that have at least one or two healthy-looking buds or shoots and some visible roots.
- Make the Cut: Using your clean pruning shears or knife, carefully separate each division. Be sure that each piece has roots attached. If a division seems to have no roots, don’t despair; sometimes they’ll sprout them, but sections with roots are a much safer bet.
- Pot Up: Plant each division in its own pot filled with your well-draining potting mix. Bury the rhizome just under the surface, ensuring the buds or shoots are pointing upwards.
- Water and Shelter: Water thoroughly, but don’t let it sit in soggy soil. I like to cover the pots loosely with a clear plastic bag or pop them into a propagator to maintain high humidity, which these tropical beauties love. Place them in a warm spot with bright, indirect light.
Method 2: Stem Cuttings
This method is great if you want to grow more plants from a specific part of your Alpinia.
- Take Your Cuttings: In spring or early summer, select a healthy stem that has at least 2-3 nodes (the little bumps where leaves grow). Using your clean shears, make a cut just below a node. Aim for pieces about 4-6 inches long.
- Prepare the Cutting: Remove the lower leaves. If there are any flower stalks or developing buds, trim those off too – you want all the plant’s energy to go into root development.
- Dip in Rooting Hormone (Optional): If you’re using rooting hormone, dip the cut end of the stem into the powder or gel. Tap off any excess.
- Plant Your Cuttings: Stick the base of the cutting into small pots filled with your moist potting mix. A good depth is about 1-2 inches, or enough to keep the cutting stable. Make sure at least one node is buried in the soil, as this is where roots will emerge.
- Create a Humid Environment: Just like with divisions, cover the pots with a clear plastic bag or place them in a propagator. This is crucial to prevent the cuttings from drying out.
- Provide Warmth and Light: Place the pots in a warm location with bright, indirect light. If you have a heat mat, using bottom heat can significantly speed up the rooting process.
The “Secret Sauce” (Pro Tips)
After years of trial and error, I’ve picked up a few tricks that really help.
- Don’t Drown Your Cuttings: When using the water propagation method (which I’m a bit more cautious with for Alpinia compared to division or soil cuttings), make absolutely sure that no leaves touch the water. They’ll rot in a heartbeat, taking the whole cutting with them. If you do have leaves that would dip below the waterline, prune them off.
- Bottom Heat is a Game-Changer: Especially for stem cuttings, providing gentle warmth from below using a seedling heat mat can make a world of difference. It encourages those roots to wake up and start growing much faster.
- Be Patient with Rhizome Divisions: Sometimes, a divided rhizome might look a bit sad for a few days, even weeks. Don’t give up on it too soon! As long as it hasn’t turned into mush or developed black spots (signs of rot), give it time. Keep it warm and humid, and it might just surprise you with a new shoot.
Aftercare & Troubleshooting
Once you see signs of new growth – a tiny shoot emerging from the soil or your cutting showing some plumpness rather than wilting – you know you’re on the right track!
- Gradual Acclimation: Once your cuttings have developed a good root system (you can gently tug on them to feel resistance, or peek into the drainage holes if the pot is clear), slowly start to acclimate them to normal humidity. Gradually lift the plastic bag for a few hours each day over a week or two.
- Consistent Moisture, Not Soggy: Keep the soil consistently moist but never waterlogged. Overwatering is the quickest way to invite fungal diseases and rot.
- Fertilize Sparingly: Once your new plants are established and actively growing, you can begin feeding them with a diluted liquid fertilizer, maybe once a month during the growing season.
- Watch for Rot: The biggest enemy is rot. If you see mushy stems, black spots, or a foul smell, your plant is likely rotting. Sadly, it’s often best to discard infected material to prevent it from spreading. Ensure you have good air circulation and aren’t overwatering.
- Pests: Keep an eye out for common houseplant pests like spider mites or aphids, especially if your plants are indoors. A quick spray of insecticidal soap usually does the trick.
A Warm Encouraging Closing
Propagating plants is a little bit of science, a little bit of magic, and a whole lot of patience. Don’t be discouraged if your first attempt isn’t perfect. Every gardener has their share of failed cuttings or divided rhizomes that just didn’t make it. The joy is in the process, the learning, and the thrill when you finally see that first tiny leaf unfurl on your new Alpinia purpurata. Happy propagating, and enjoy your magnificent new plants!
Resource:
https://identify.plantnet.org/k-world-flora/species/Alpinia%20purpurata%20(Vieill.)%20K.Schum./data