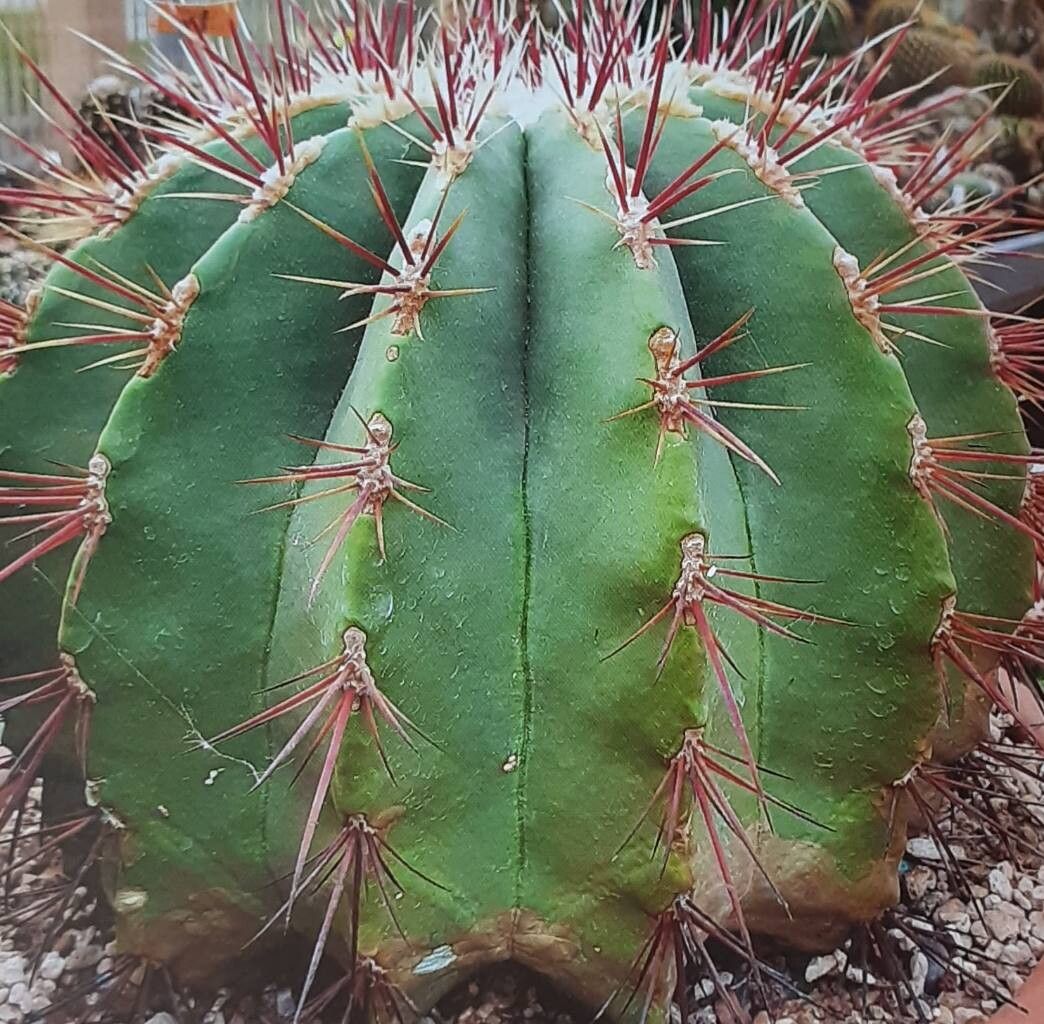
Hey there, fellow plant lovers! You know, Ferocactus haematacanthus, with its stunning crimson spines and magnificent barrel shape, is a cactus that really captures the imagination. Bringing one of these beauties into your home is one thing, but successfully propagating it and creating your own little barrel cactus army? That’s a whole other level of garden joy. It’s a bit of a journey, for sure, but deeply satisfying. If you’re new to cactus propagating, this isn’t the easiest to start with, but with a little patience and the right approach, you can absolutely do it.
The Best Time to Start
The sweet spot for propagating Ferocactus haematacanthus is definitely during its active growing season. Think late spring through summer. This is when the plant has plenty of energy to put into producing new roots and developing. Starting in cooler months, when the plant is more dormant, will likely lead to disappointment.
Supplies You’ll Need
Before we get our hands dirty (or rather, sandy!), let’s gather our essentials:
- Sharp, sterile pruning shears or a clean knife: For making those crucial cuts.
- Cactus/succulent potting mix: A well-draining blend is non-negotiable. You can buy a pre-made one, or mix your own with coarse sand, perlite, and a bit of peat.
- Rooting hormone (optional but recommended): This can give your cuttings a helpful boost.
- Clean pots or seed trays: Make sure they have drainage holes!
- Gravel or small pebbles: For top dressing and added drainage.
- Watering can with a fine rose: For gentle watering.
- Patience! (Seriously, it’s the most important tool.)
Propagation Methods
For Ferocactus haematacanthus, the most reliable method of propagation for us home gardeners is division when the plant is mature enough. While you can try offset removal from larger plants, it’s less common and often trickier. Let’s focus on the most accessible path for creating new plants.
Division: Sharing the Love
When your Ferocactus haematacanthus becomes large enough, you might notice smaller offsets forming at its base. These are perfect candidates for a new plant!
- Gently extract the mother plant from its pot. It’s best to do this when the soil is slightly dry, making it easier to loosen.
- Examine the base for any pups or offsets that have developed their own root structure.
- Carefully use your sterile knife or shears to separate the offset from the main plant. Try to get as many roots attached to the pup as possible. If an offset doesn’t have roots yet, it’s much harder to get going this way.
- Allow the cut surface to callus over. This is super important! Place the separated offset in a dry, well-ventilated spot (out of direct sun) for about a week or two. You want to see a dry, tough layer form over the wound. This prevents rot.
- Pot up your callused offset. Use your well-draining cactus mix in a small pot. The offset should sit just on the soil surface, not buried deeply.
- Do not water immediately. Wait at least another week before giving it its first light watering.
The “Secret Sauce” (Pro Tips)
Here are a few little tricks of the trade that have saved many a propagation attempt for me:
- Don’t rush the callus: I can’t stress this enough. That dry, healed surface is your best defense against rot, especially with cacti. Be patient! Some might need three weeks to fully callus.
- The magic of bottom heat: If you have a propagation mat or can place your potted offsets in a warm spot that receives gentle heat from below (think near a radiator, but not touching!), it can significantly speed up root development. Cacti love a bit of warmth.
- Err on the side of underwatering: It’s always better to give your new cactus a little too little water than too much. Overwatering is the quickest way to invite rot and lose your precious new plant.
Aftercare & Troubleshooting
Once your offset has been potted and you’ve given it that first light watering, keep it in a bright spot with indirect light. Avoid harsh, direct sun while it’s establishing.
What to look out for? Rot is your biggest enemy. If you see the base of your cactus turning mushy, black, or watery, it’s likely rot. Unfortunately, this often means it’s too late, but you can sometimes save a small piece if you catch it very early. The most common signs of failure are simply no signs of growth or roots after a long time, or the plant eventually shriveling. This usually points back to insufficient watering or a lack of warmth for root development.
A Little Encouragement
Propagating any plant takes a bit of a leap of faith, and cacti are no exception. There might be a moment or two of doubt, but trust the process. Observe your new plant, give it what it needs, and celebrate every little sign of progress. Enjoy the rewarding journey of growing your own magnificent Ferocactus haematacanthus! Happy gardening!
Resource: