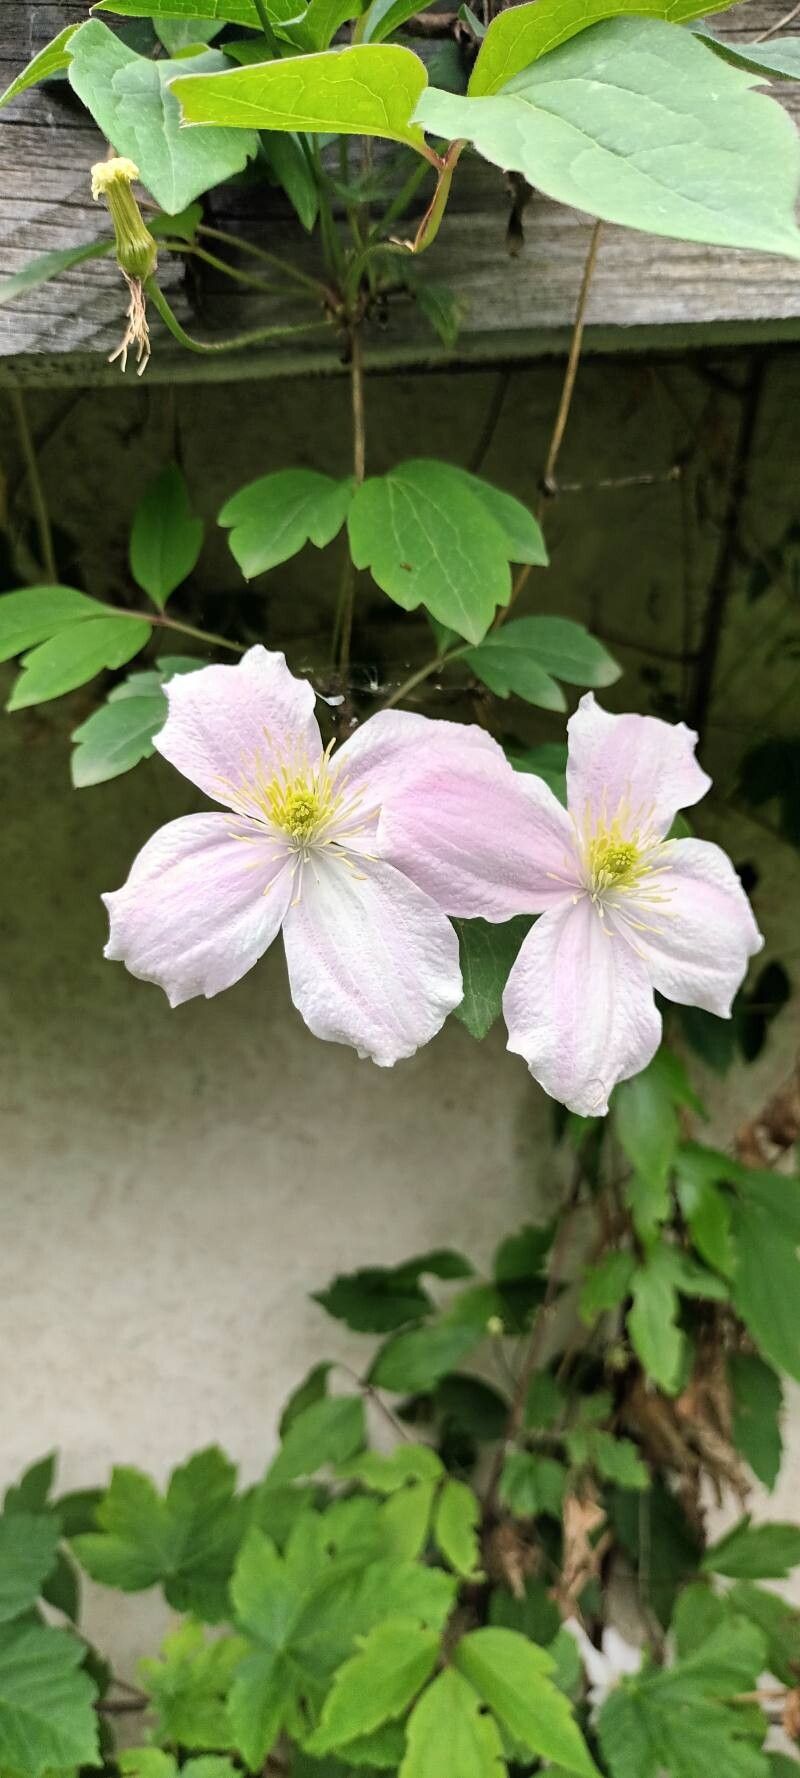
Oh, Clematis chrysocoma! If you’re looking for a climbing beauty that truly shines, you’ve found it. Its delicate, golden-yellow blooms in late spring and early summer are just breathtaking. They cascade over trellises and pergolas, bringing such a warm, almost ethereal glow to the garden. And the best part? Sharing this joy is surprisingly achievable. Propagating them yourself can be incredibly rewarding, though I’ll be honest, it’s not always the easiest plant to start from scratch. But with a little patience and the right approach, you’ll be well on your way to more of these beauties.
The Best Time to Start
For Clematis chrysocoma, the sweet spot for propagation is generally late spring to early summer. This is when the plant is actively growing, producing new, pliable stems that have a better chance of rooting. Look for stems that have recently finished flowering or are just starting to mature. You want stems that are firm but not woody.
Supplies You’ll Need
Here’s what you’ll want to have on hand before you get started:
- Sharp pruning shears or a clean knife: For making clean cuts.
- Rooting hormone: A powder or gel to encourage root development. Make sure it’s suitable for woody plants.
- Well-draining potting mix: A good blend of peat moss, perlite, and a bit of compost is ideal. You can also use a seed-starting mix.
- Small pots or propagation trays: With drainage holes, of course!
- Plastic bags or a clear propagation dome: To maintain humidity.
- Warm water: For misting.
- Labels: To keep track of your cuttings.
Propagation Methods
While Clematis can be a bit finicky, stem cuttings are usually the most successful method for home gardeners. Division is possible, but often best left for more mature plants and can shock them.
Here’s how to do stem cuttings:
- Take your cuttings: Select a healthy, active stem. Look for a stem that has at least two sets of leaves. Using your sharp shears, make a cut just below a leaf node (where a leaf attaches to the stem). Aim for cuttings that are about 4-6 inches long.
- Prepare the cuttings: Gently remove the lower leaves from your cuttings, leaving just the top couple of leaves. This reduces water loss. If the remaining leaves are very large, you can cut them in half to further decrease transpiration.
- Apply rooting hormone: Dip the cut end of each cutting into your rooting hormone, tapping off any excess.
- Pot them up: Fill your small pots with the well-draining potting mix. Make a small hole in the center of the soil with a pencil or your finger. Insert the cut end of the cutting into the hole, ensuring the rooting hormone stays in place. Gently firm the soil around the stem.
- Water and cover: Water the soil lightly. Then, cover the pots with a plastic bag or a propagation dome to create a humid environment. You want to keep the leaves from touching the plastic if possible.
The “Secret Sauce” (Pro Tips)
- Bottom Heat is Your Friend: Clematis cuttings, especially, benefit immensely from gentle bottom heat. A seedling heat mat placed under your pots can significantly speed up root development and increase your success rate. It mimics that lovely warm soil feel they love to encourage roots.
- Don’t Over-Water (Initially): While humidity is crucial, you don’t want soggy soil the whole time. Let the top inch of soil dry out slightly between waterings. Overwatering is a fast track to rot. It’s a delicate balance, I know!
- Cleanliness is Key: Always use sterilized tools and pots. This might seem obvious, but fungal diseases can be a cutting’s worst enemy, and starting with clean equipment is your first line of defense.
Aftercare & Troubleshooting
Once your cuttings have been potted, keep them in a bright spot, but out of direct, scorching sunlight. Morning sun is usually fine. Misting the leaves occasionally can also help maintain humidity.
You’ll know your cuttings are rooting when you see new leaf growth. You can also give a very gentle tug on the cutting; if there’s resistance, roots have likely formed. This can take several weeks, so don’t get discouraged.
The most common issue you’ll encounter is rot. If you see a cutting turning black and mushy, it’s a sign of too much moisture and not enough air circulation. Remove any rotten cuttings immediately to prevent the spread. If the leaves start to wilt and yellow, it might mean they’re too dry, or they’re not getting enough light. Experiment with their location.
A Encouraging Closing
Growing your own Clematis is a journey, and like any good garden project, it’s about patience and observation. Don’t be discouraged if your first attempt doesn’t yield a greenhouse full of new plants. Each cutting teaches you something new. Enjoy the process of nurturing these little shoots, and celebrate every tiny root you discover. Happy gardening!
Resource:
https://identify.plantnet.org/k-world-flora/species/Clematis%20chrysocoma%20Franch./data